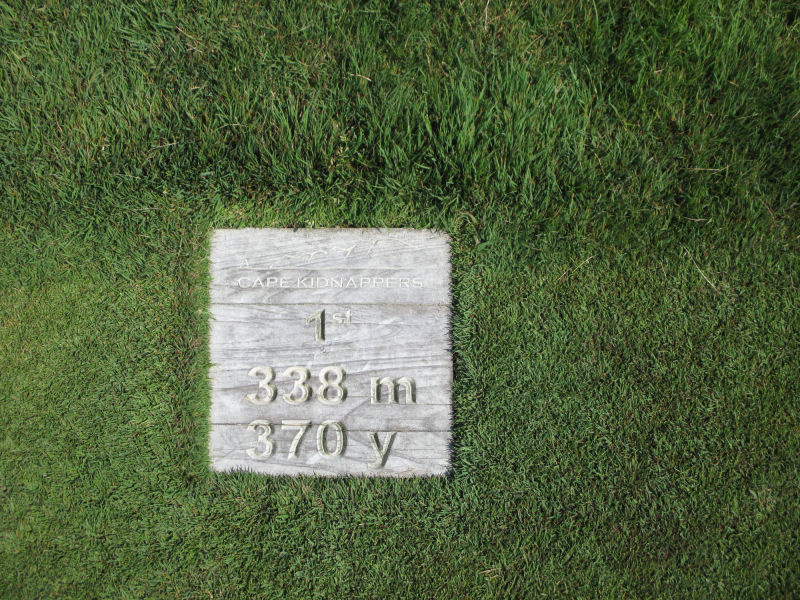
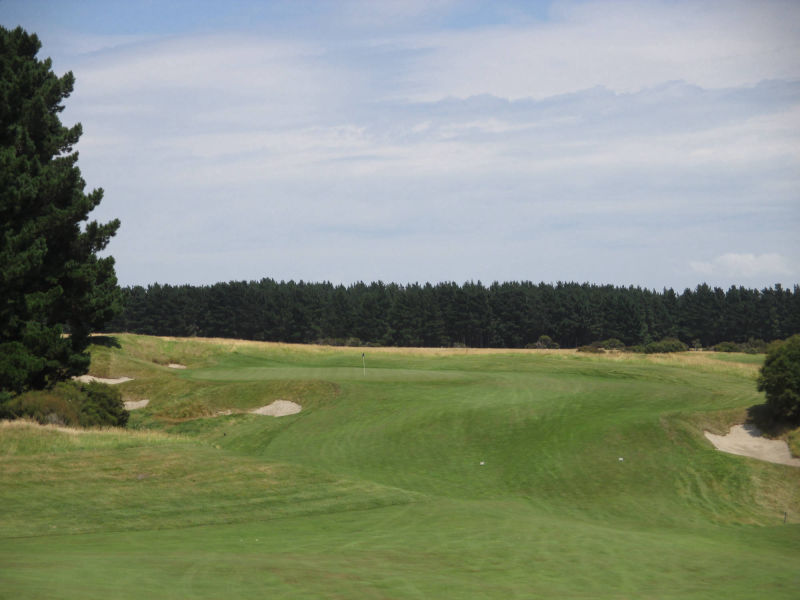
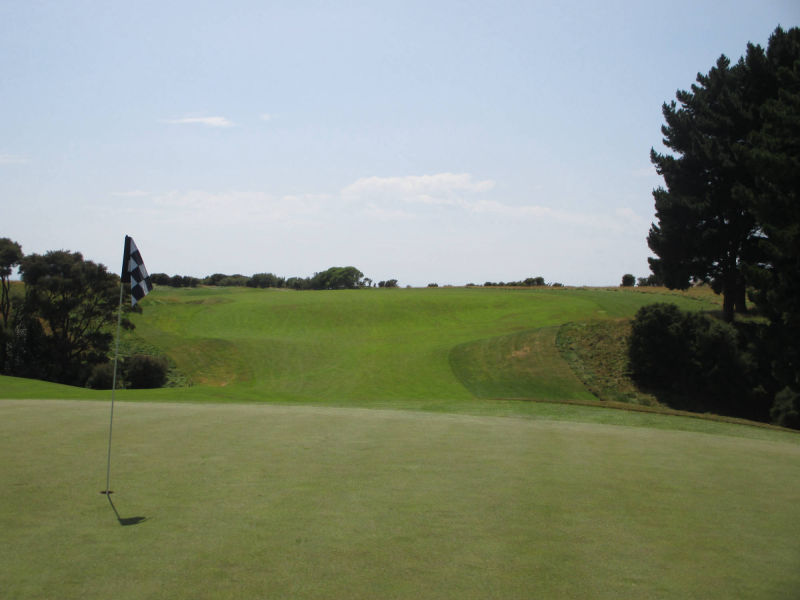
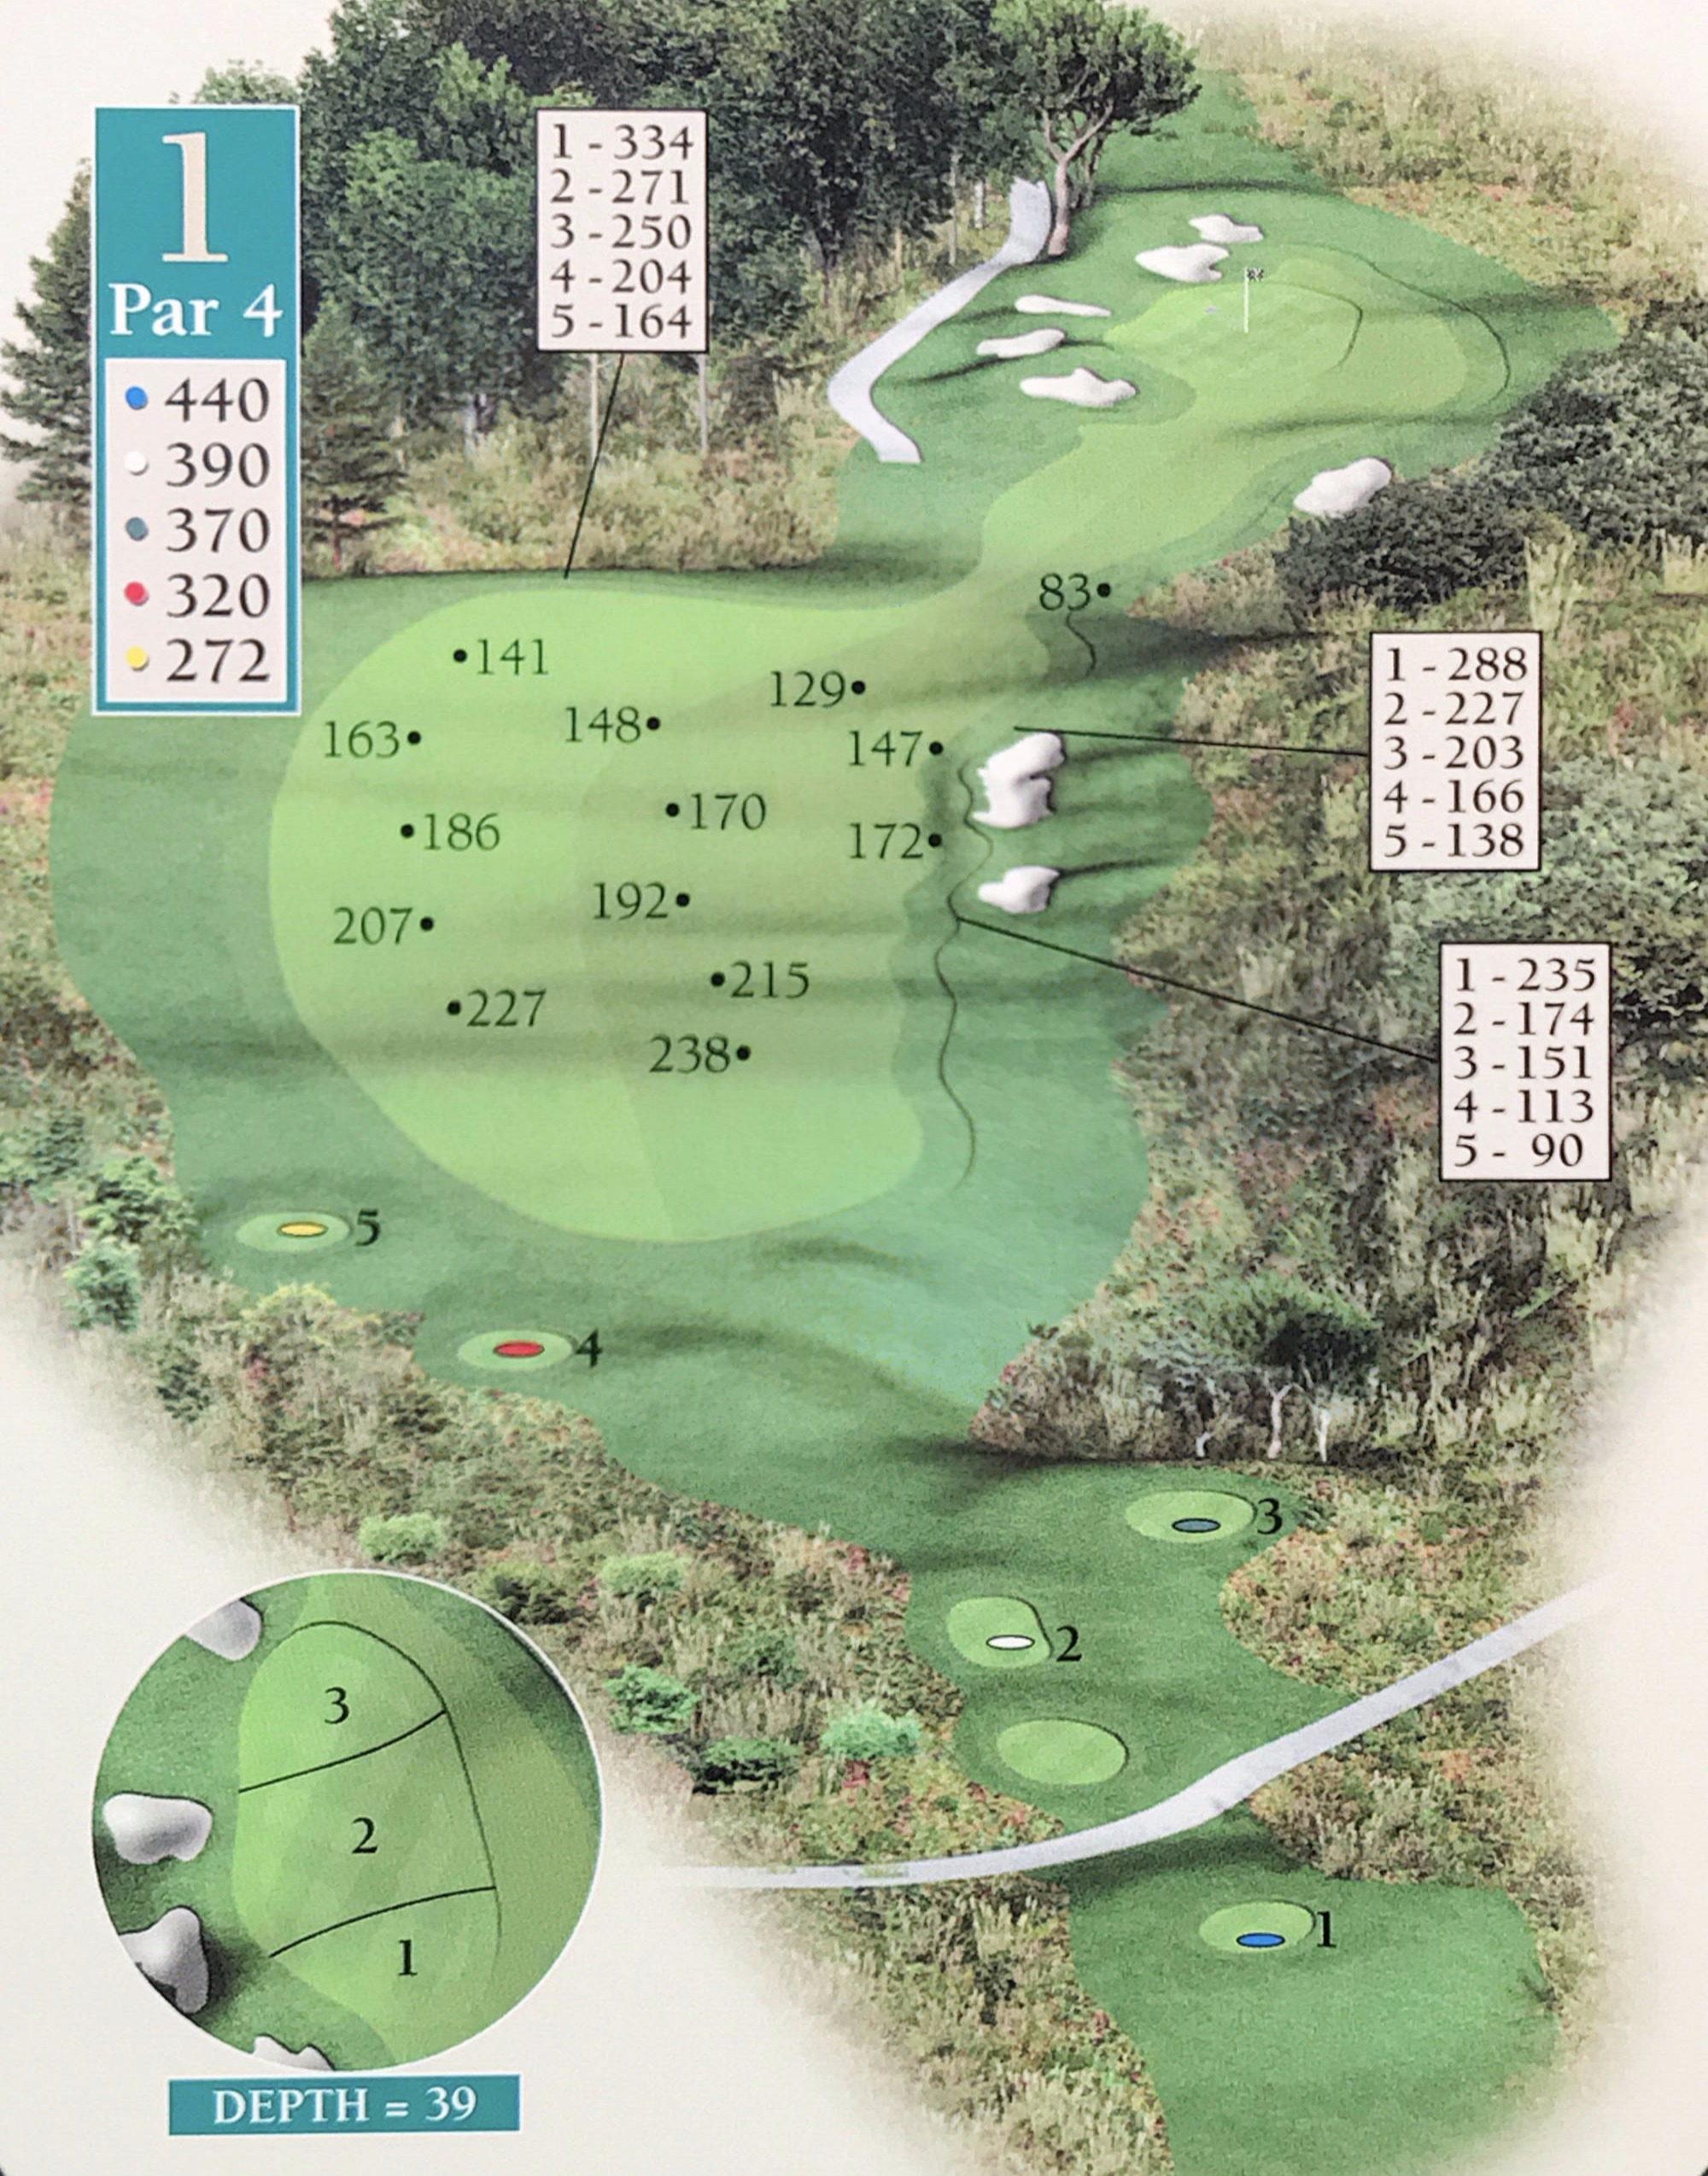
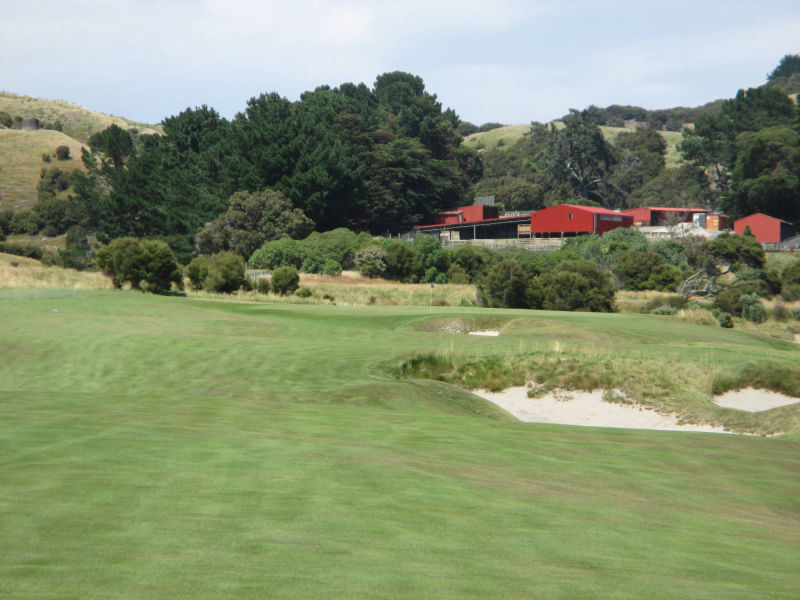
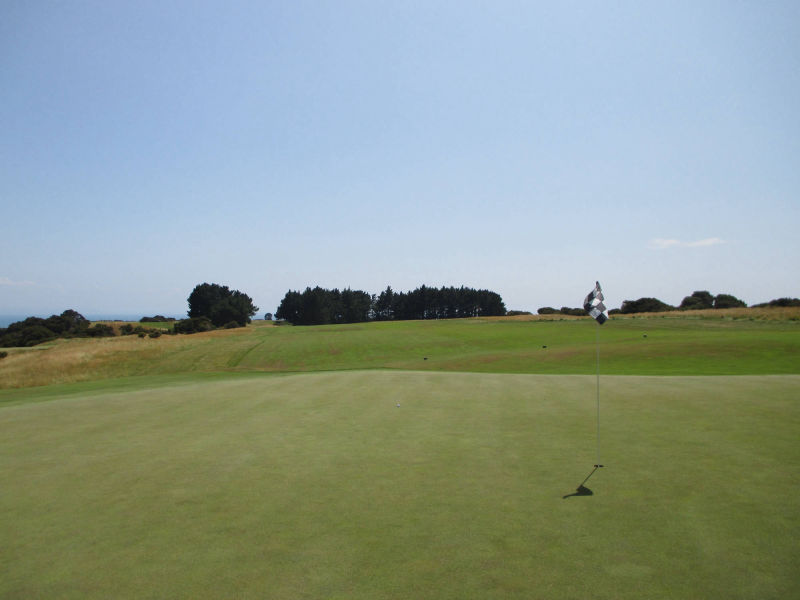
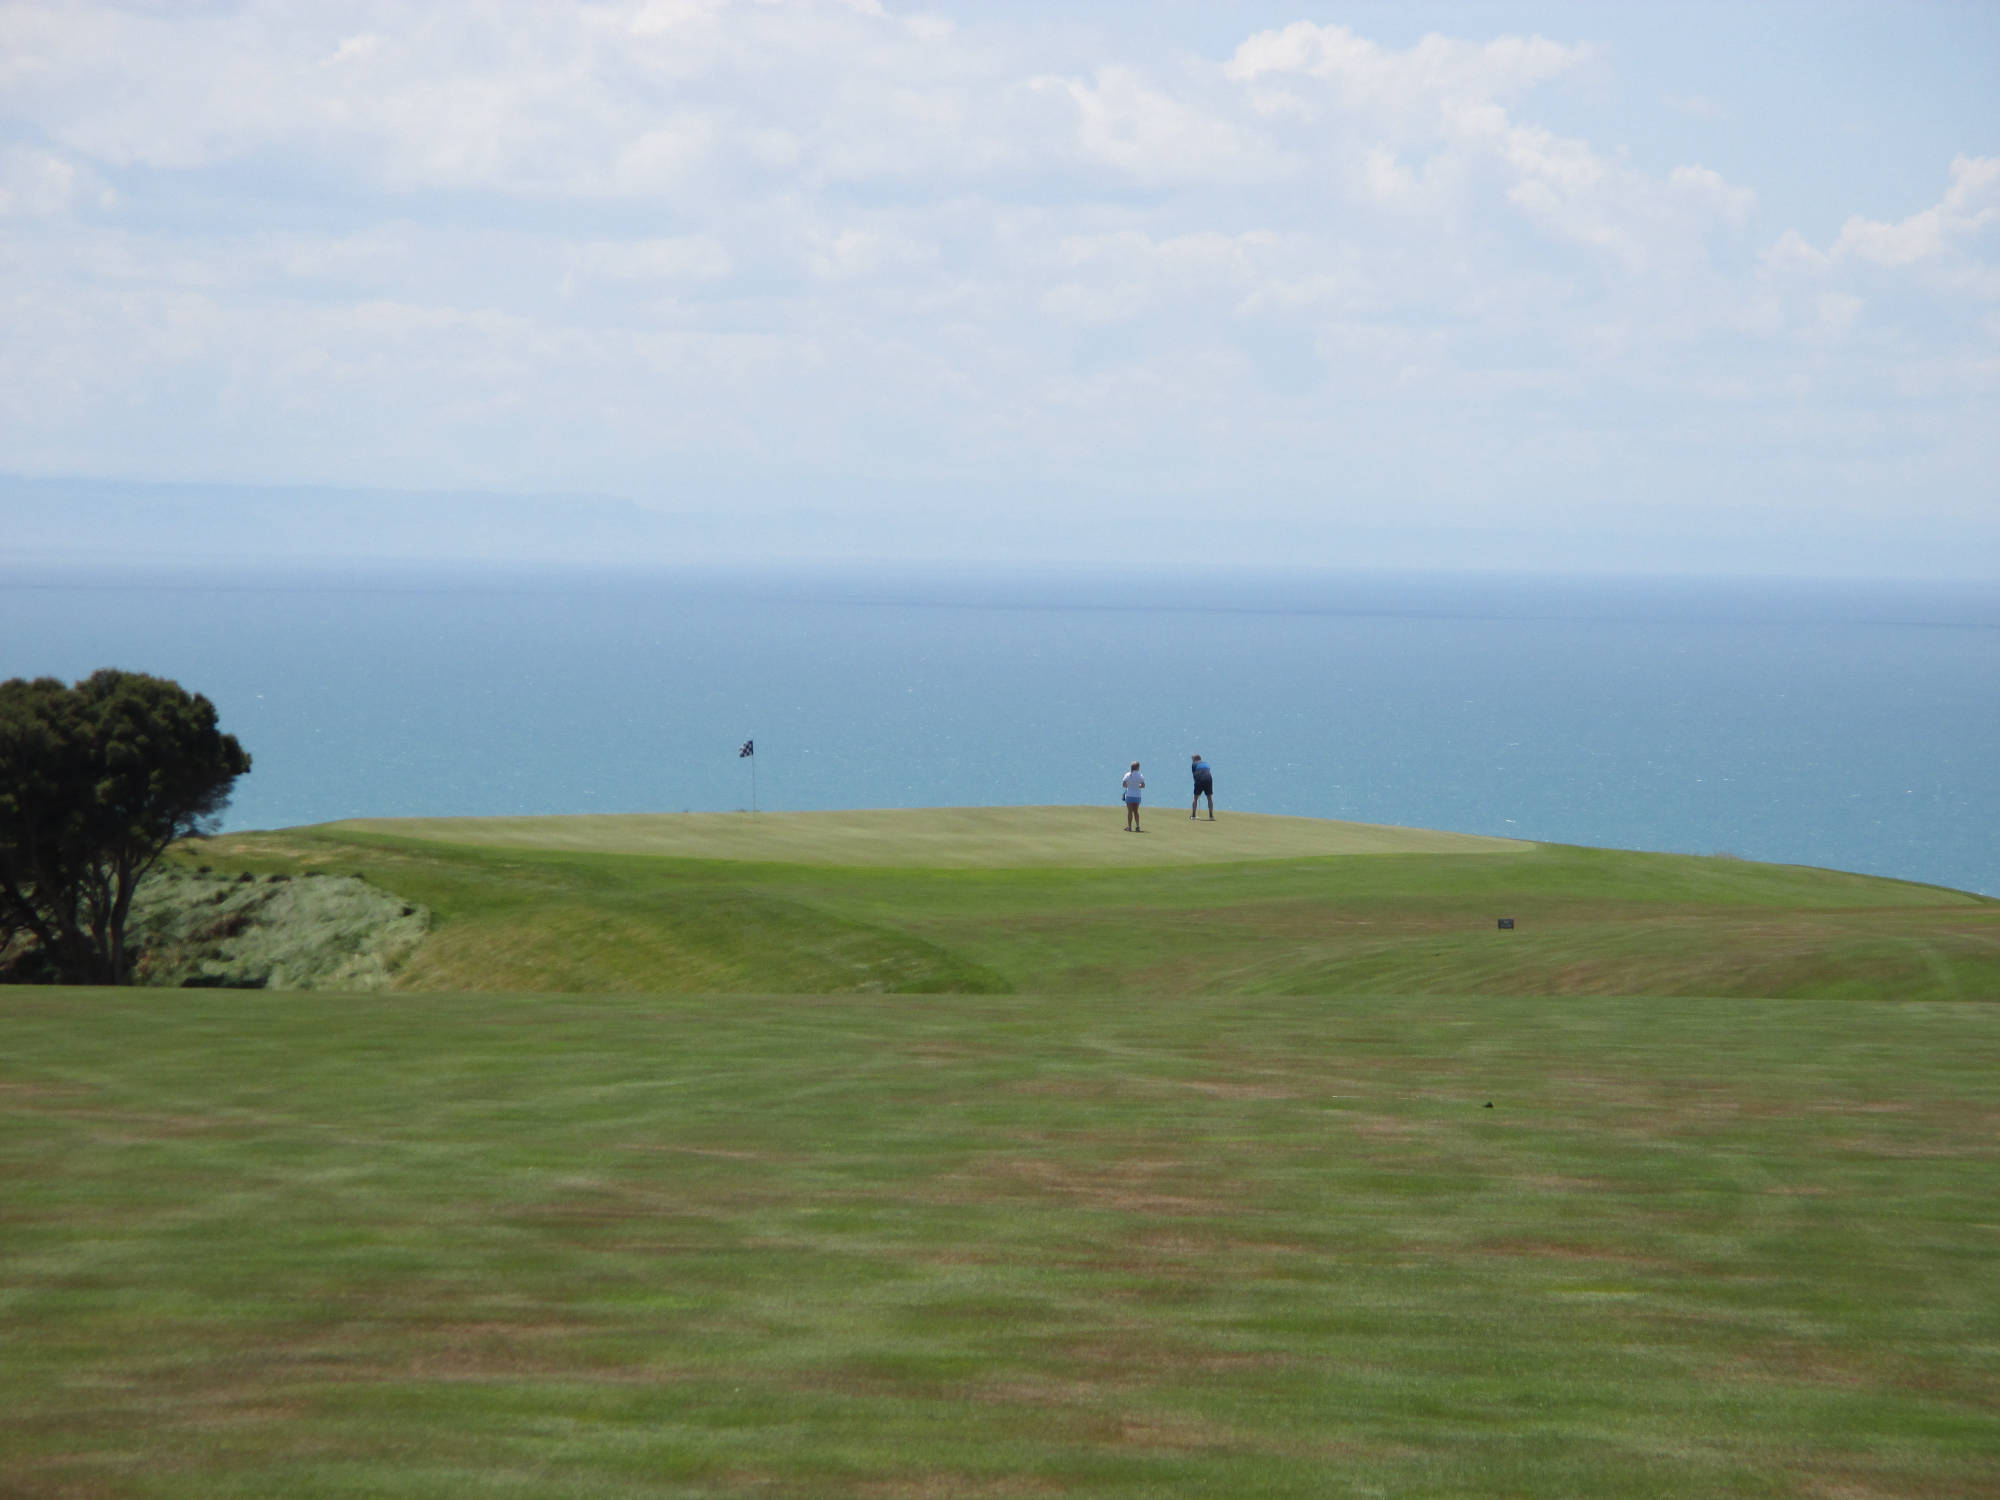
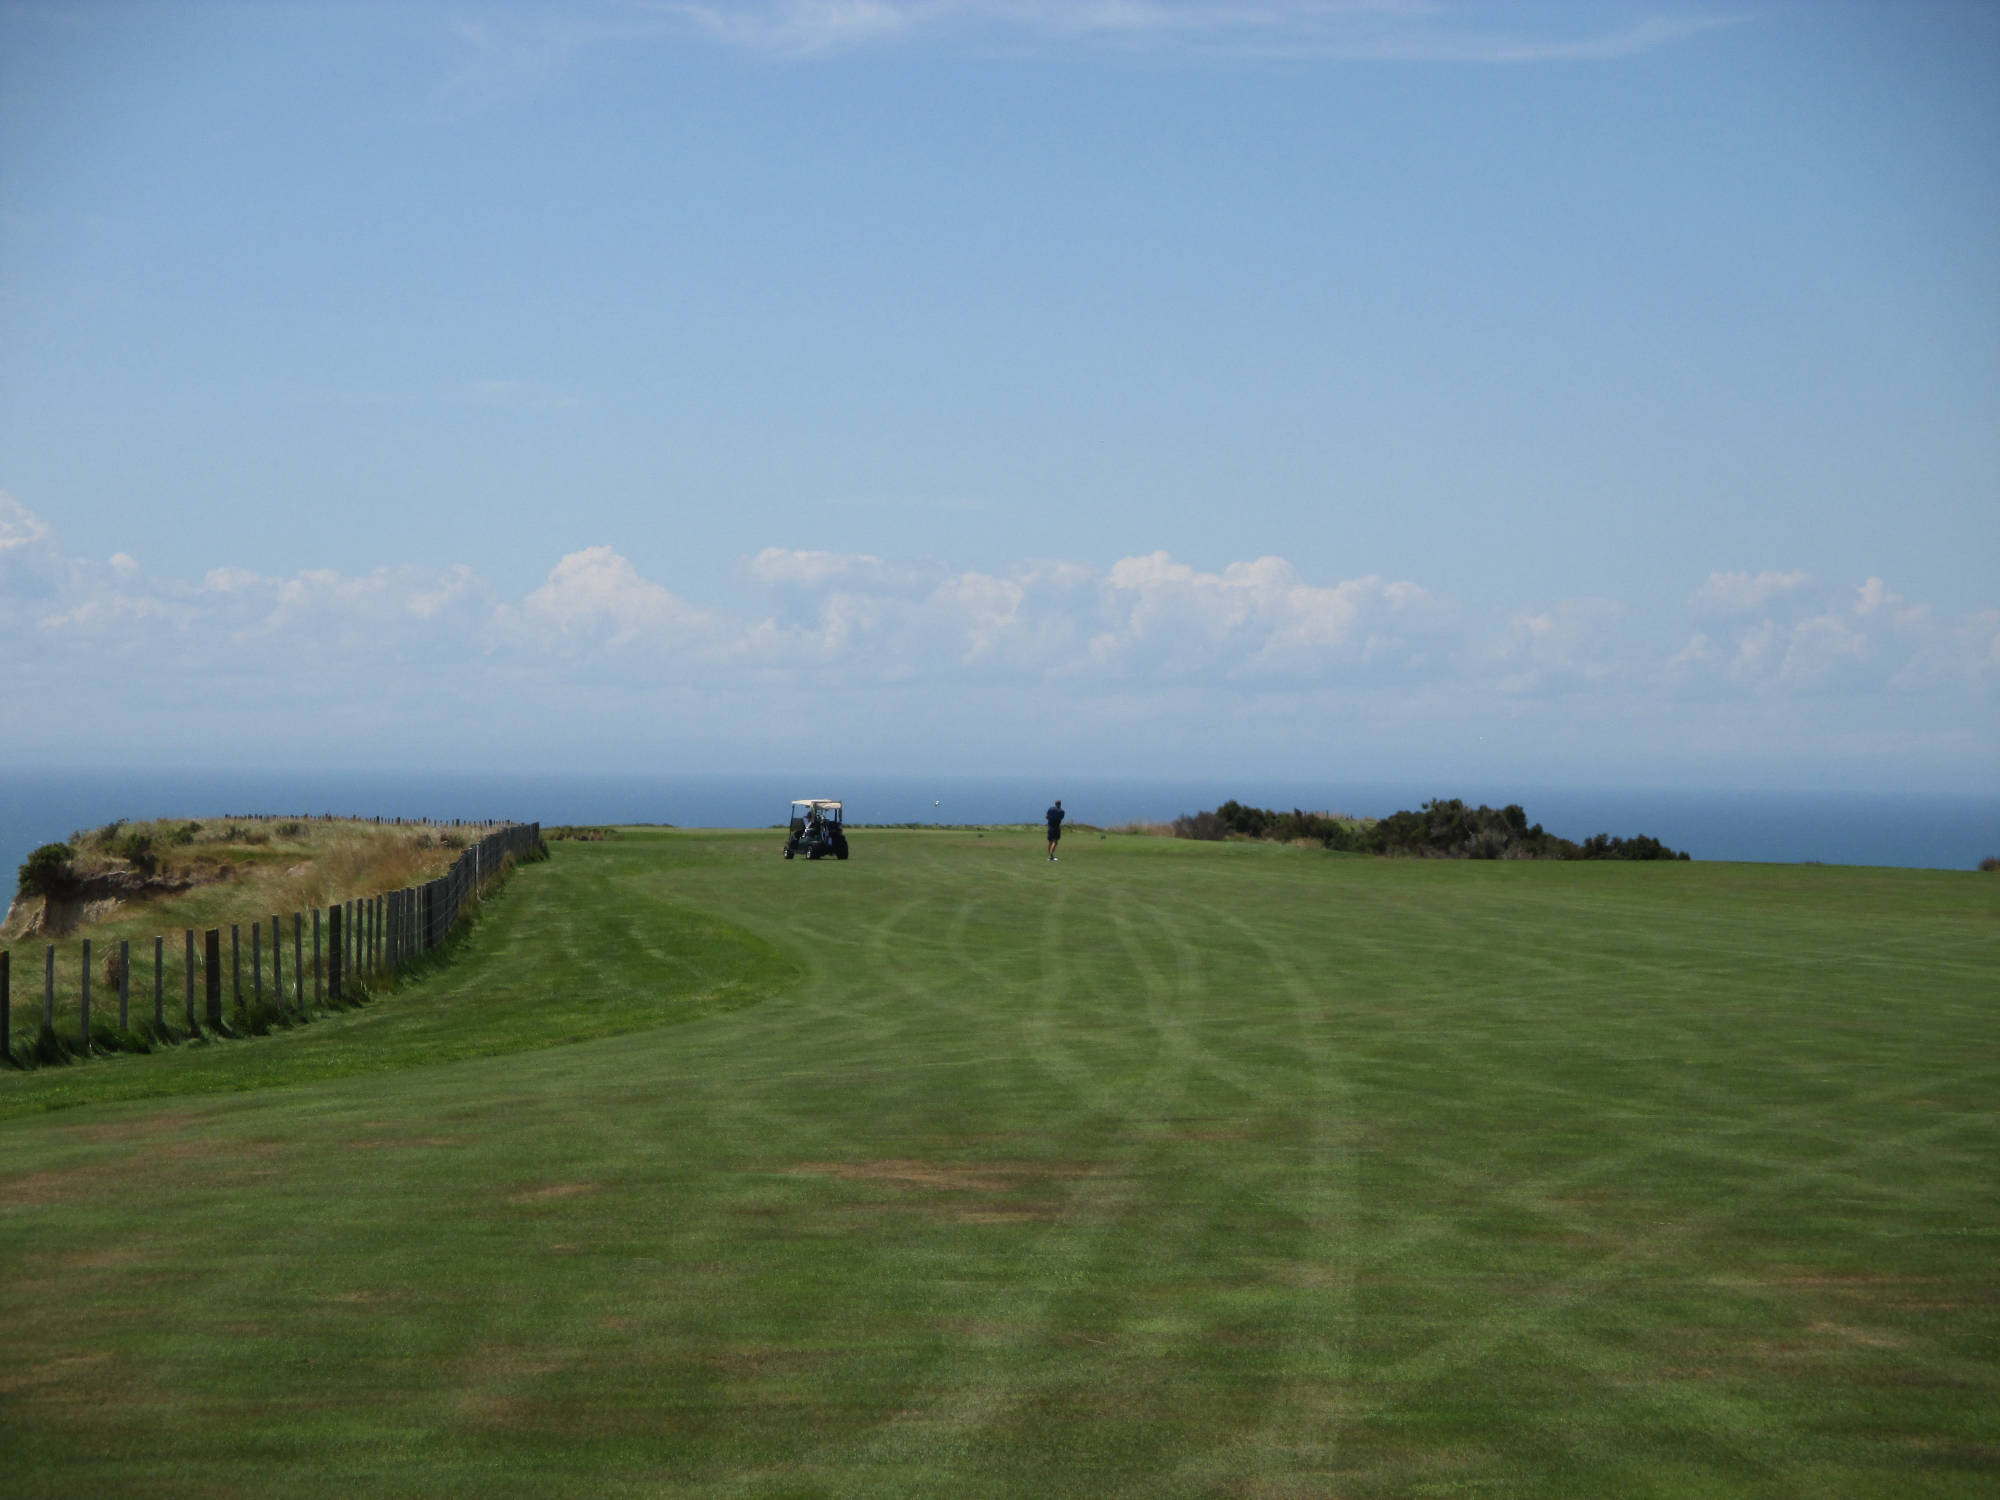
Par 4
(M) SI 8 (W) SI 9 - 青 440y 白 390y 緑 370y 赤 320y 黄 272y
Hole 1
Tee Ground
Fairway
Green
course guide: Best Approach Publications (c)2016
Previous
Next
Close
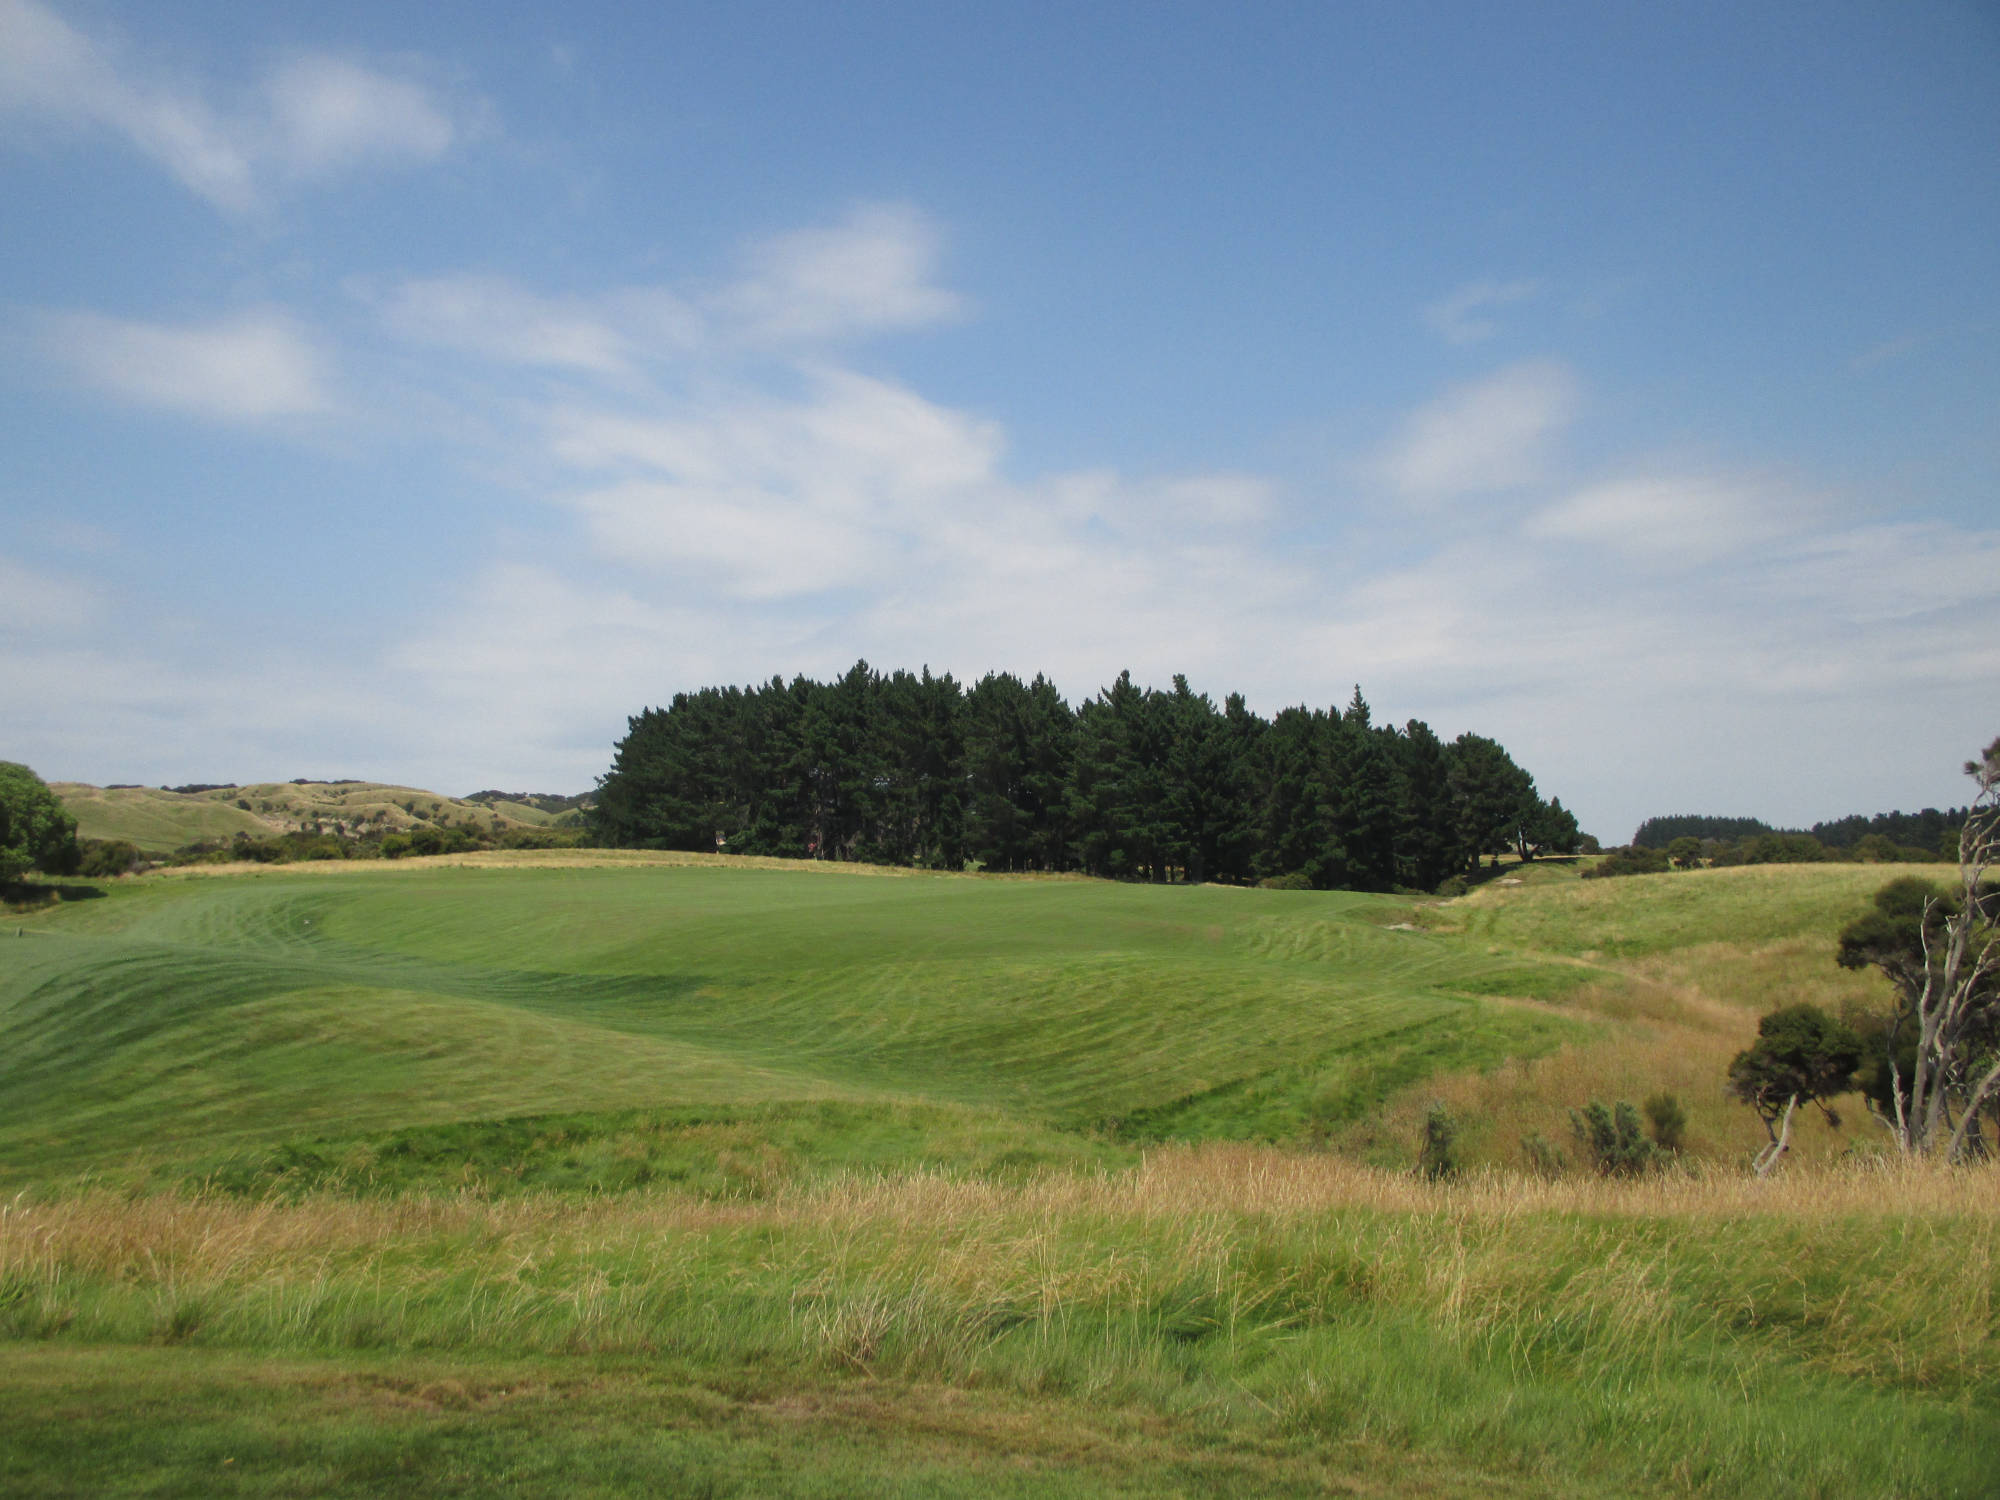
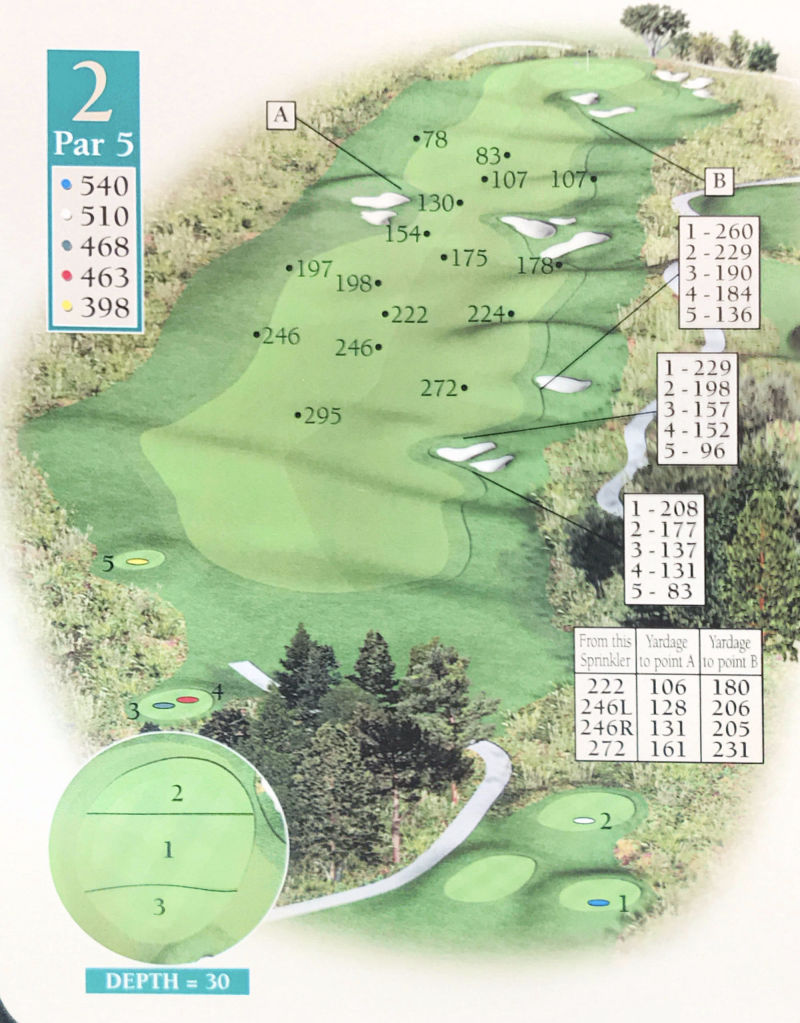
Par 5
(M) SI 18 (W) SI 13 - 青 540y 白 510y 緑 468y 赤 463y 黄 398y
Hole 2
Tee Ground
Fairway Second Shot
Fairway Third Shot
Green
course guide: Best Approach Publications (c)2016
Previous
Next
Close
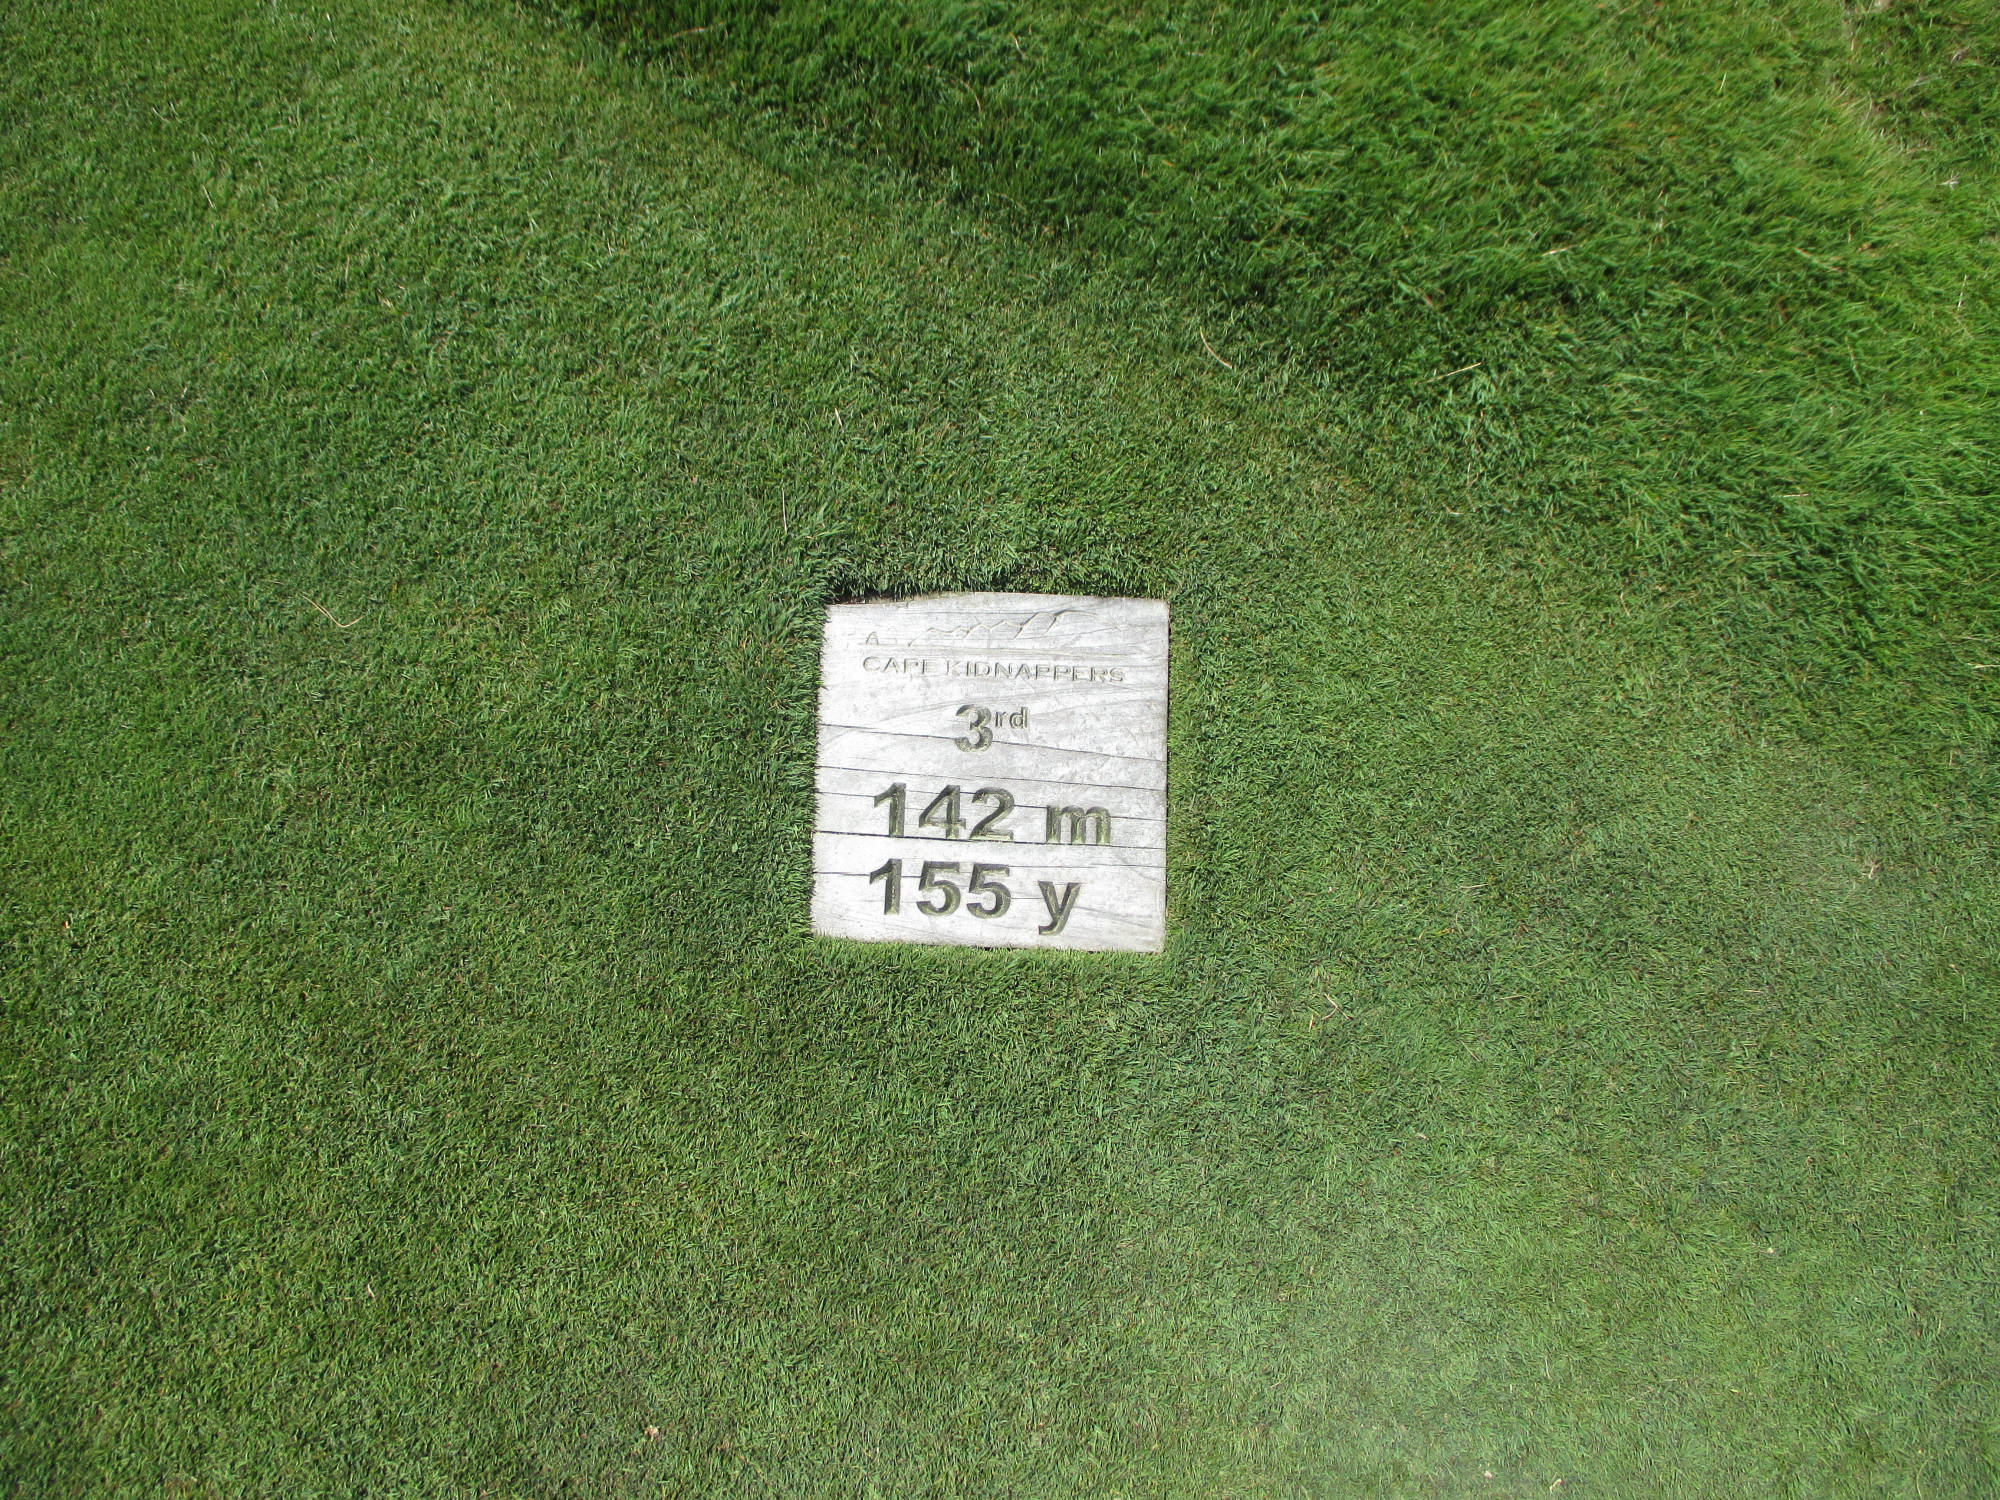
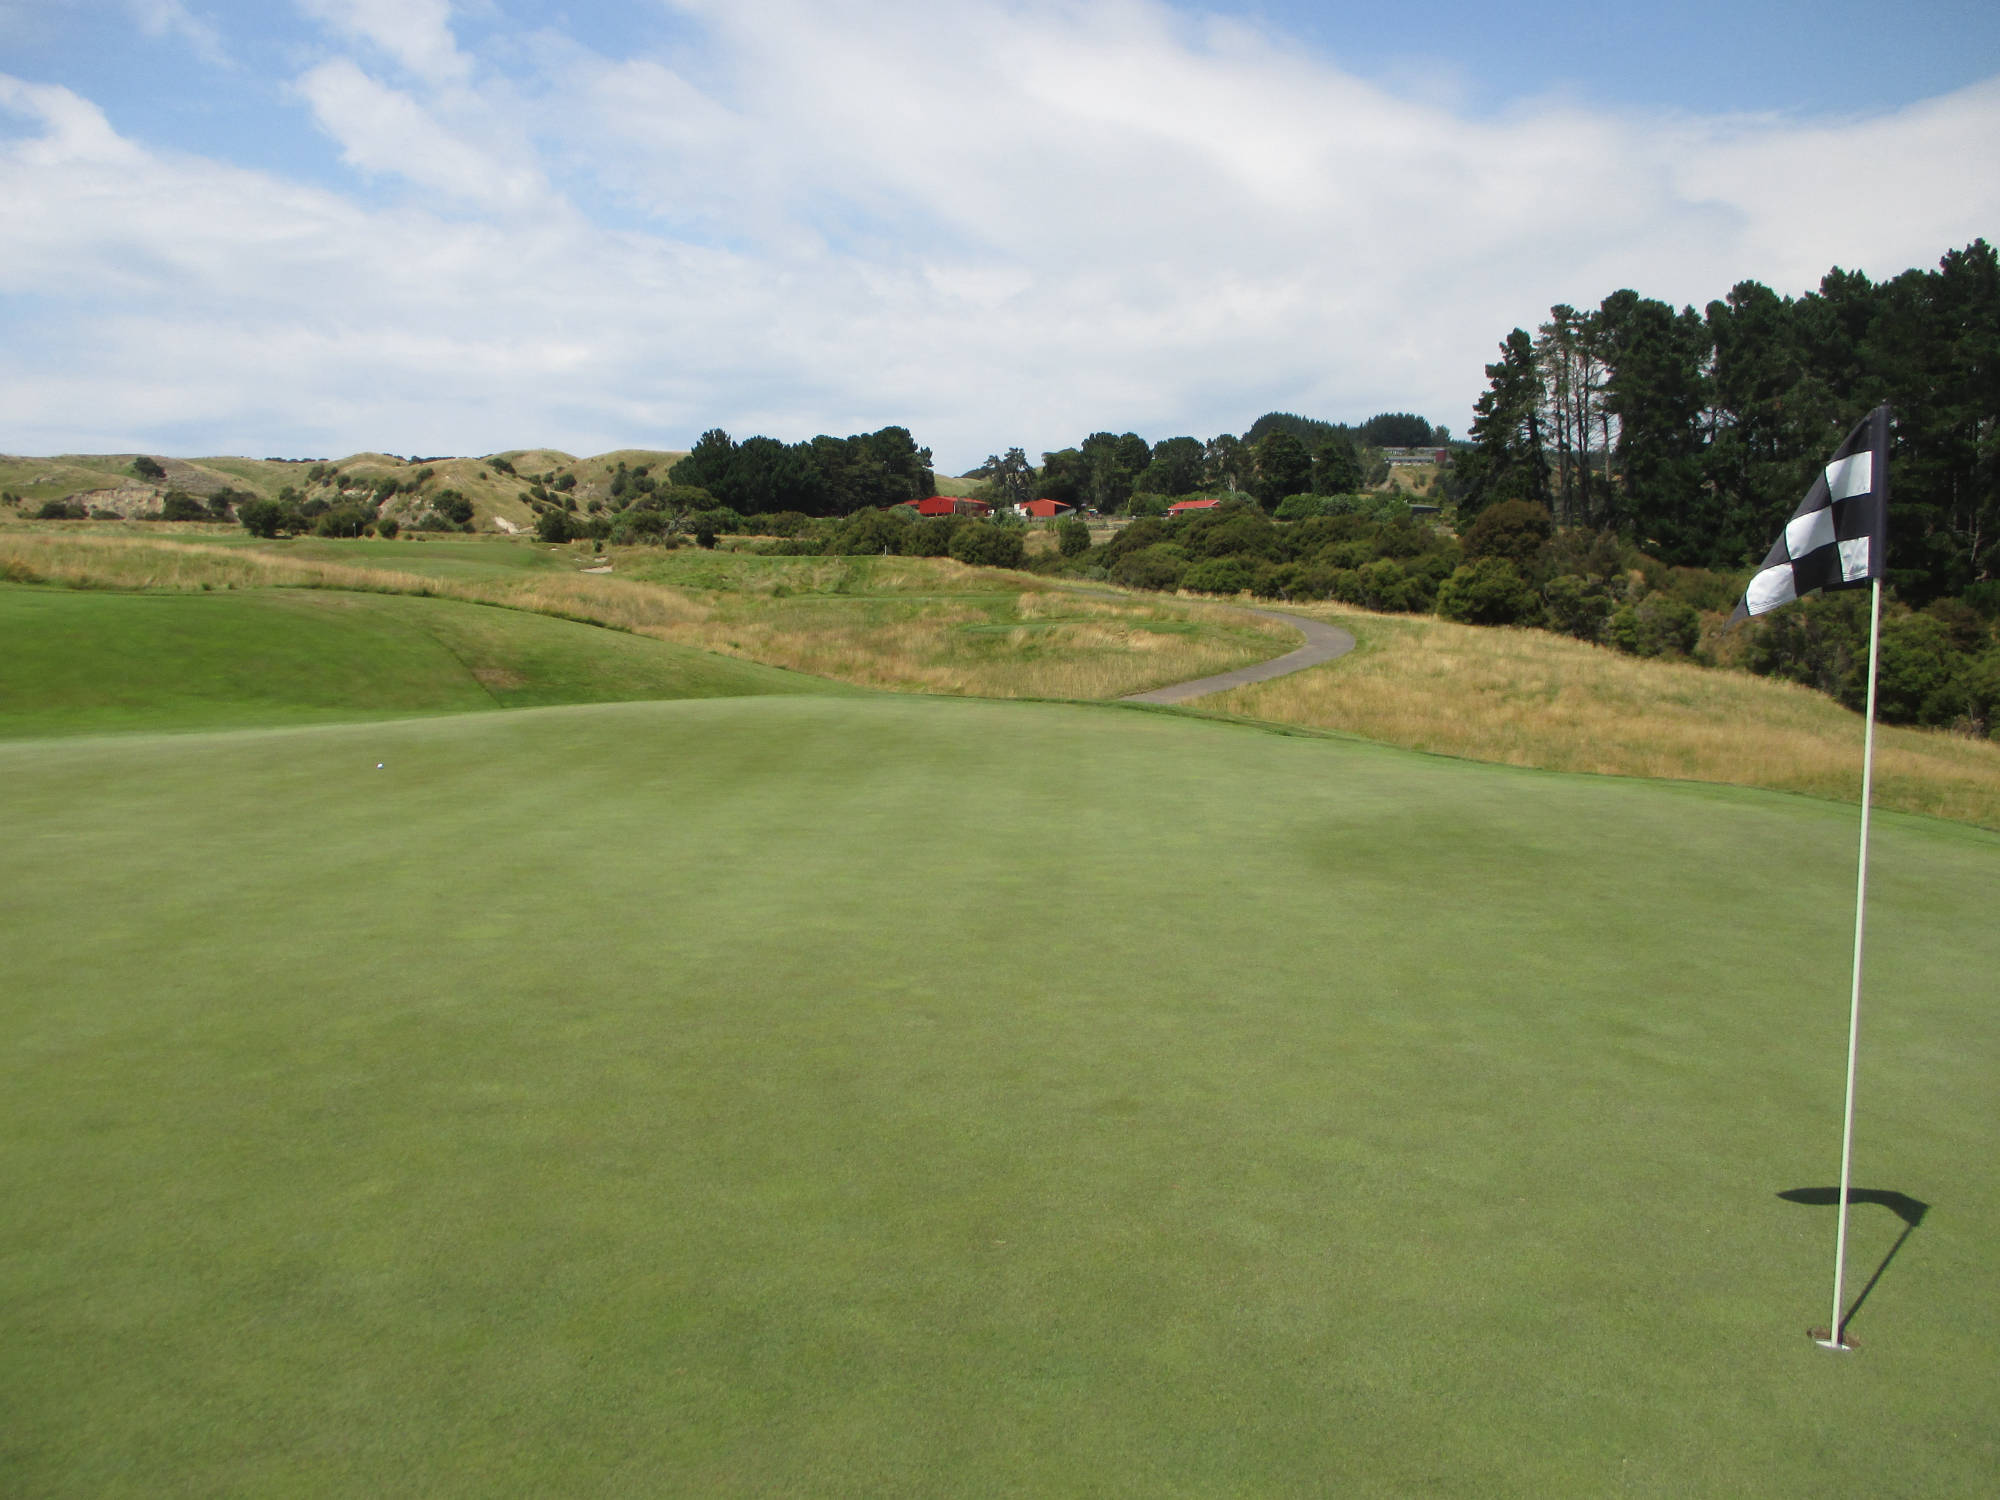
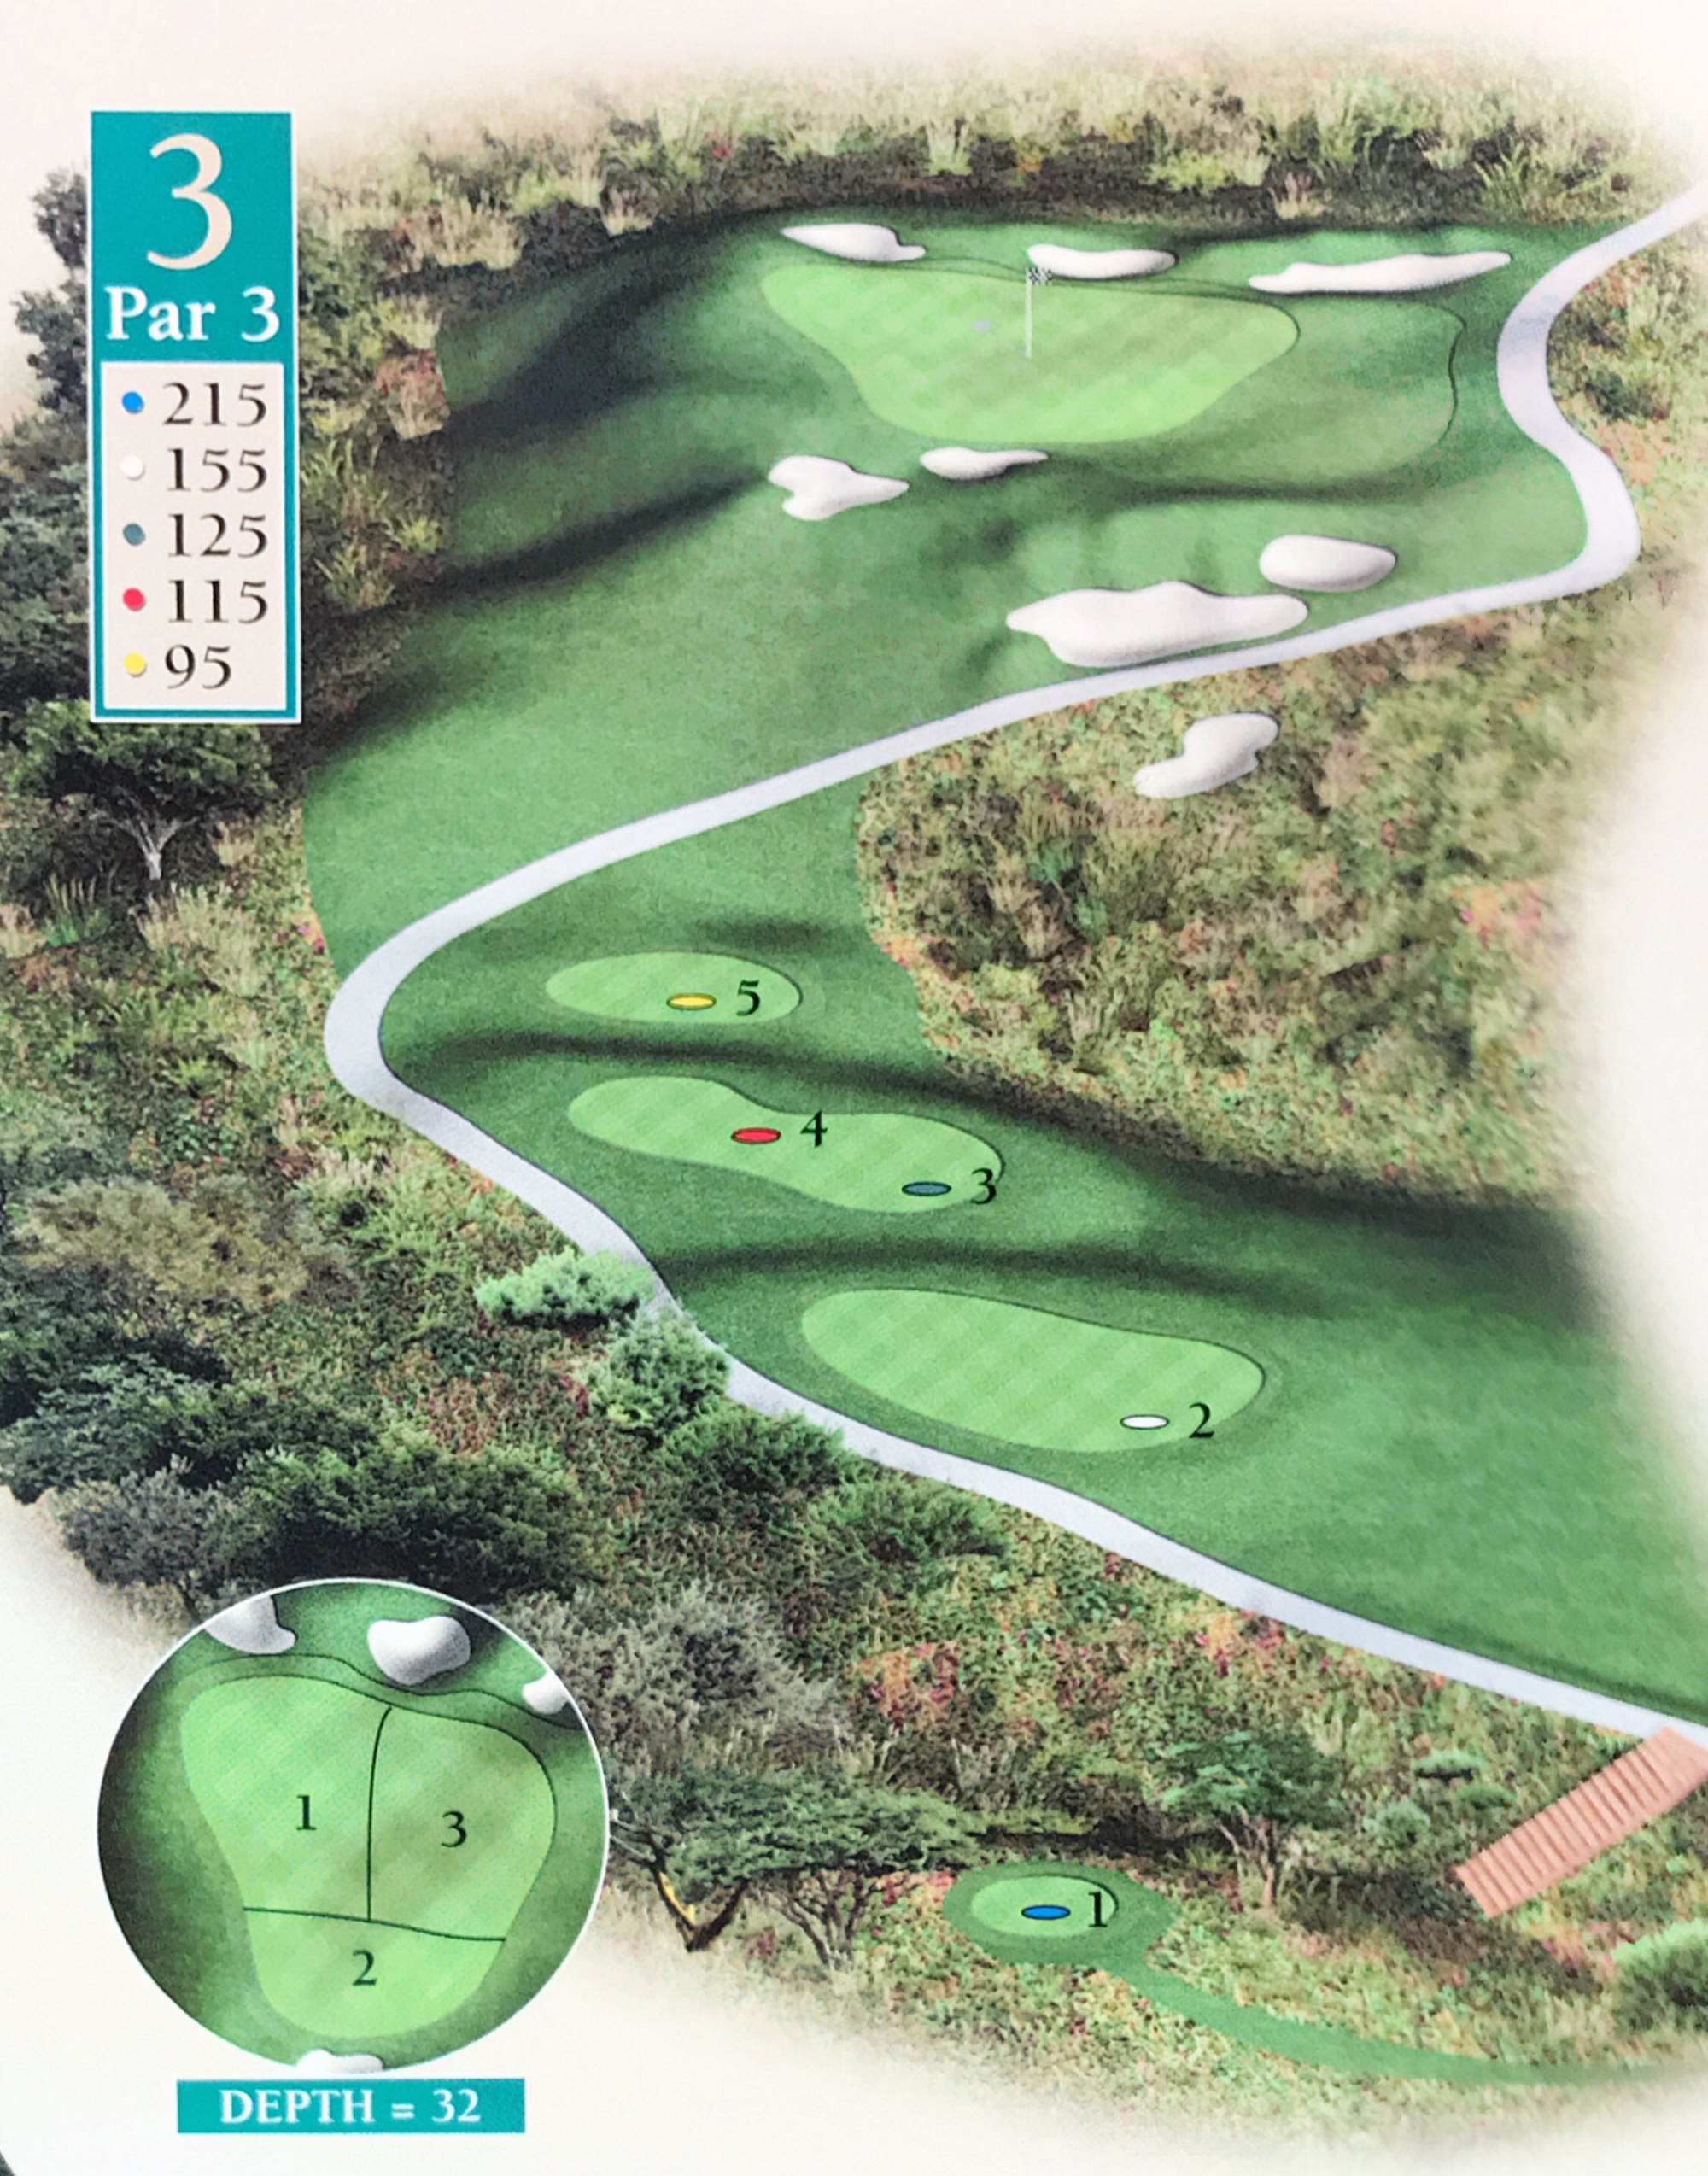
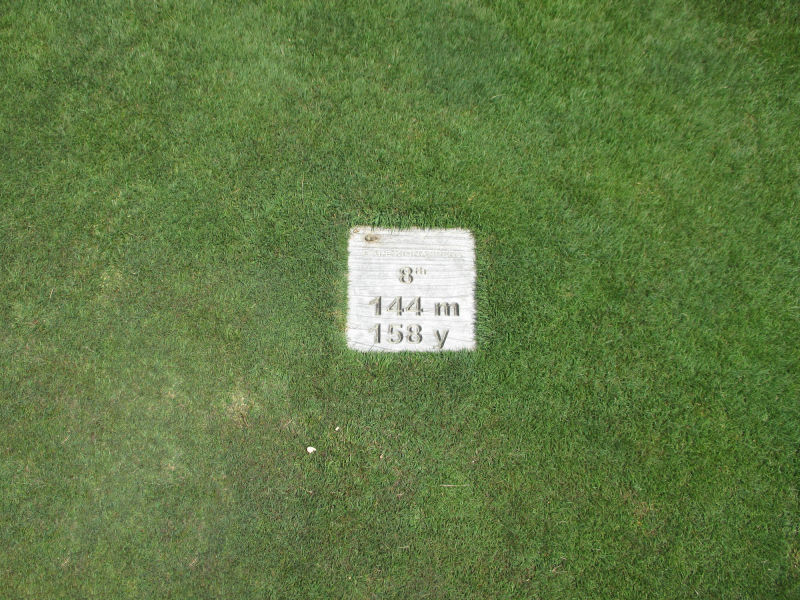
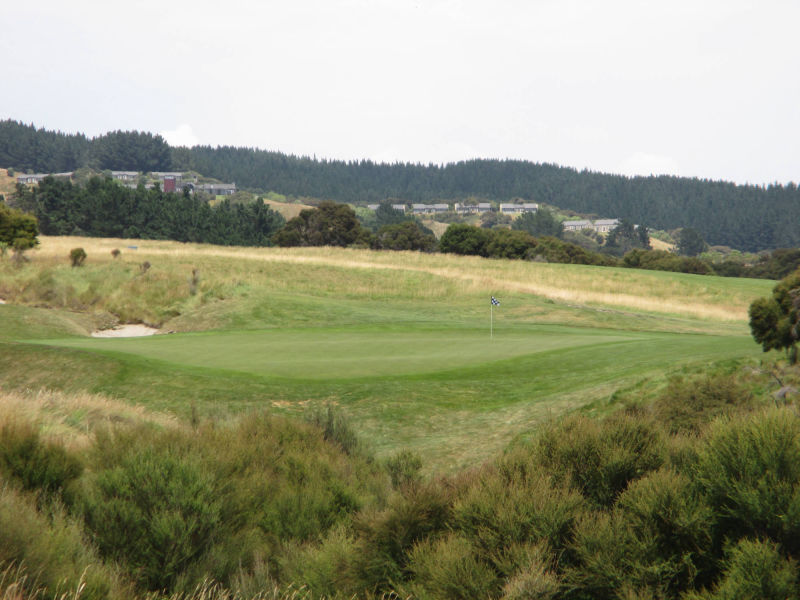
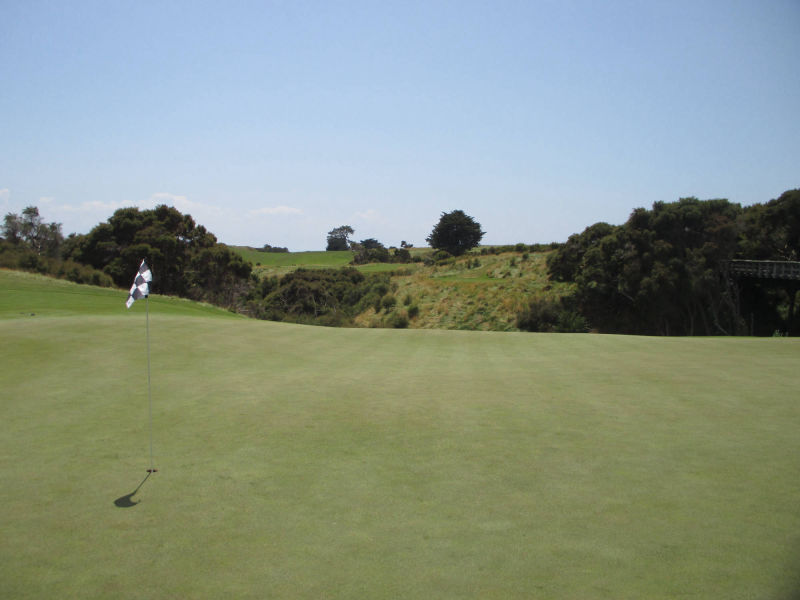
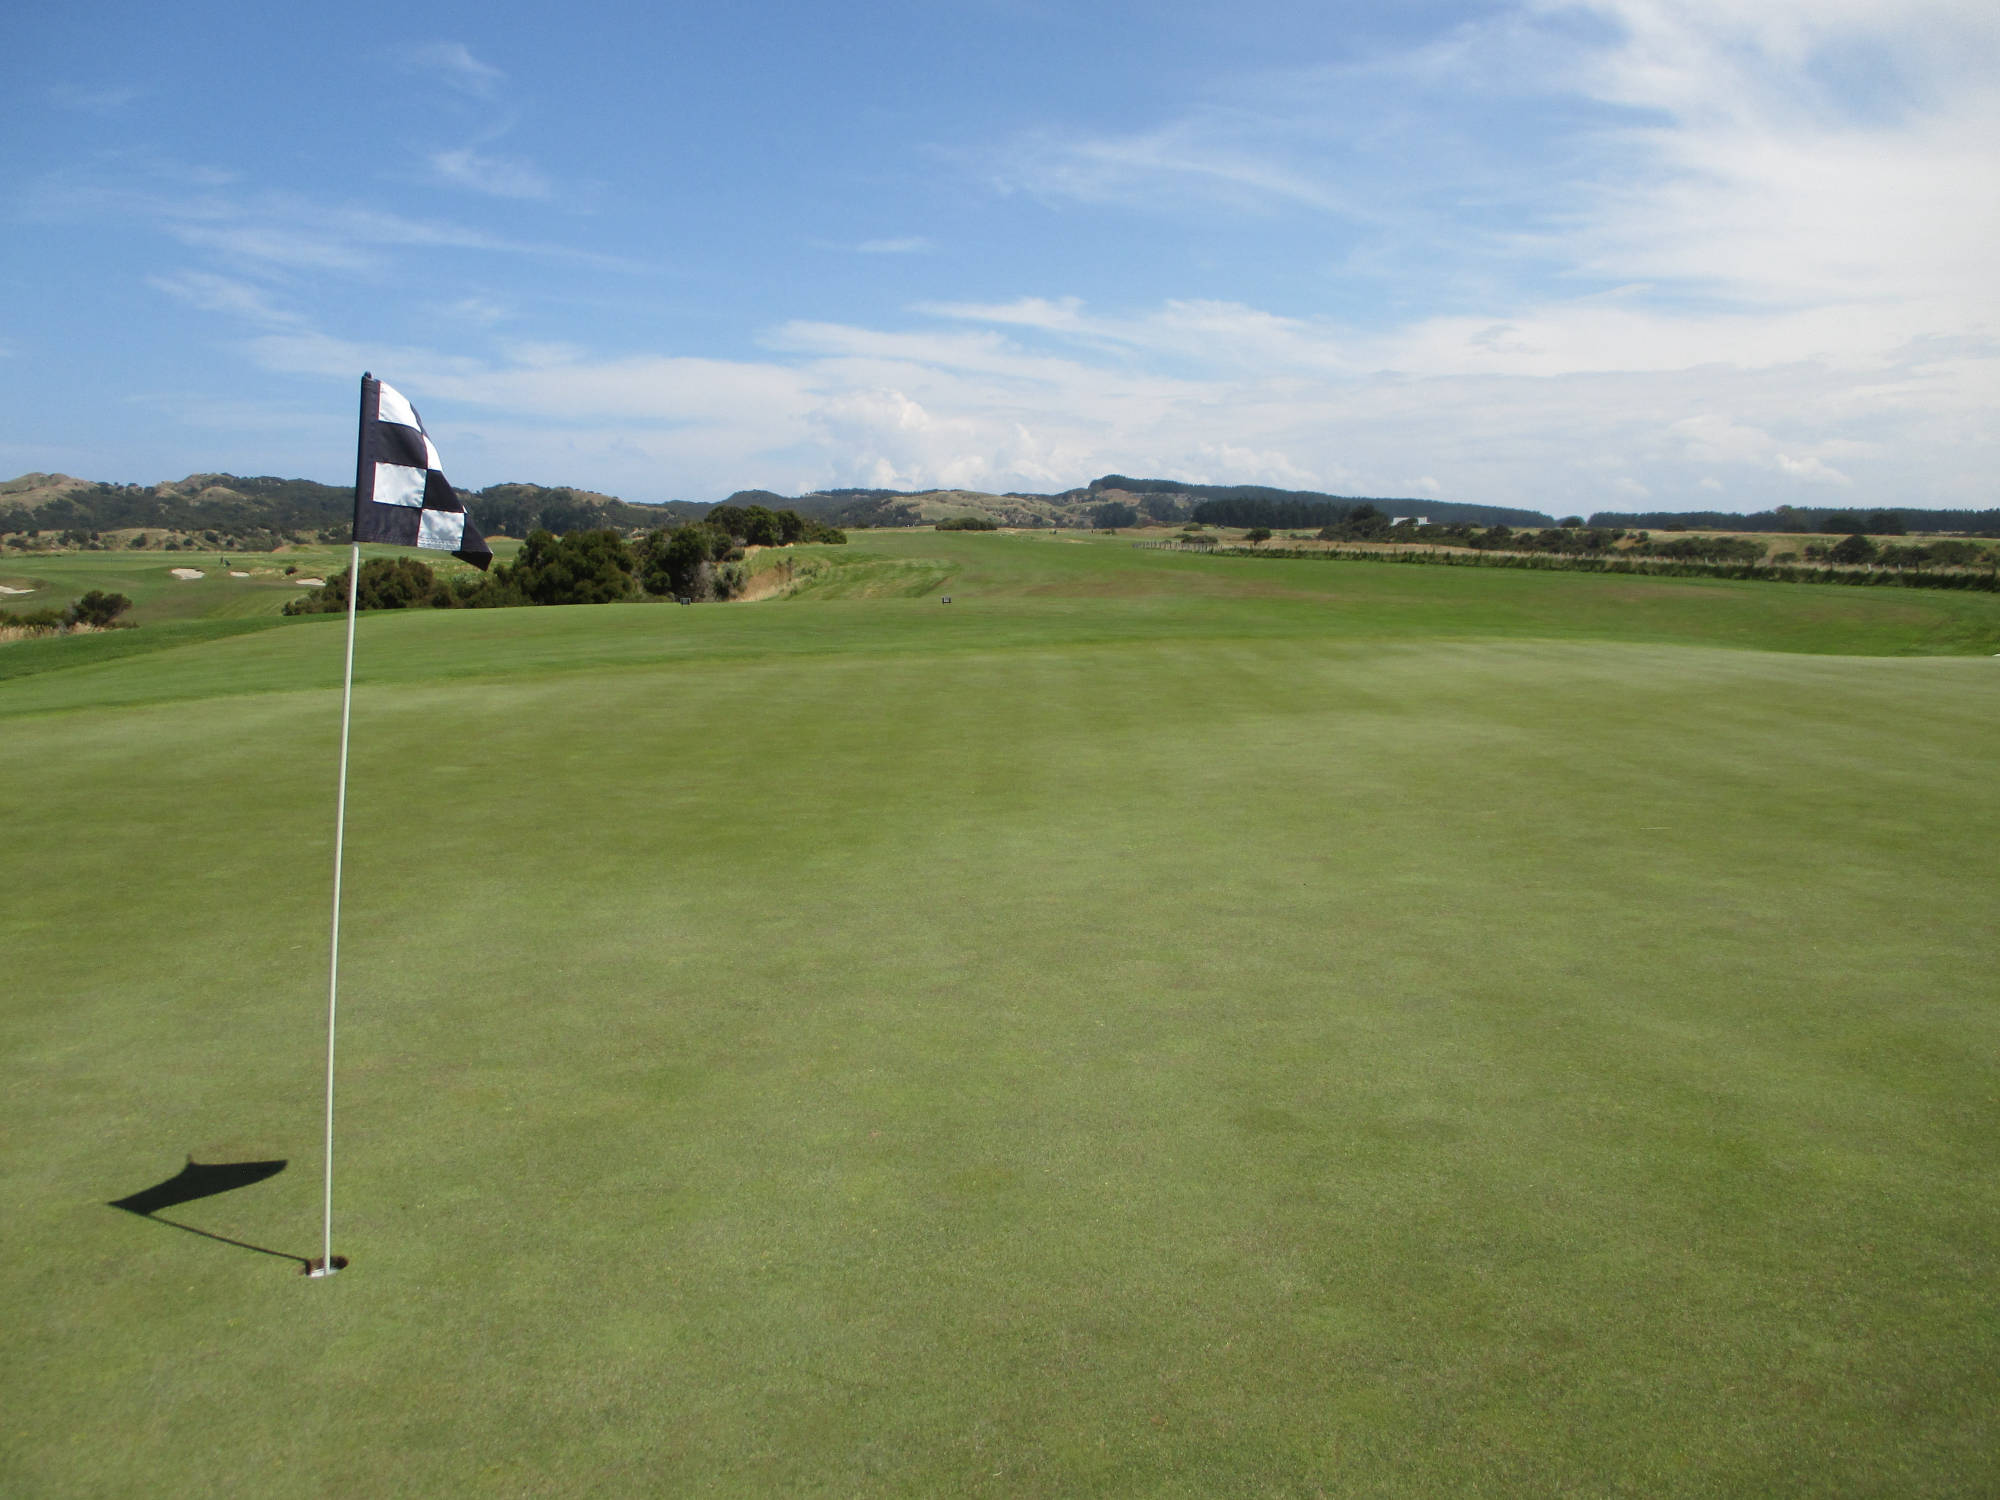
Par 3
(M) SI 16 (W) SI 15 - 青 215y 白 115y 緑 125y 赤 115y 黄 95y
Hole 3
Tee Ground
Green
course guide: Best Approach Publications (c)2016
Previous
Next
Close
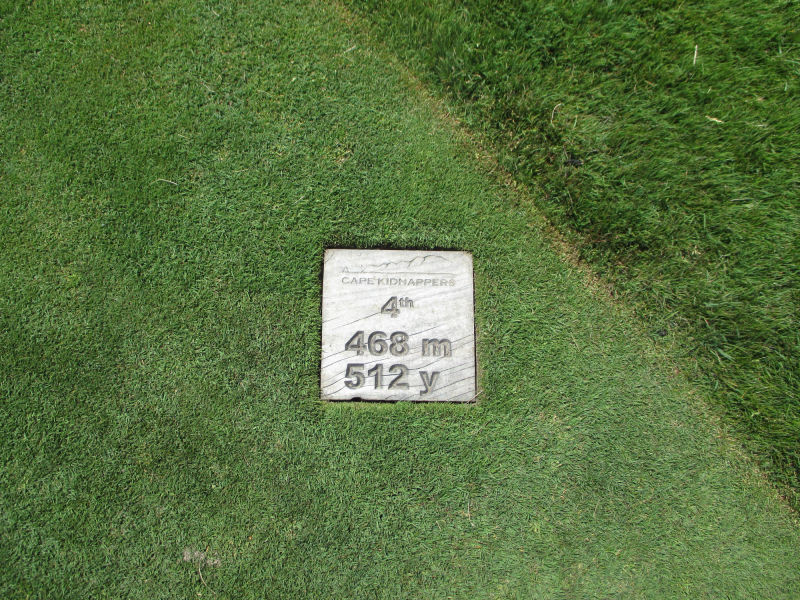
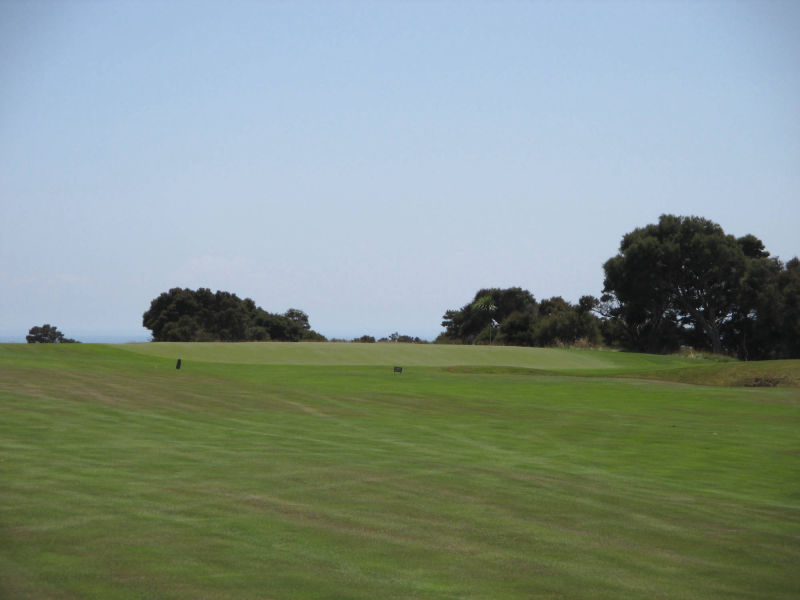
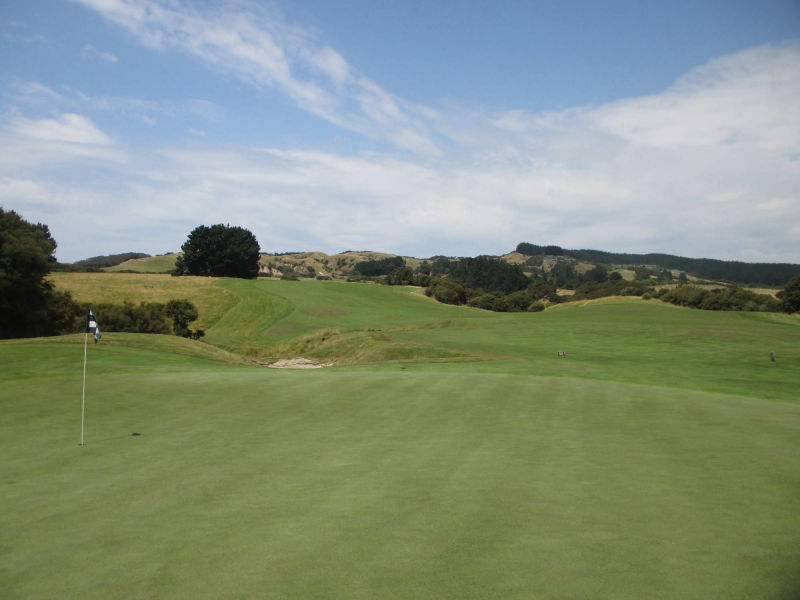
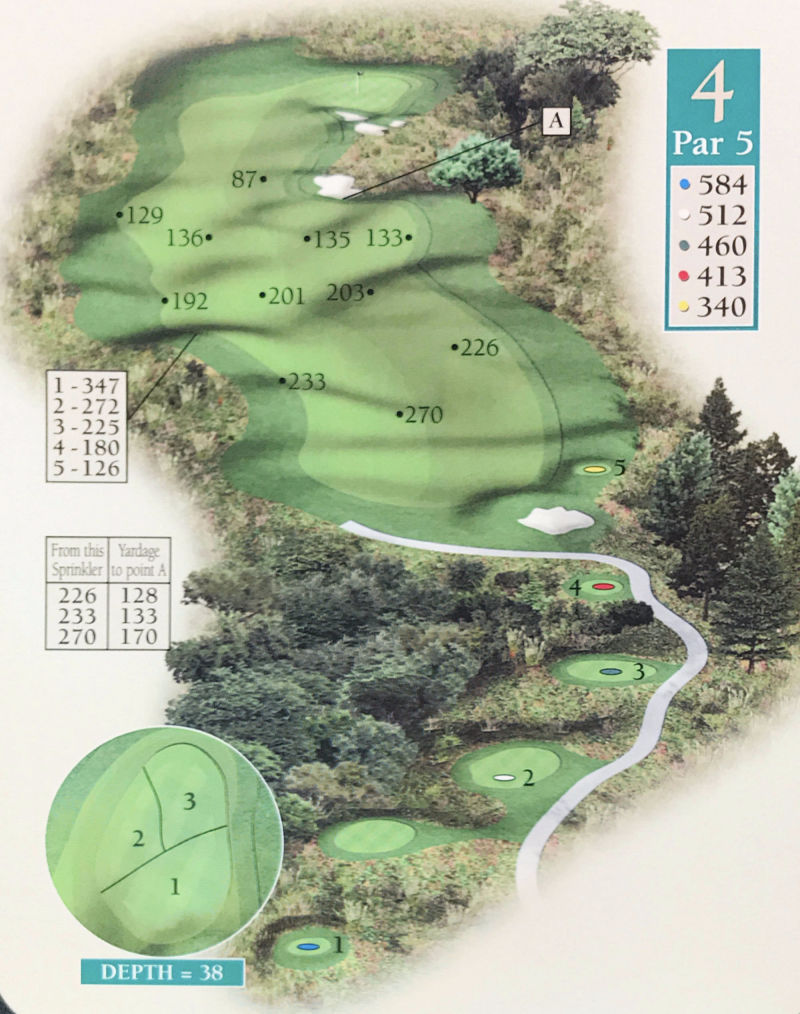
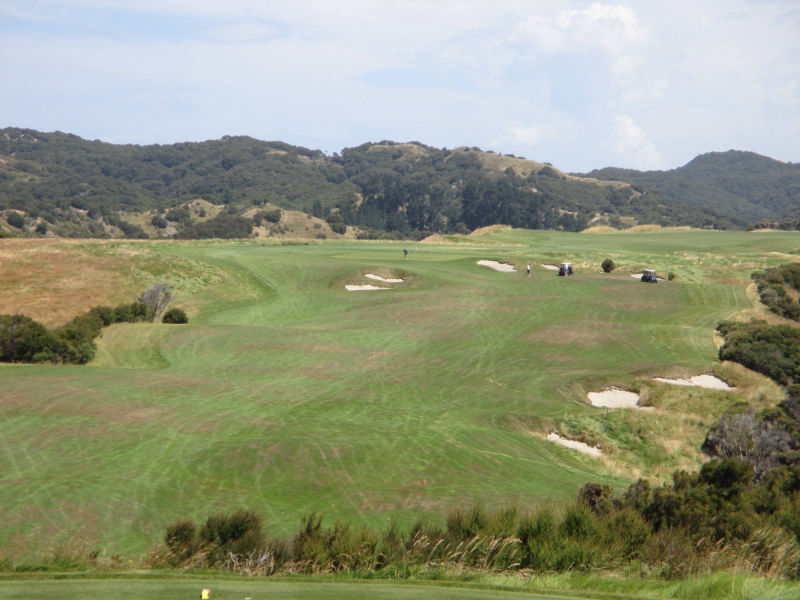
Par 5
(M) SI 10 (W) SI 11 - 青 584y 白 512y 緑 460y 赤 413y 黄 340y
Hole 4
Tee Ground
Fairway Second Shot
Fairway Third Shot
Green
course guide: Best Approach Publications (c)2016
Previous
Next
Close
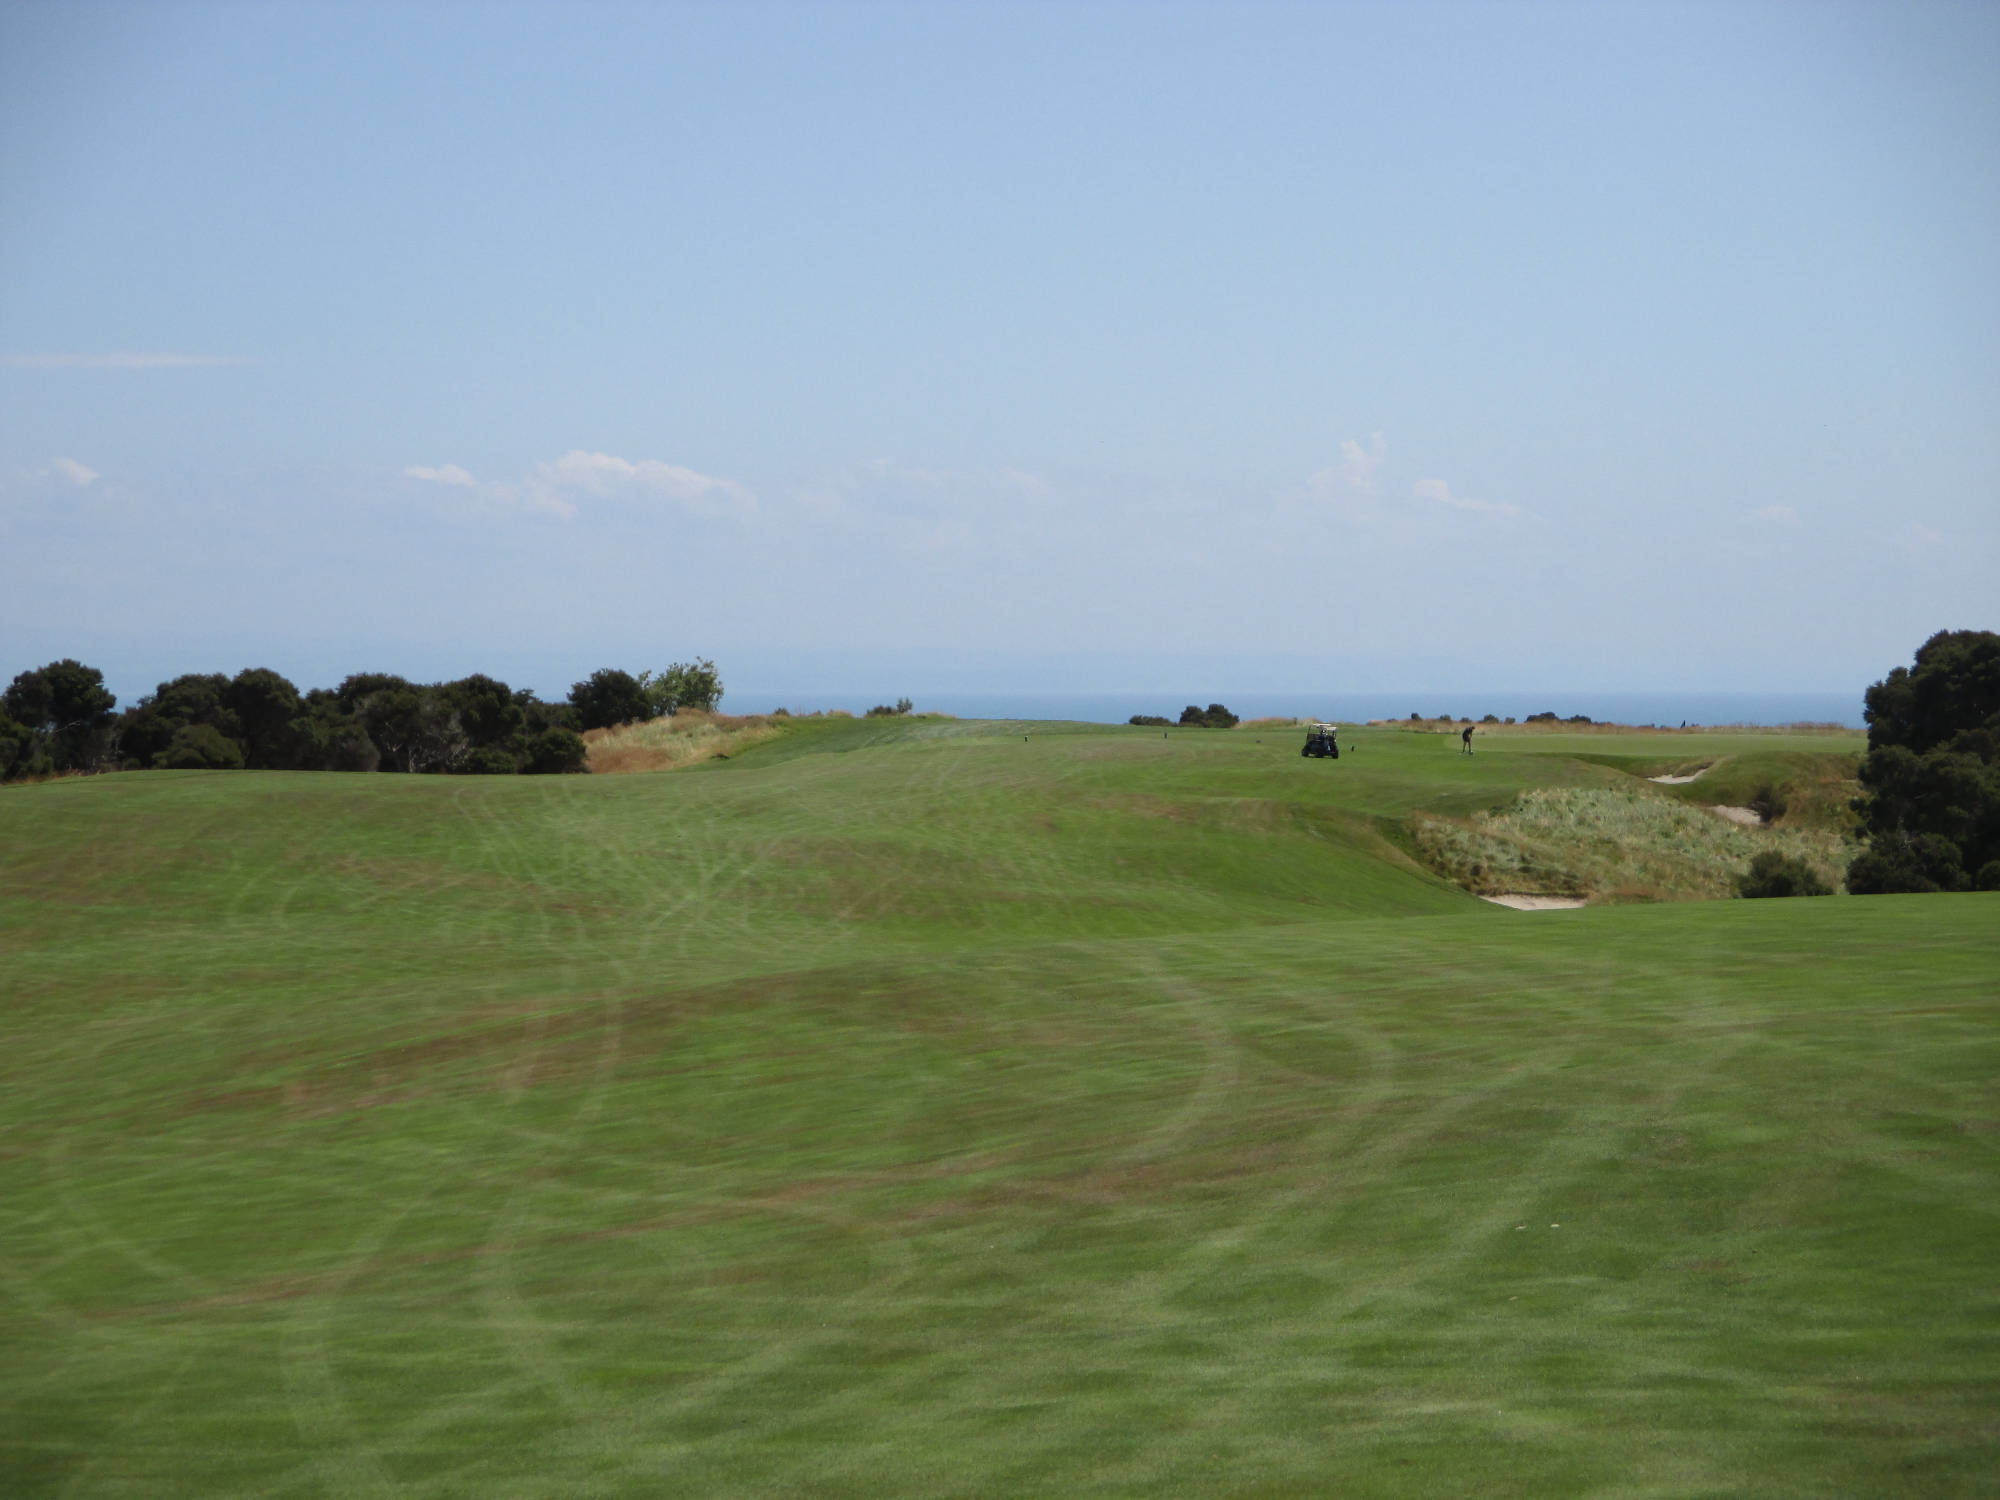
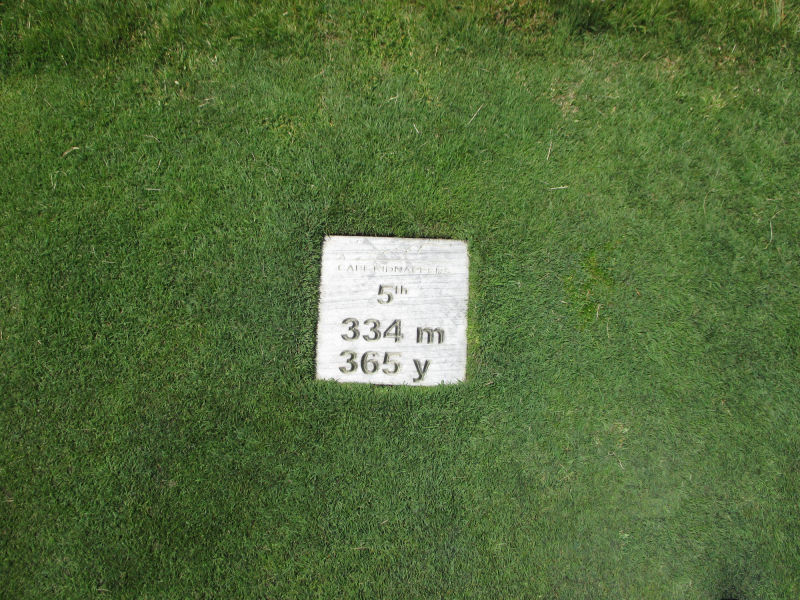
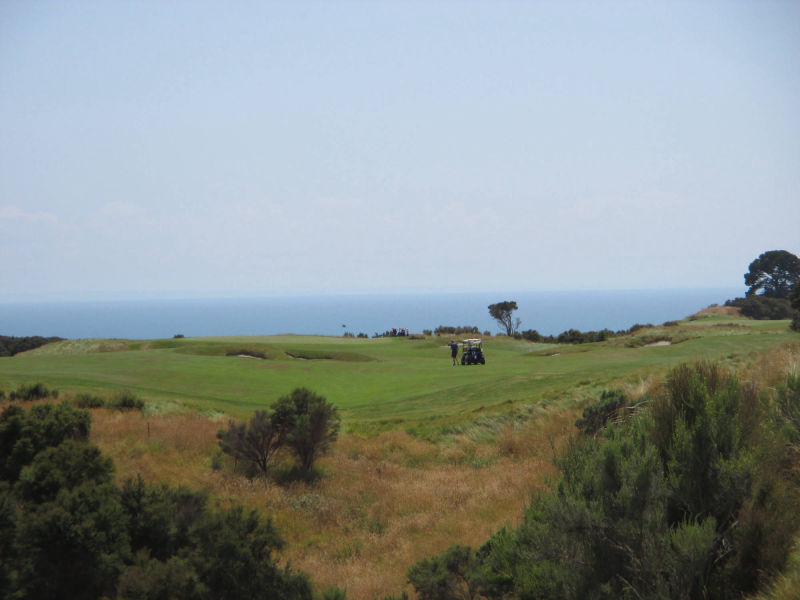
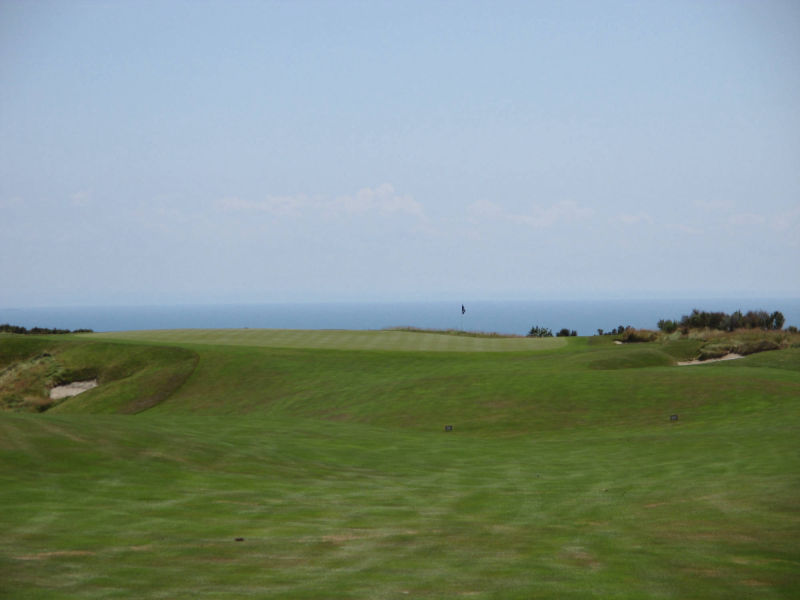
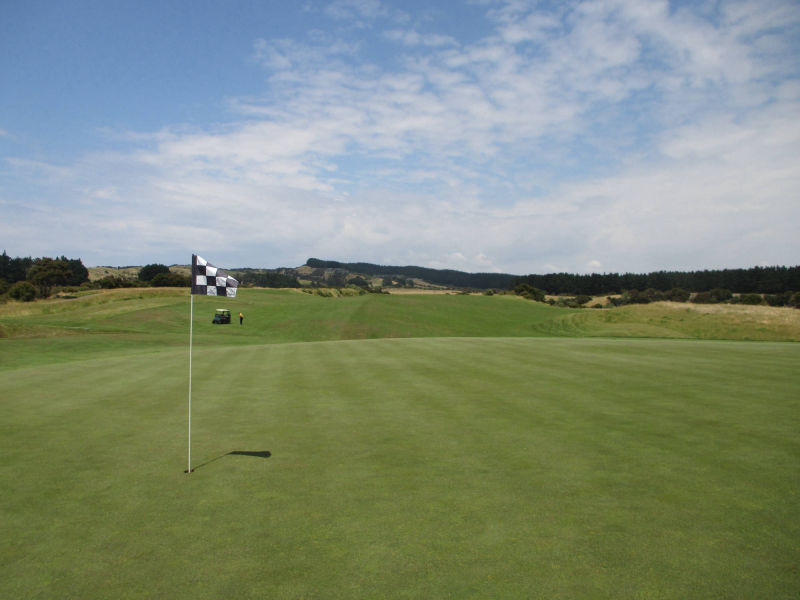
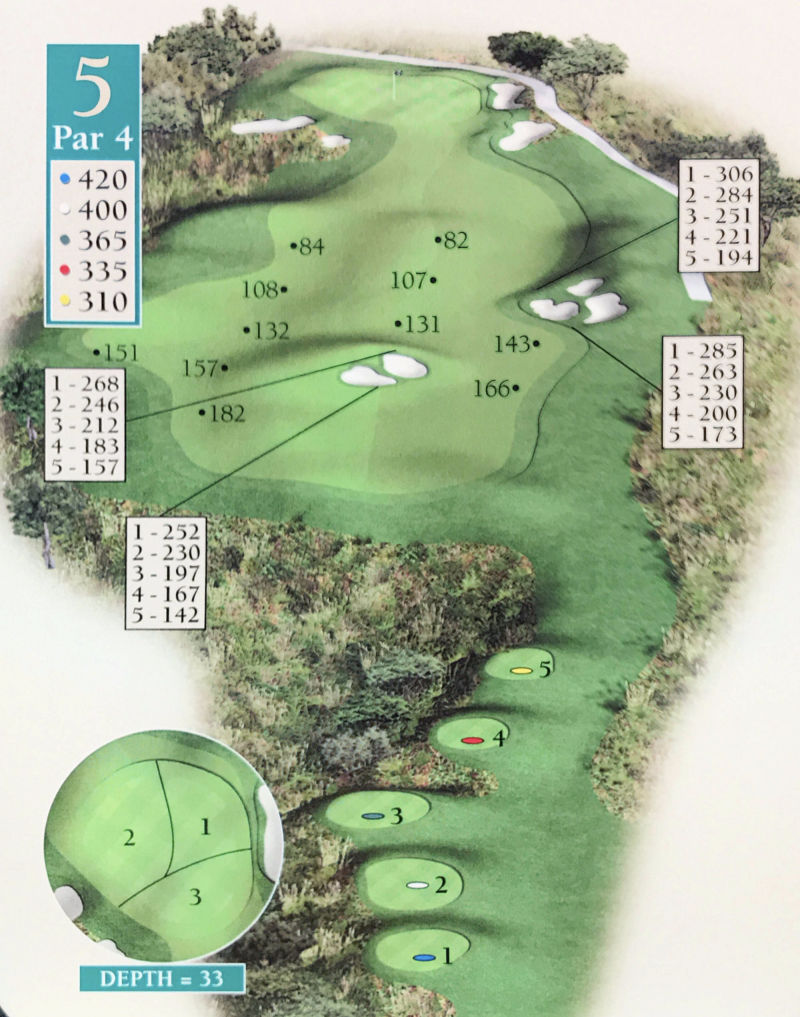
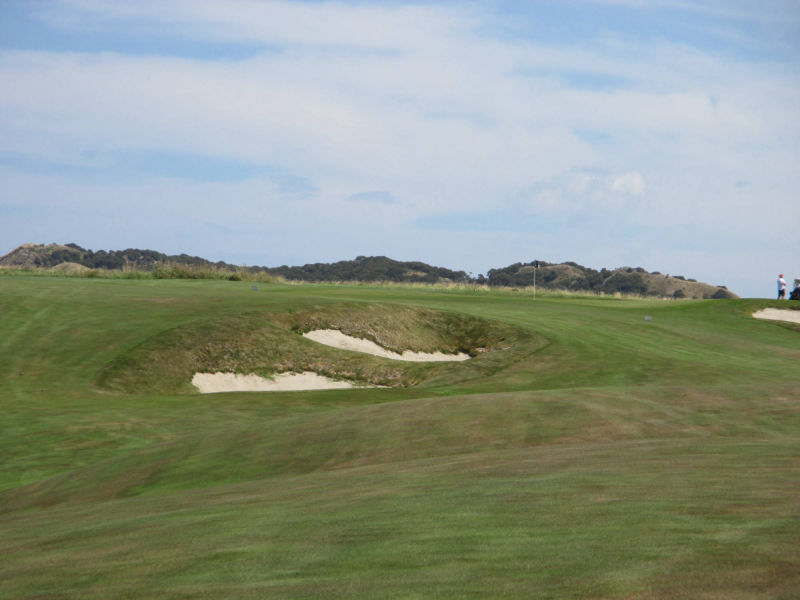
Par 4
(M) SI 6 (W) SI 1 - 青 420y 白 400y 緑 365y 赤 335y 黄 310y
Hole 5
Tee Ground
Fairway
Green
course guide: Best Approach Publications (c)2016
Previous
Next
Close
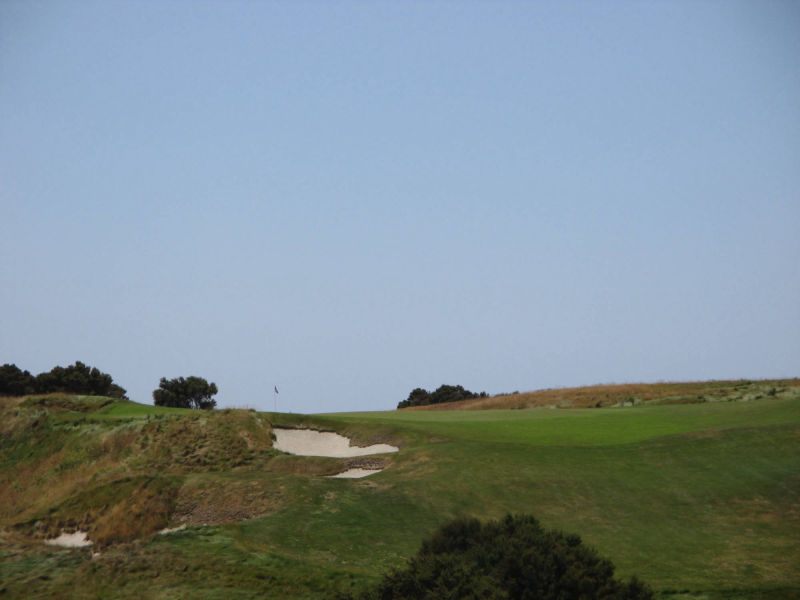
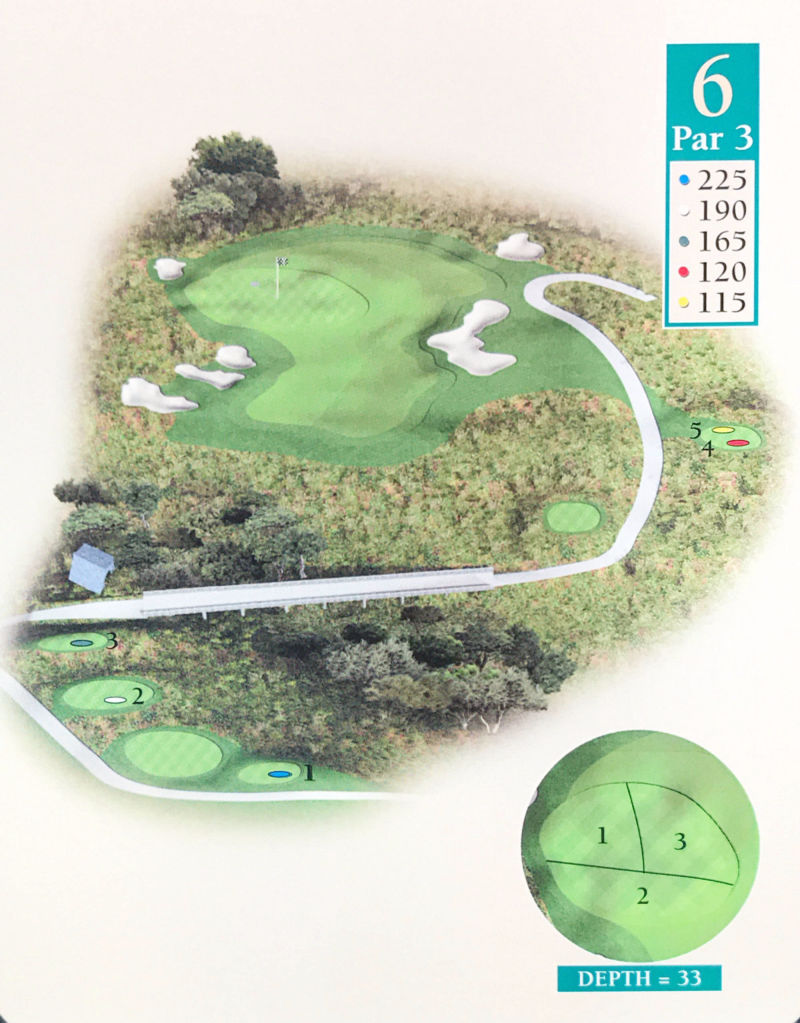
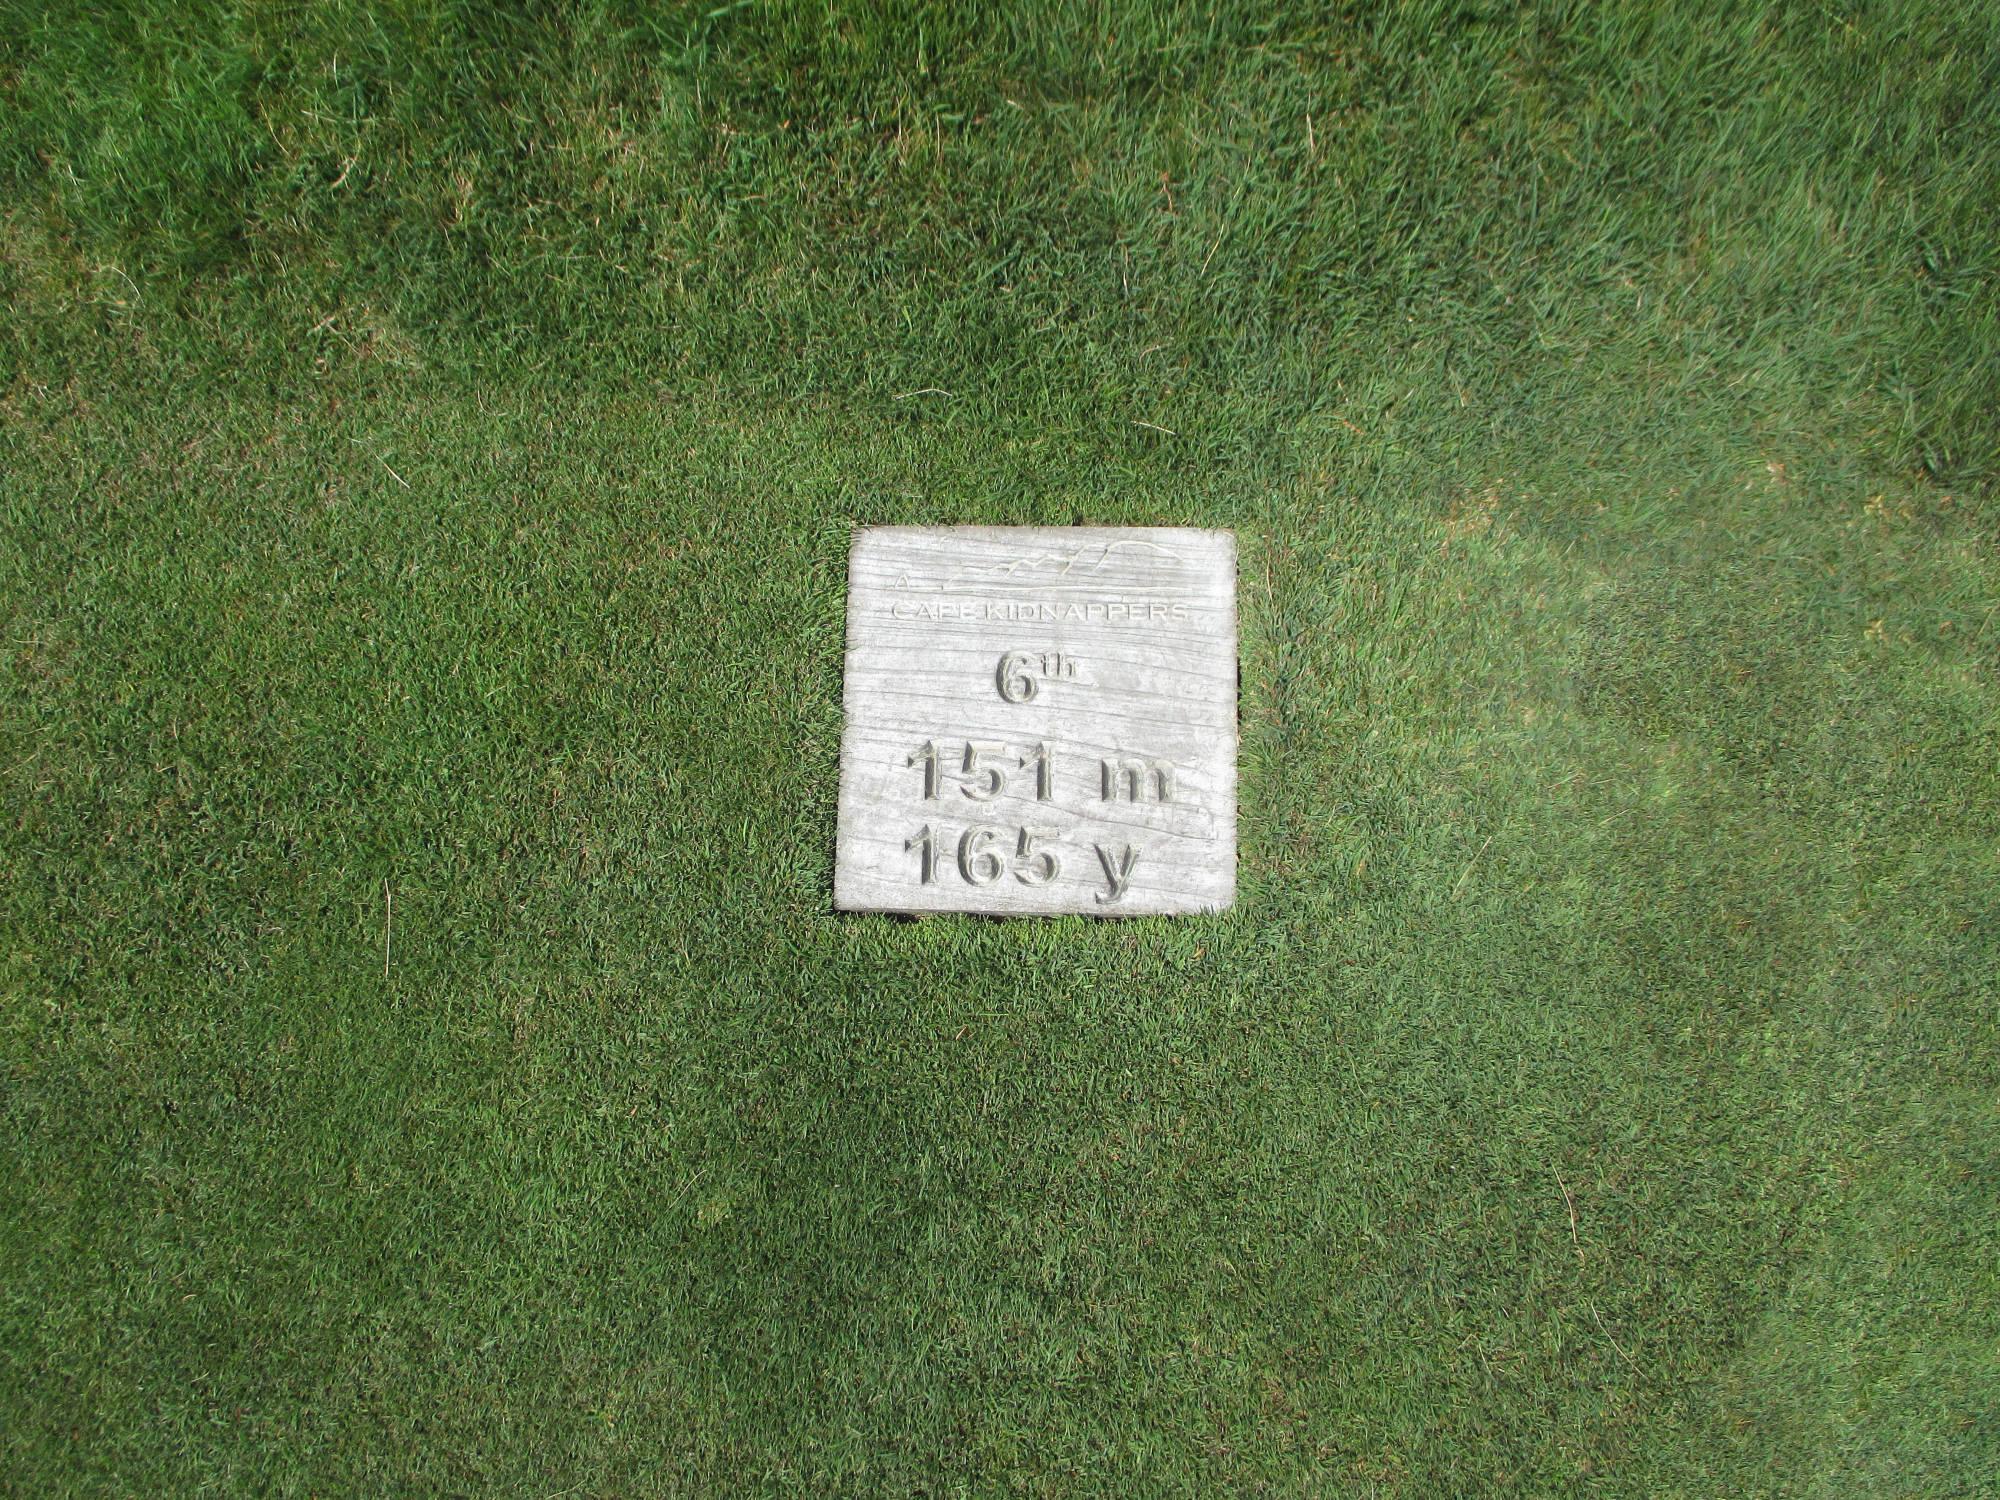
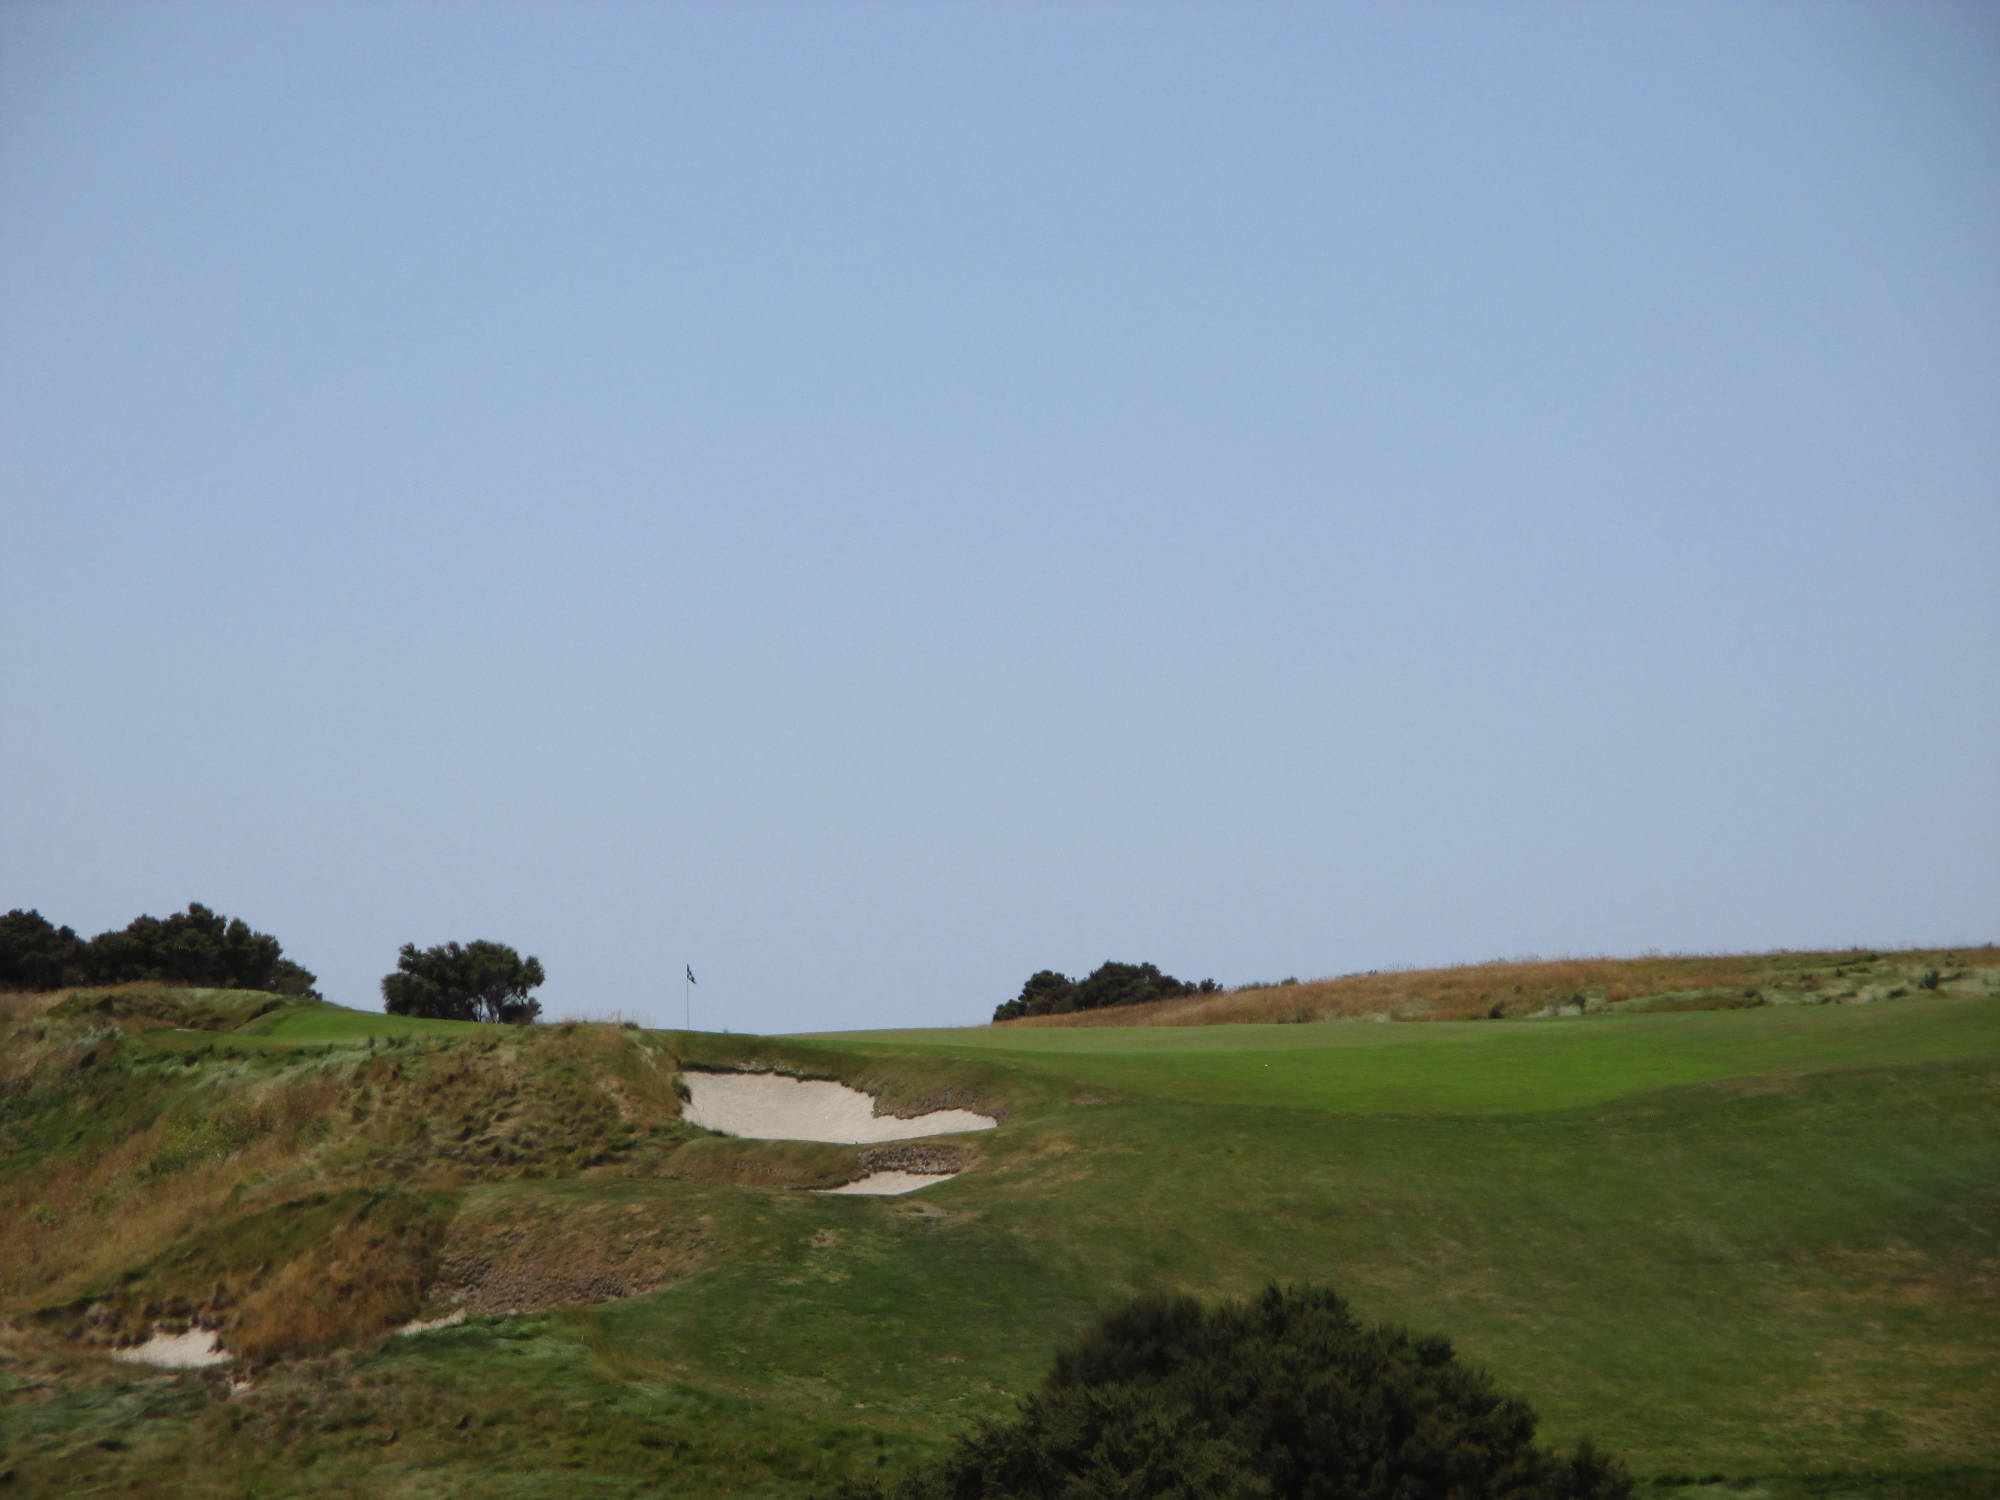
Par 3
(M) SI 4 (W) SI 7 - 青 225y 白 190y 緑 165y 赤 120y 黄 115y
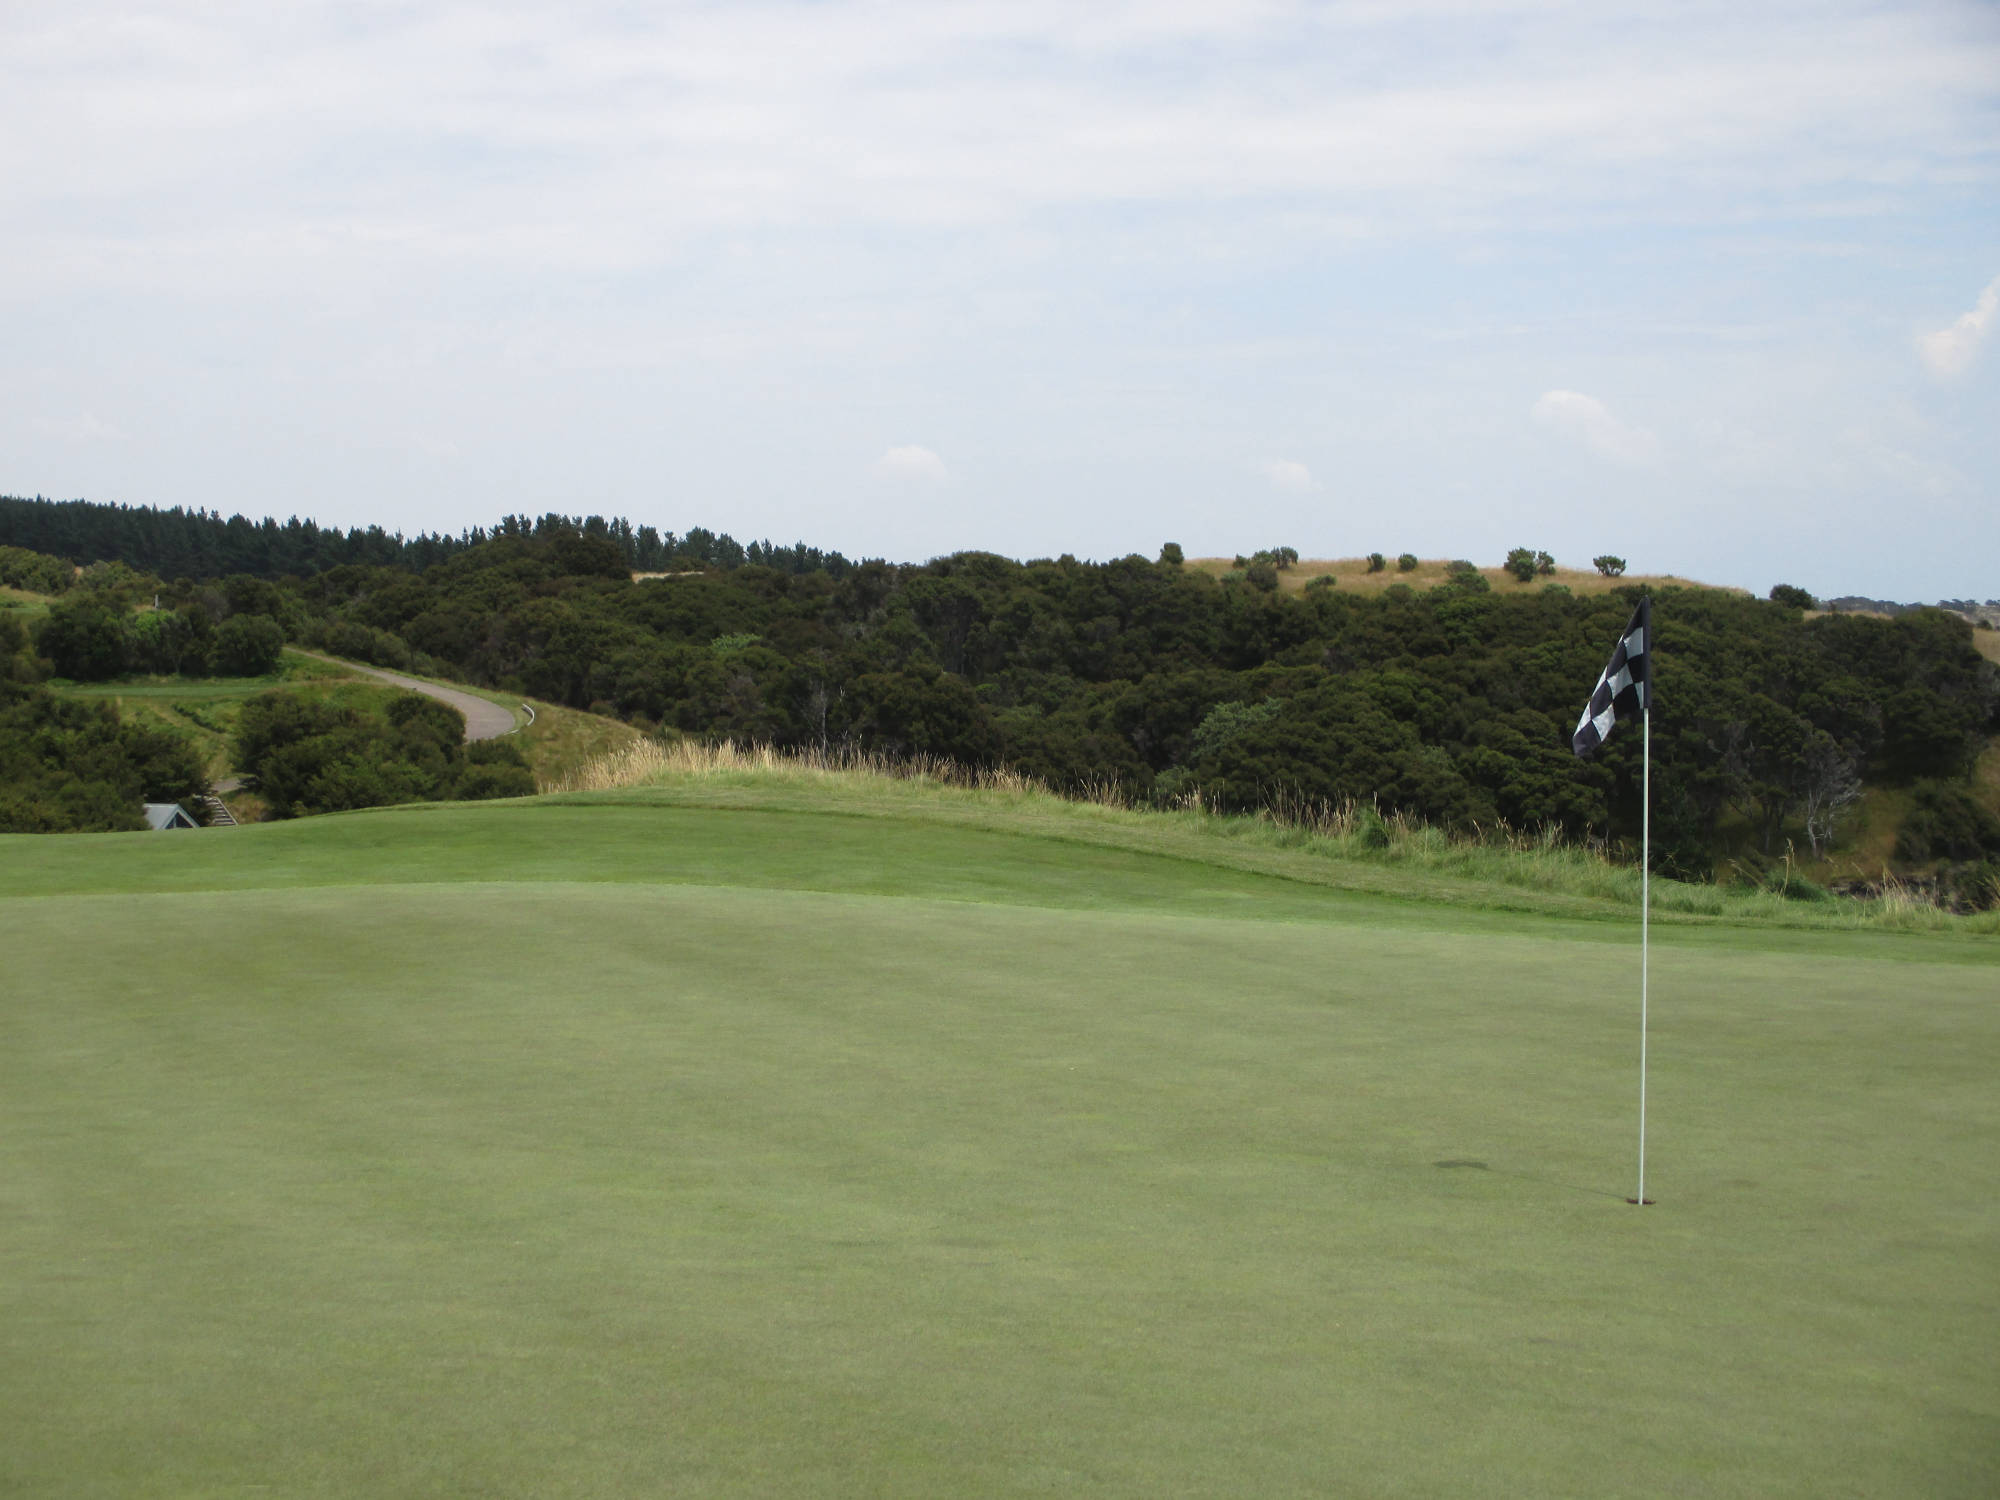
Hole 6
Tee Ground
Green
course guide: Best Approach Publications (c)2016
Previous
Next
Close
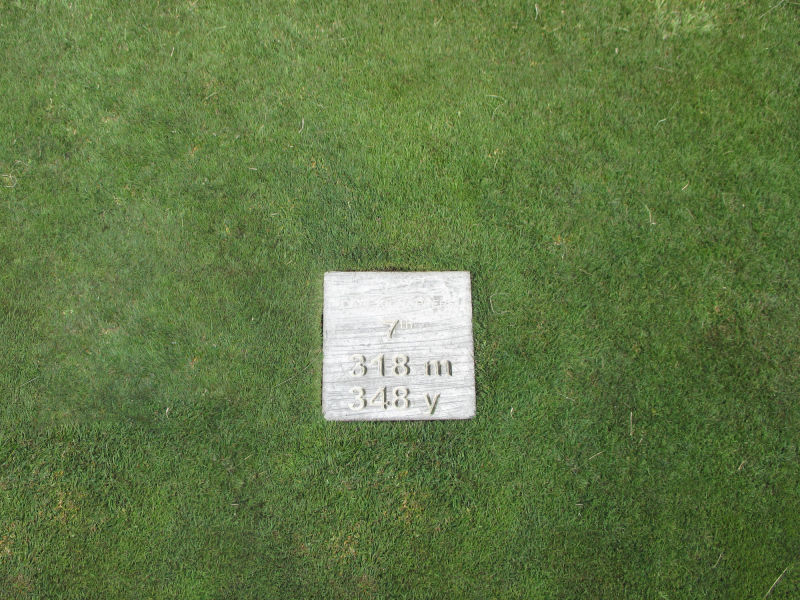
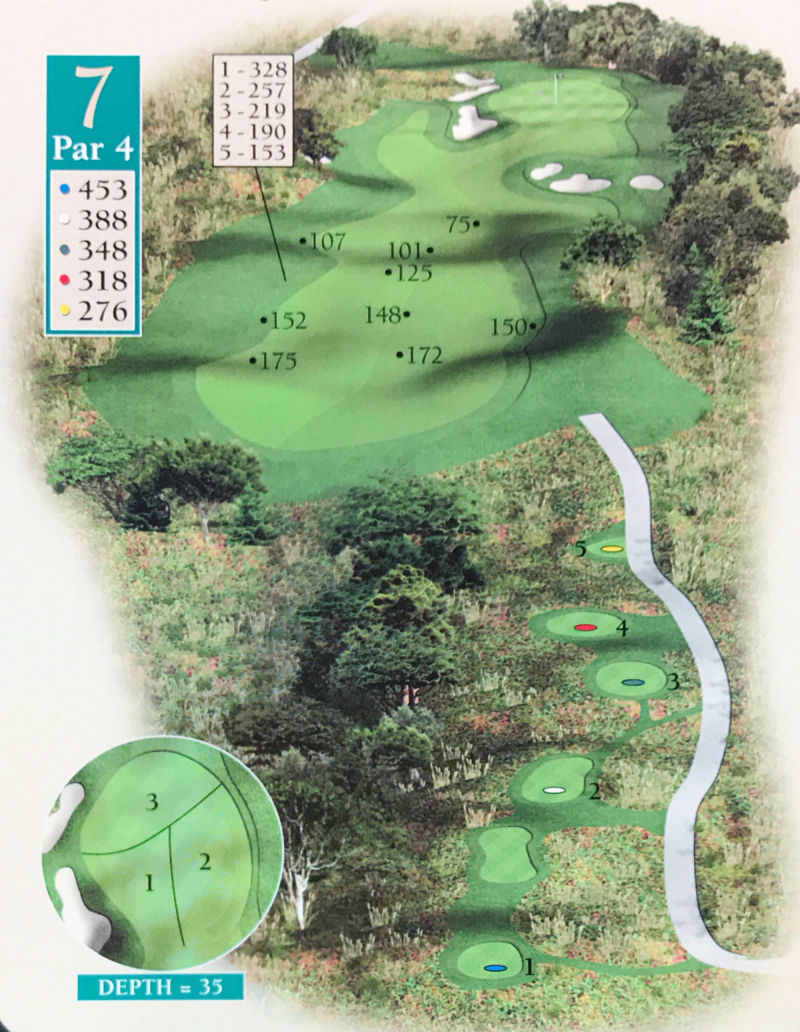
Par 4
(M) SI 2 (W) SI 3 - 青 453y 白 388y 緑 348y 赤 318y 黄 276y
Hole 7
Tee Ground
Fairway
course guide: Best Approach Publications (c)2016
Previous
Next
Close
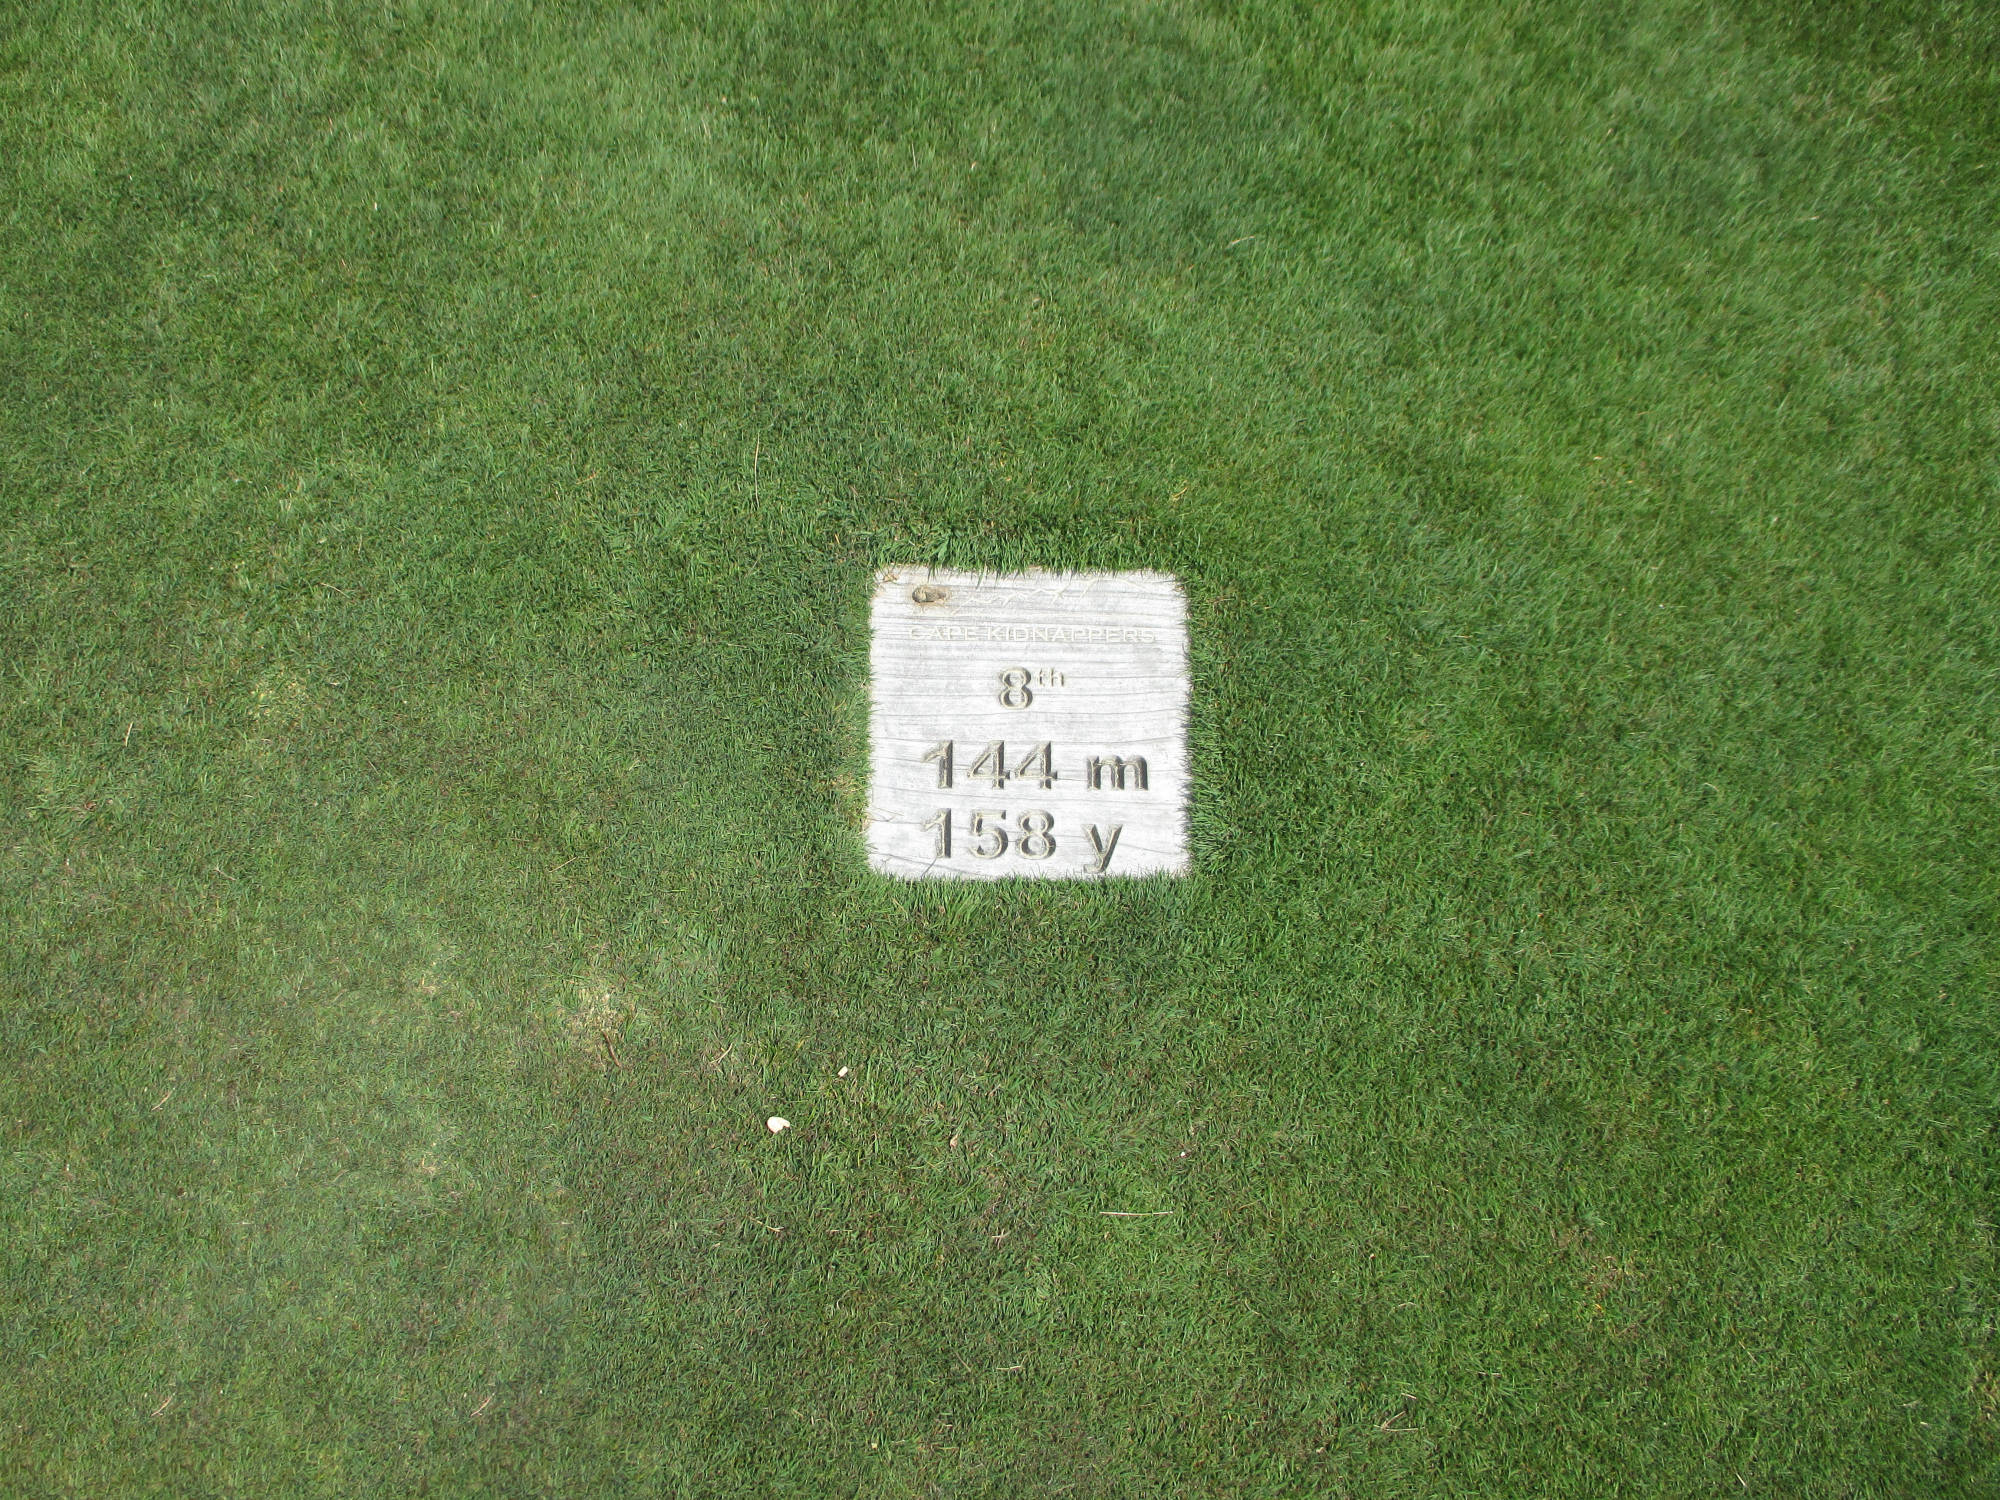
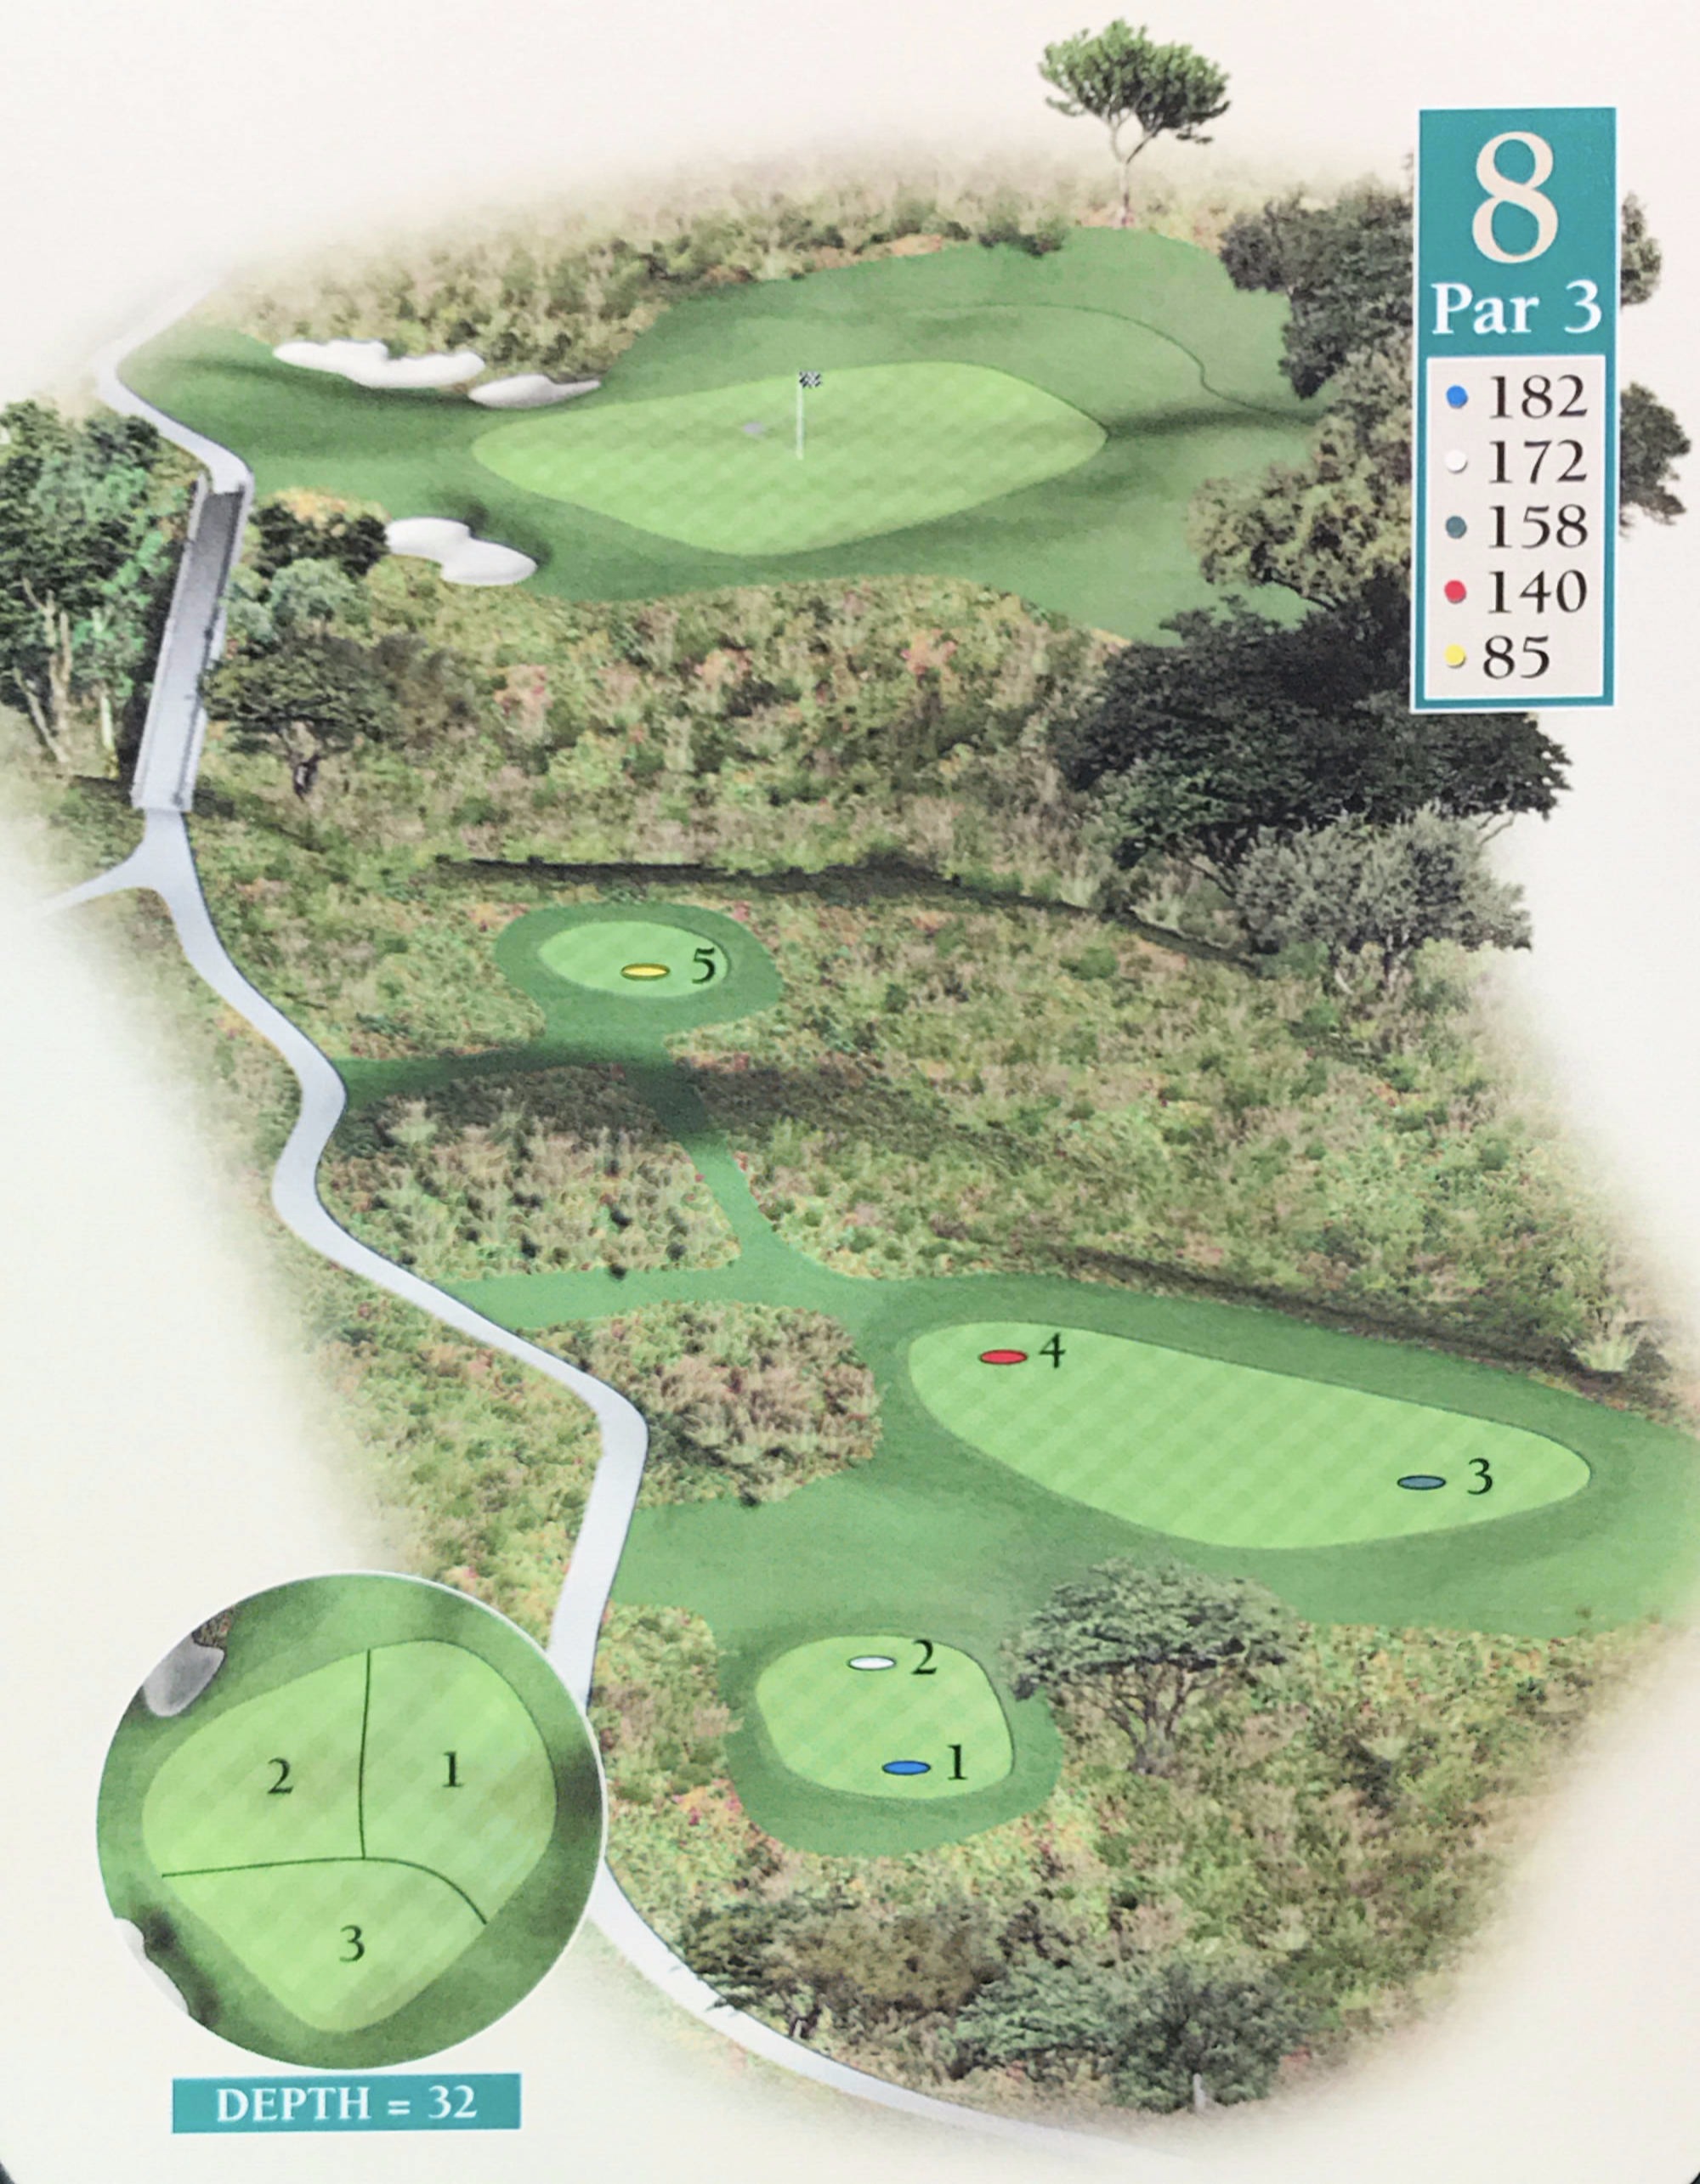
Par 3
(M) SI 14 (W) SI 17 - 青 182y 白 172y 緑 158y 赤 140y 黄 85y
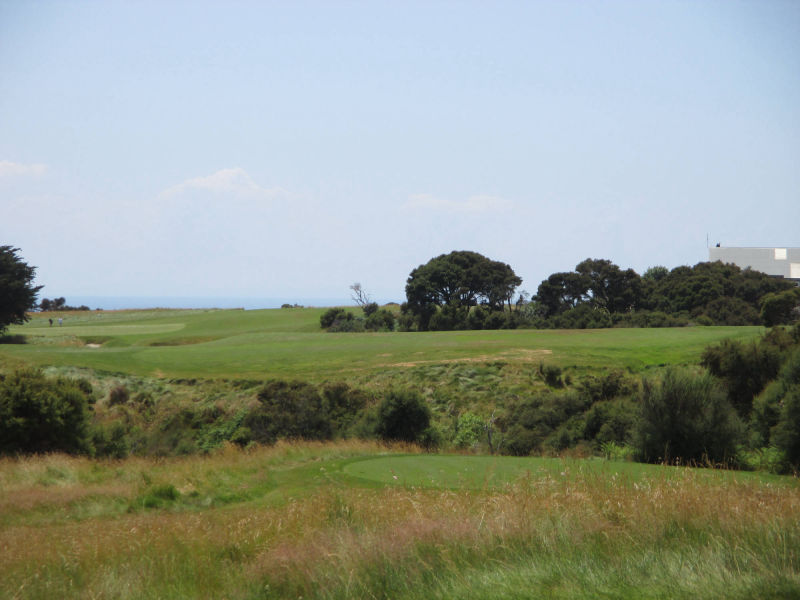
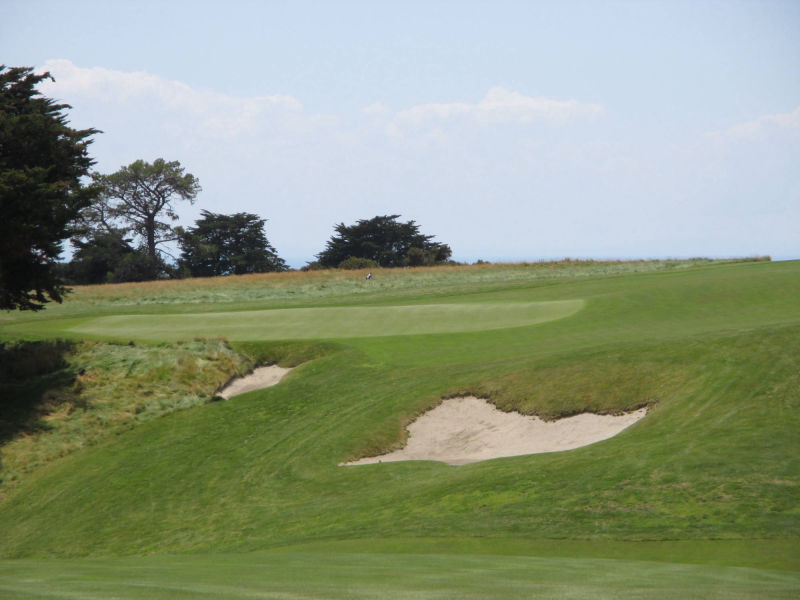
Hole 8
Tee Ground
Green
cours
e guide: Best Approach Publications (c)2016
Previous
Next
Close
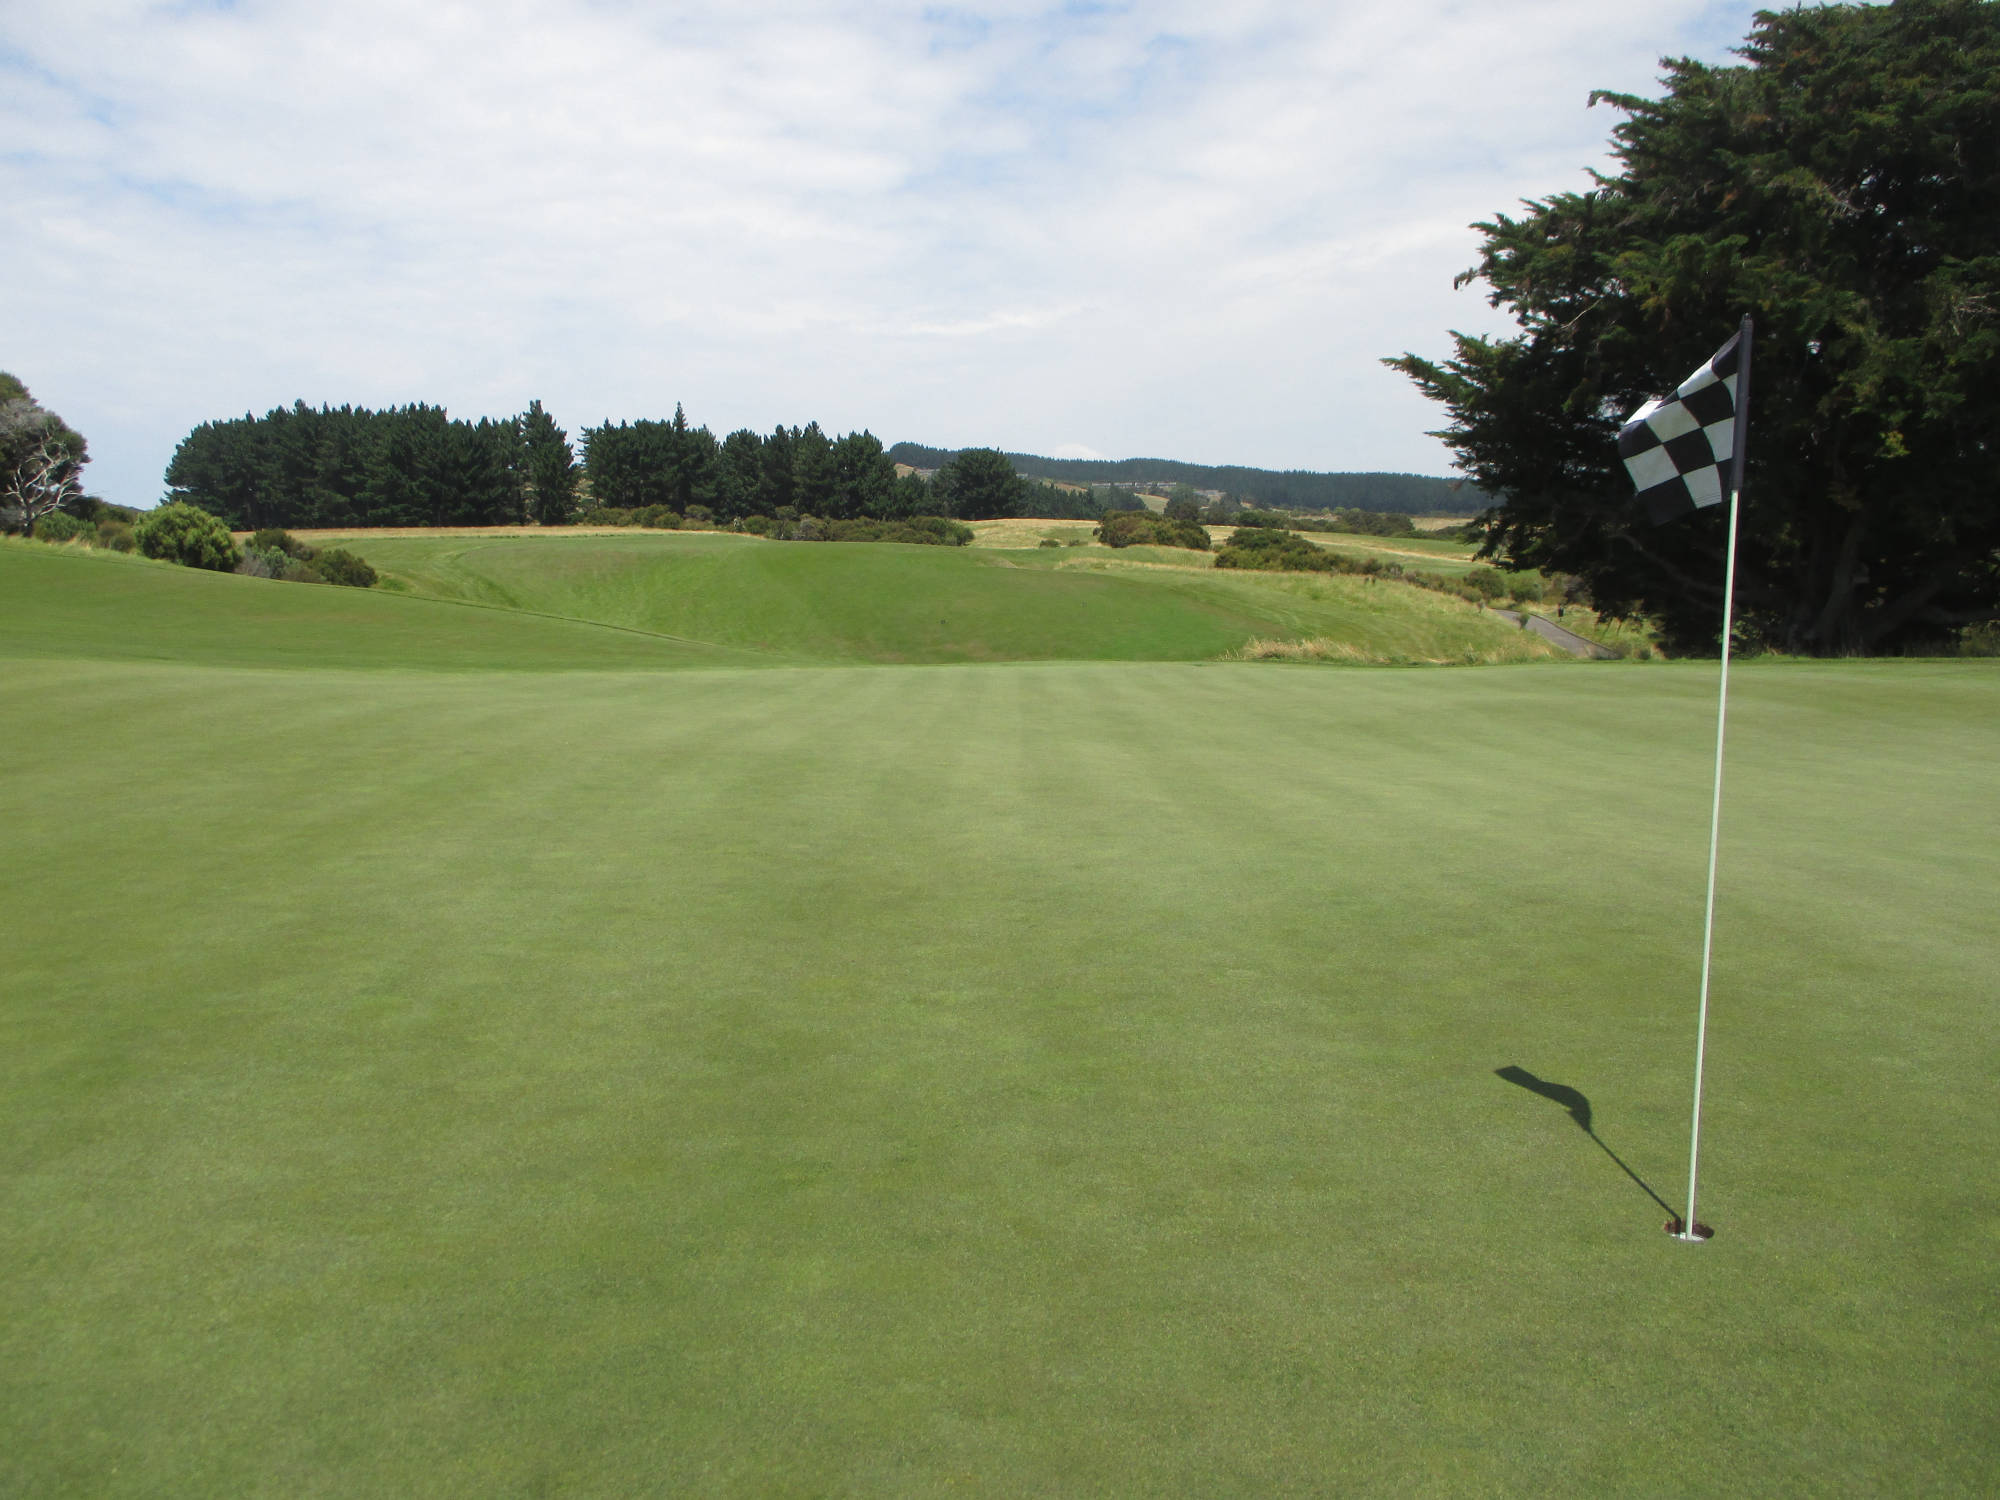
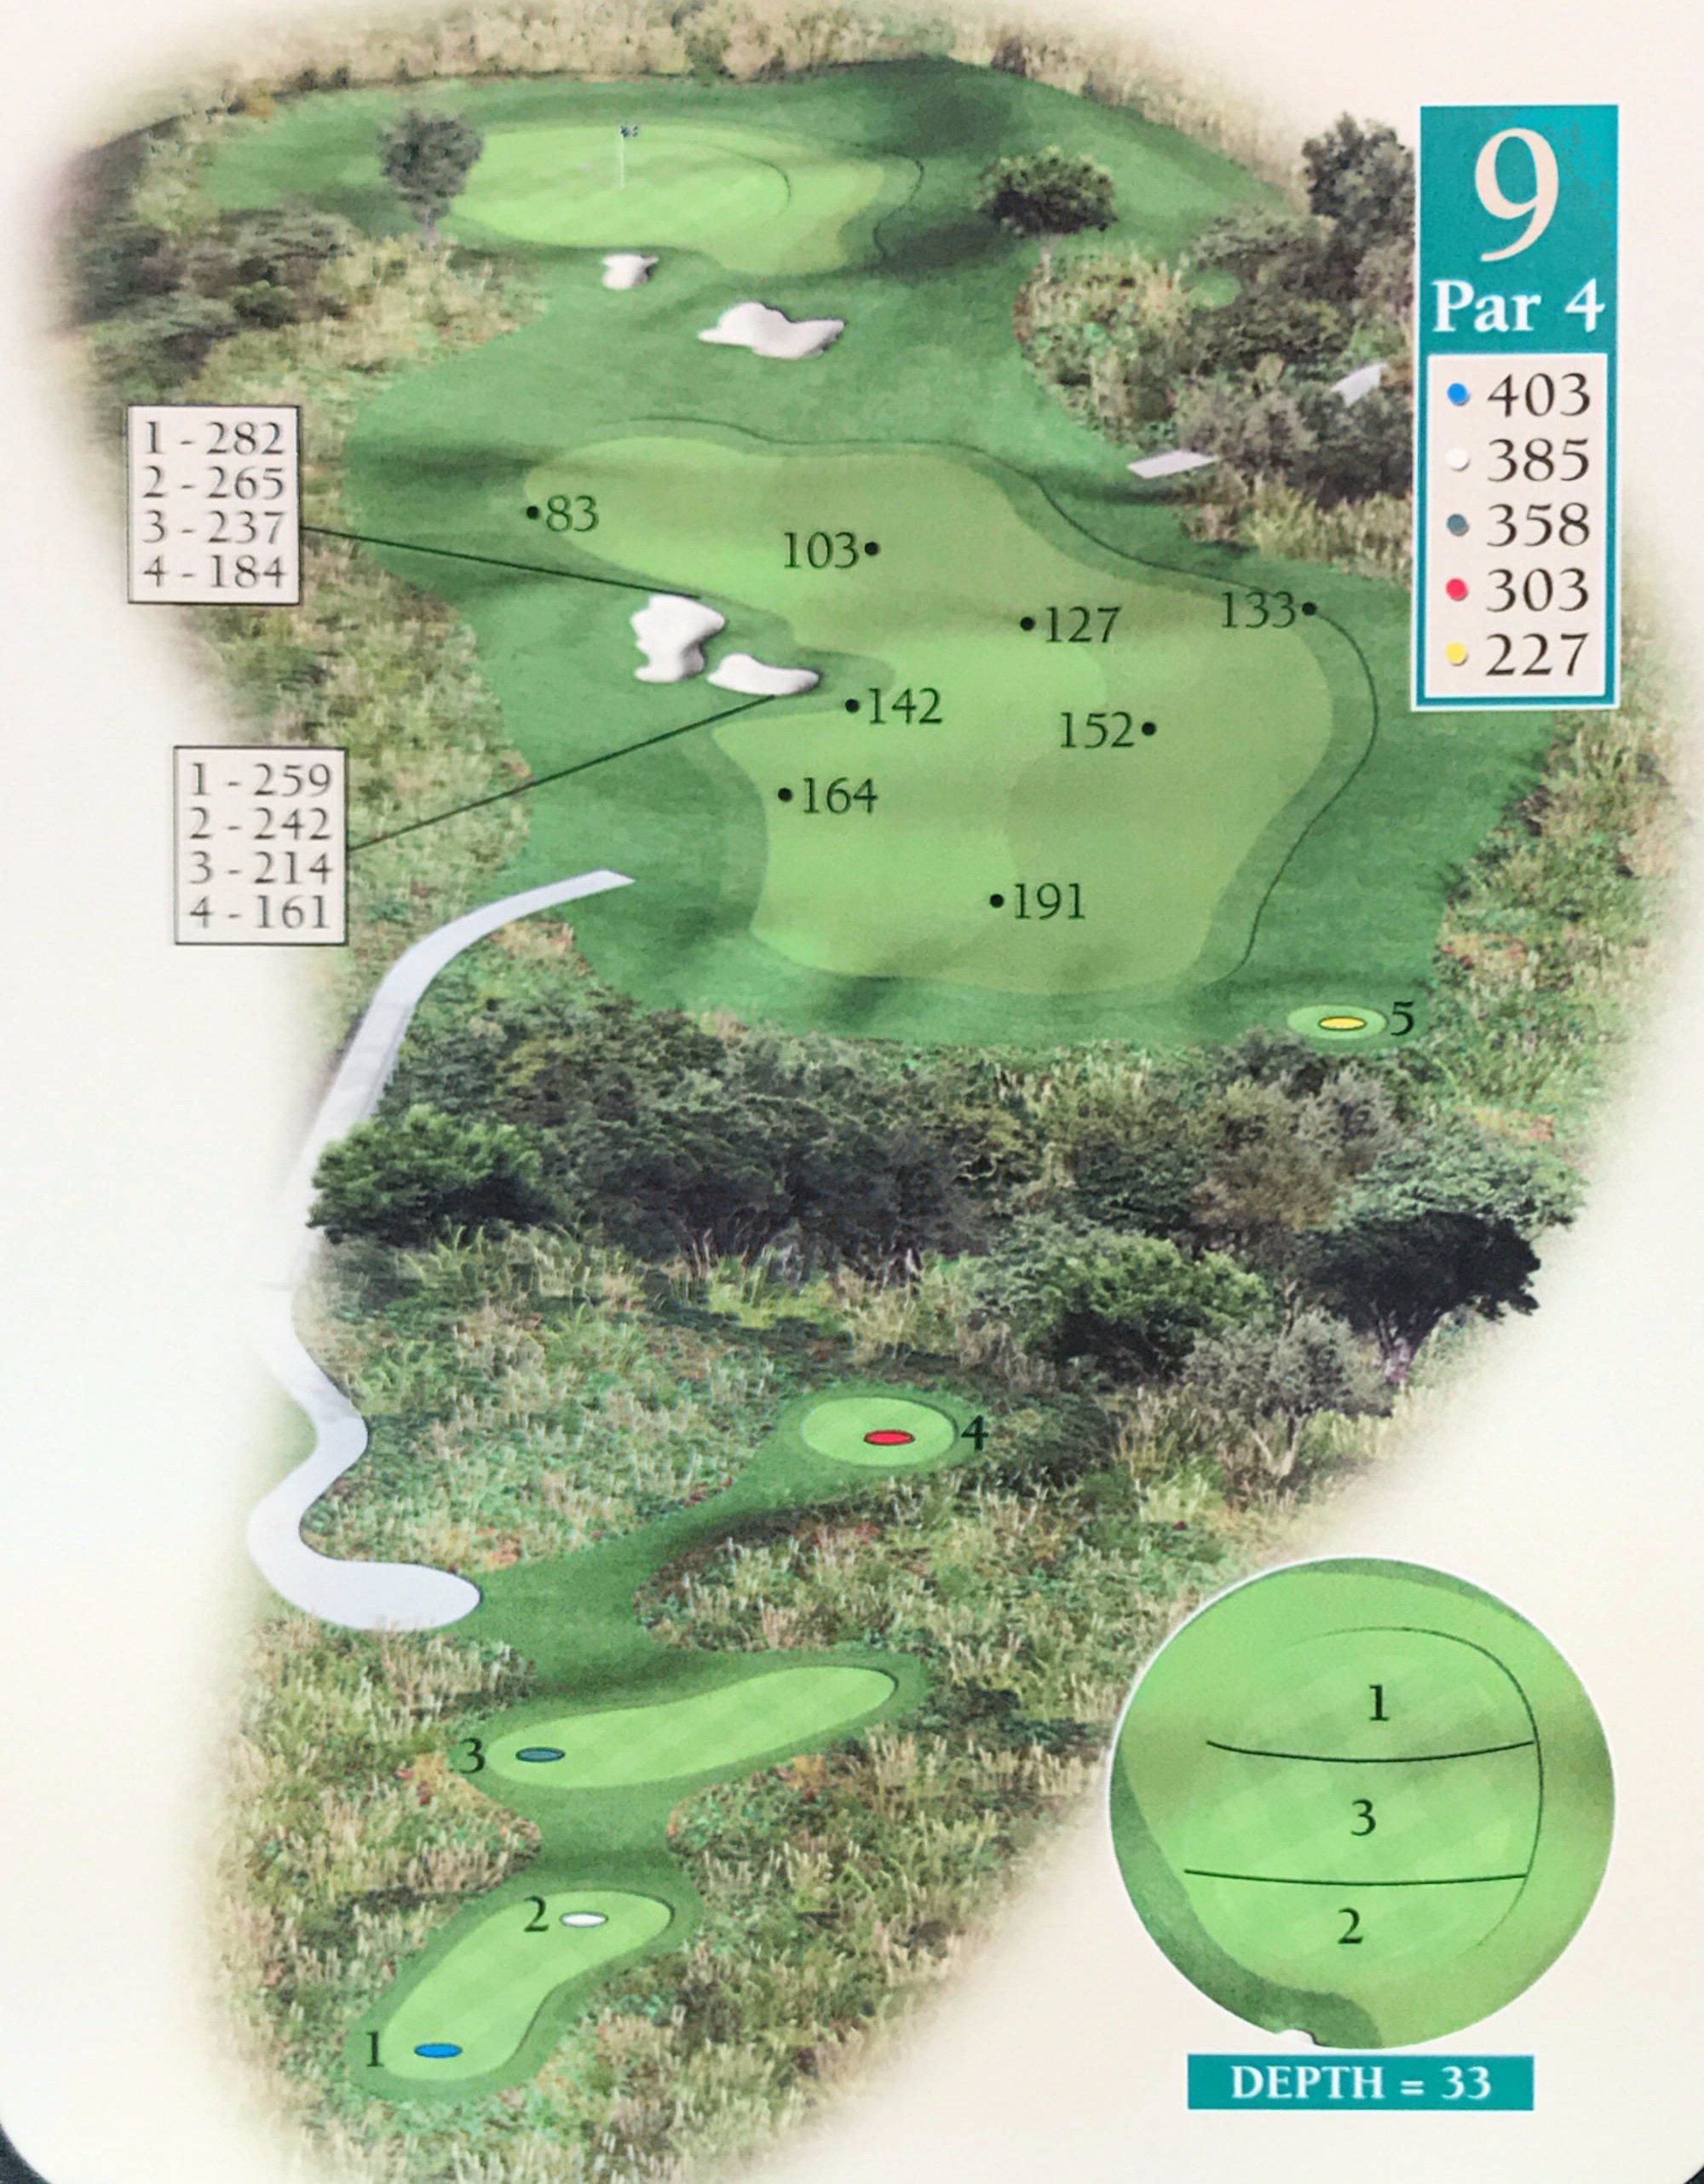
Par 4
(M) SI 12 (W) SI 5 - 青 403y 白 385y 緑 358y 赤 303y 黄 227y
Hole 9
Tee Ground
Fairway
Green
course guide: Best Approach Publications (c)2016
Previous
Next
Close
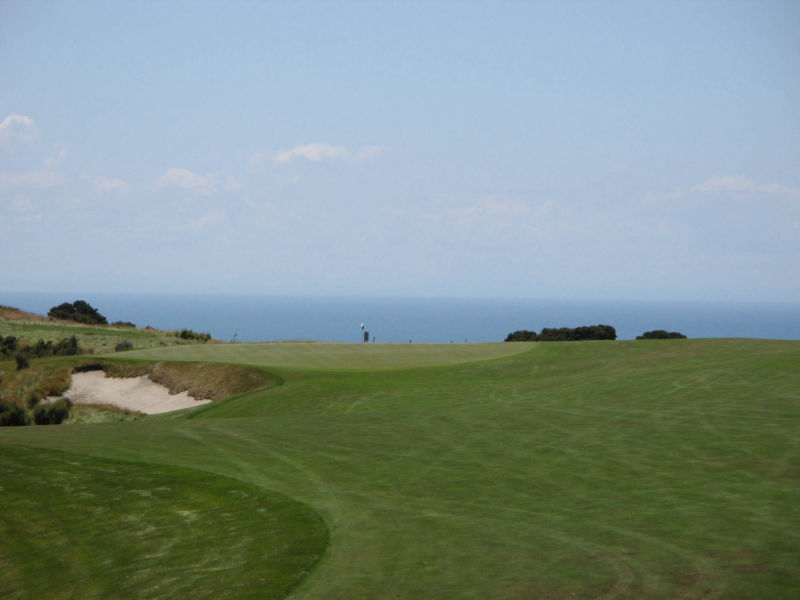
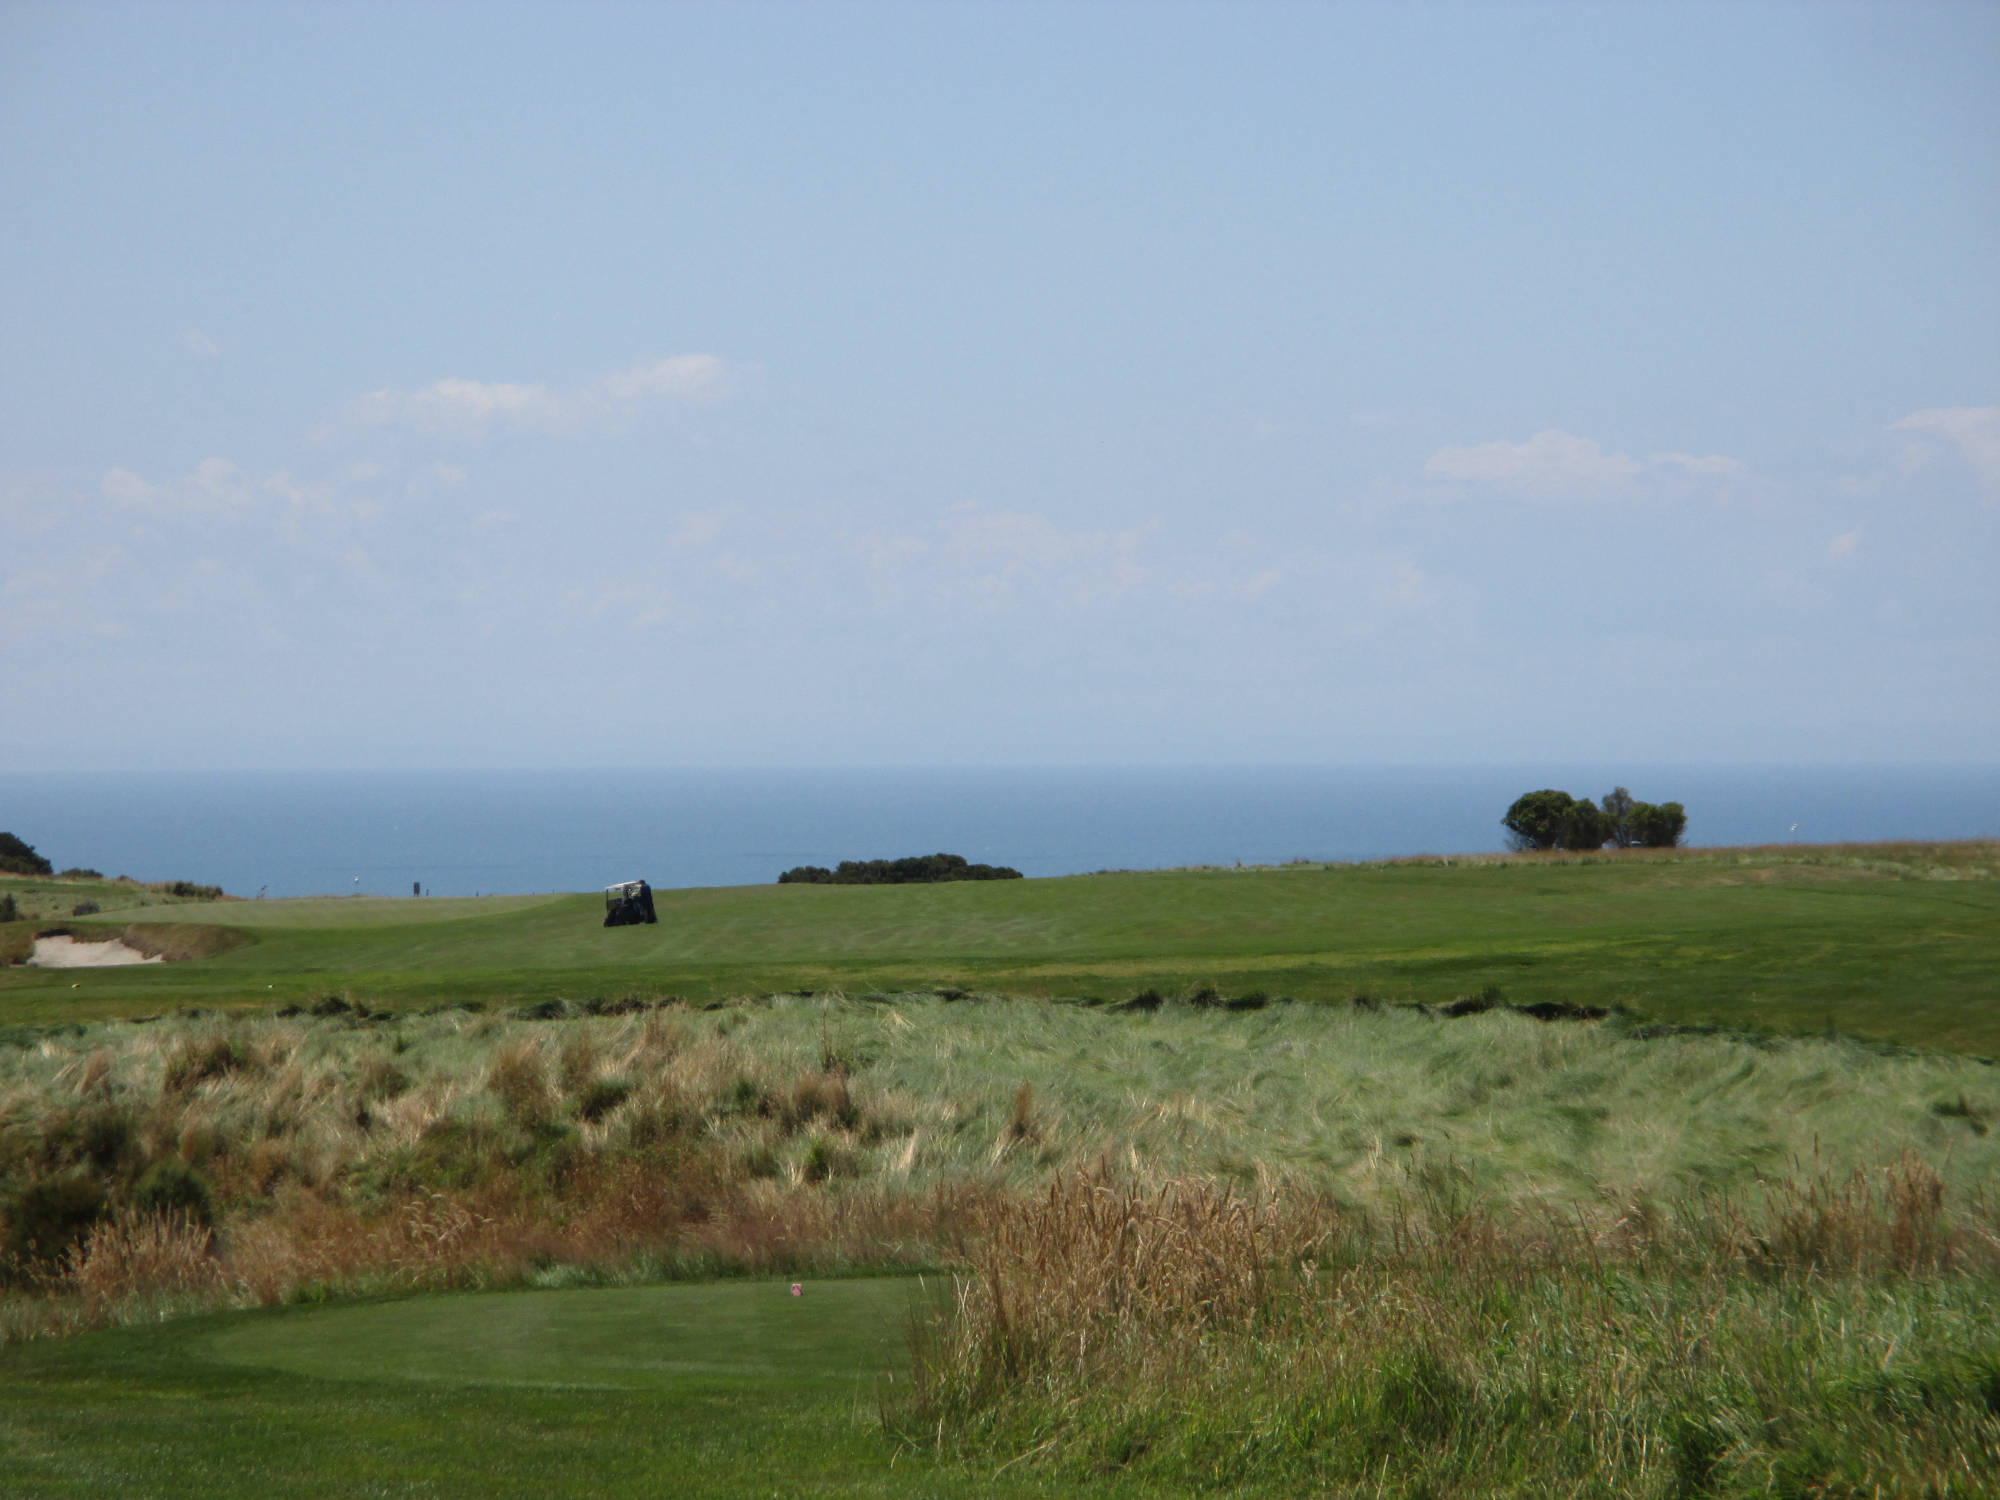
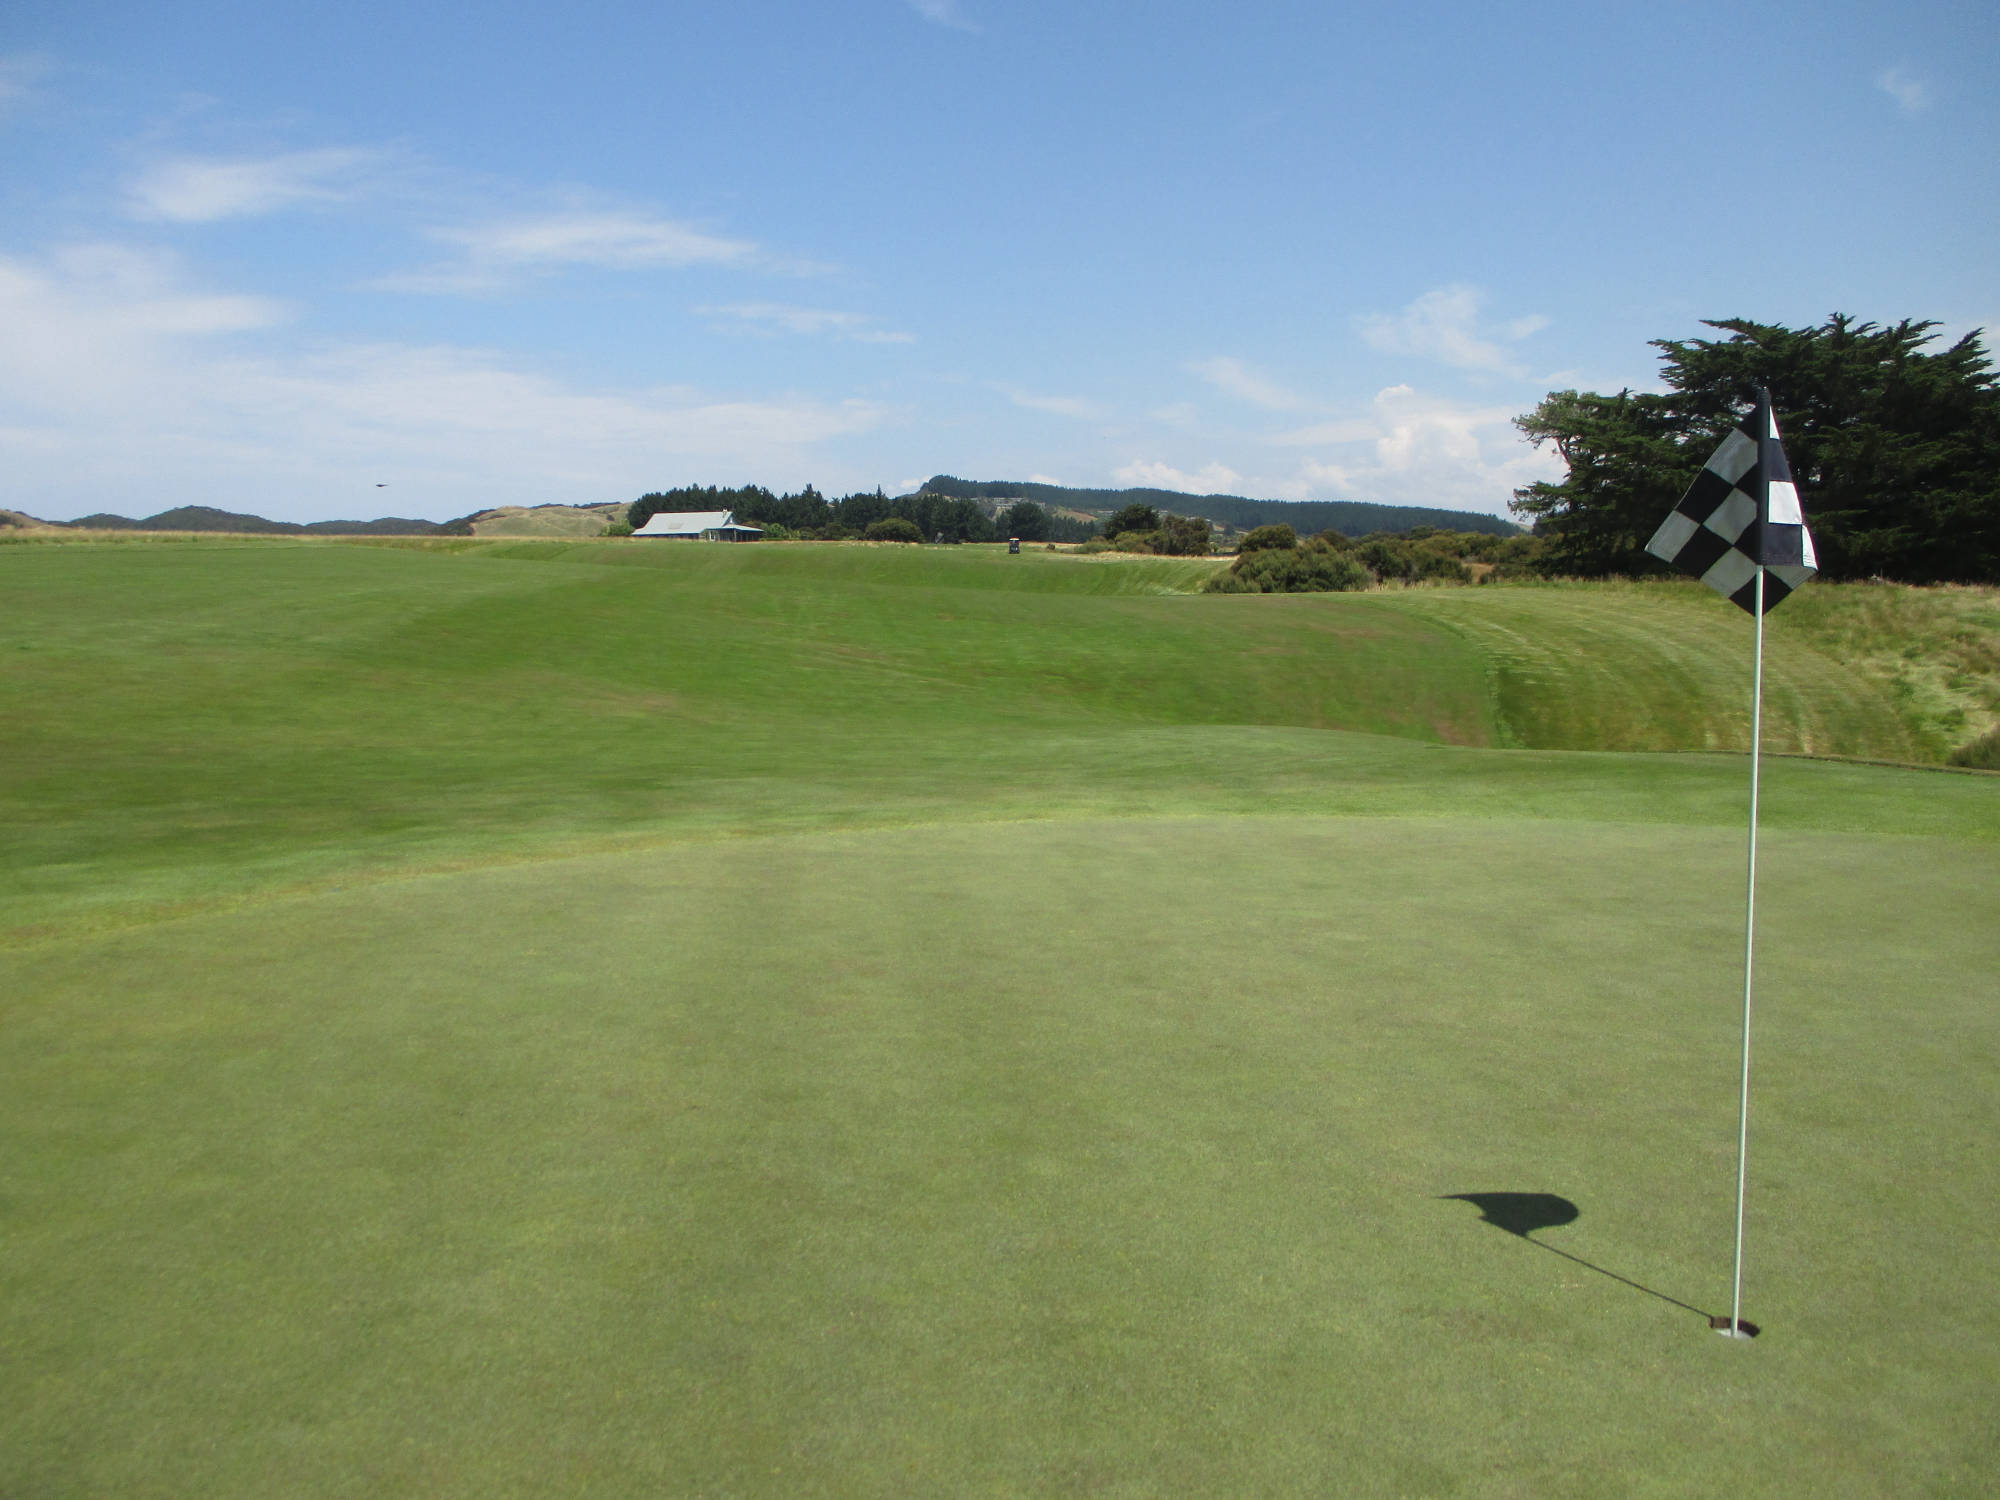
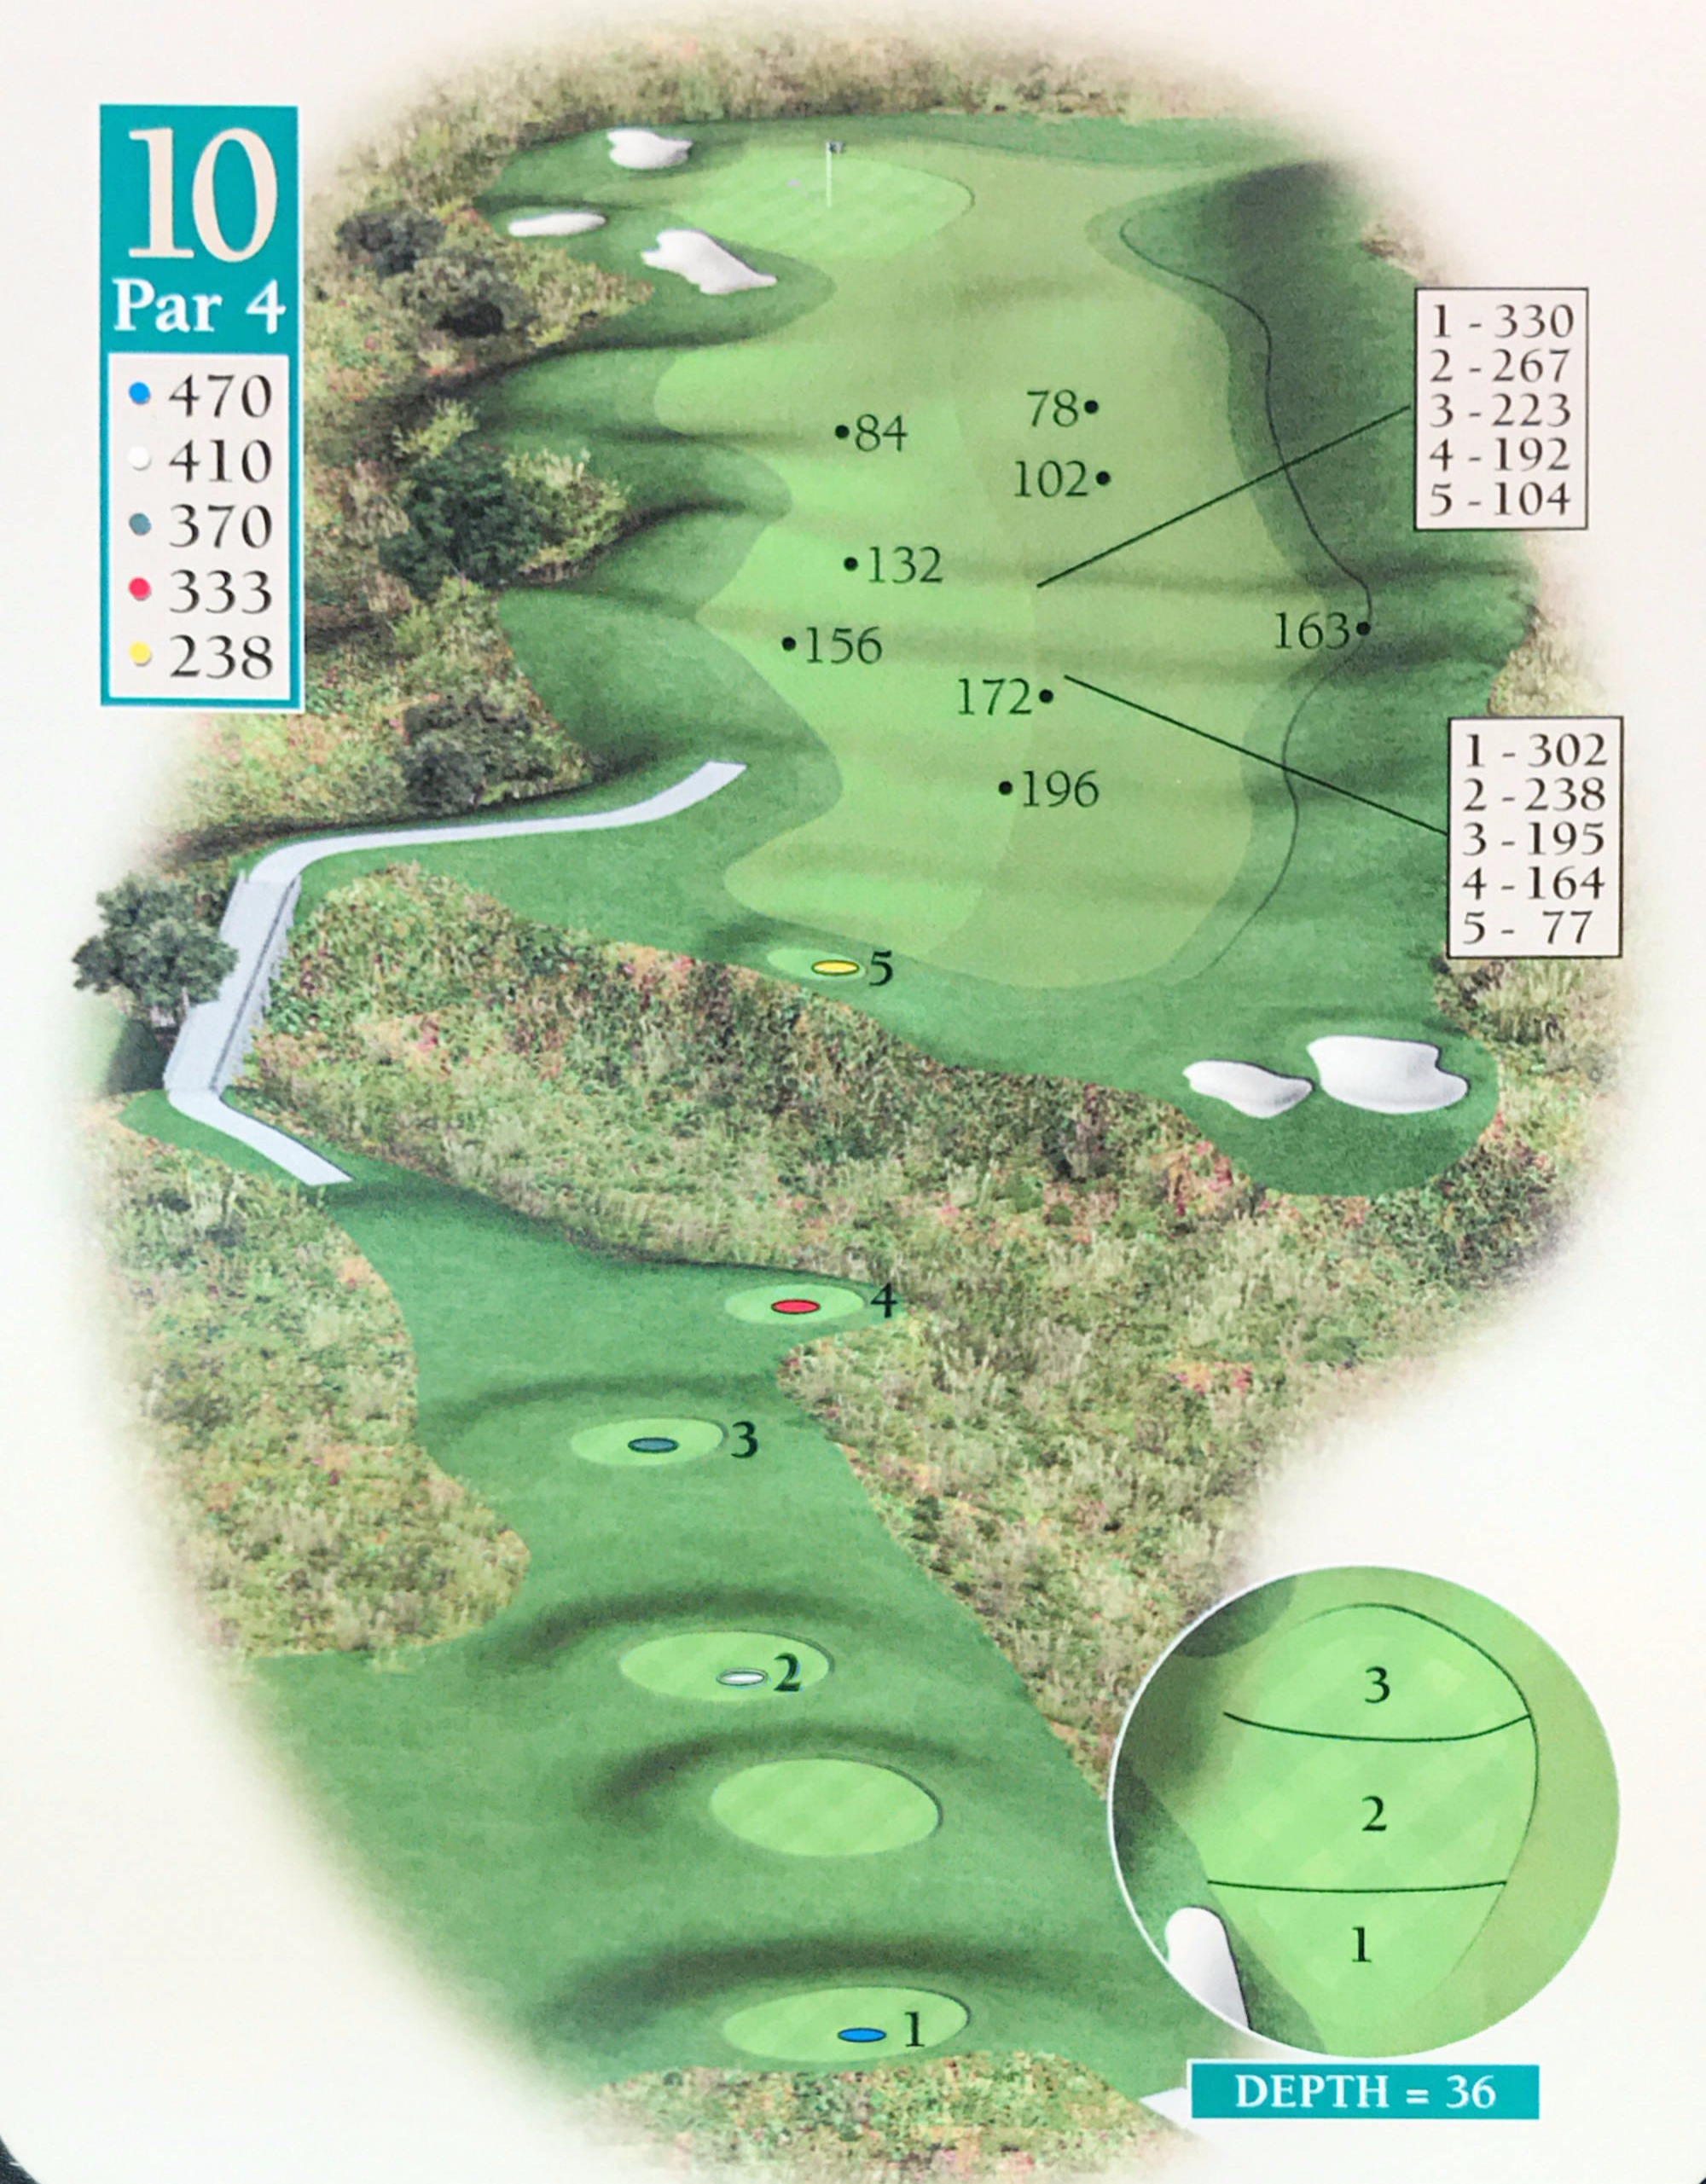
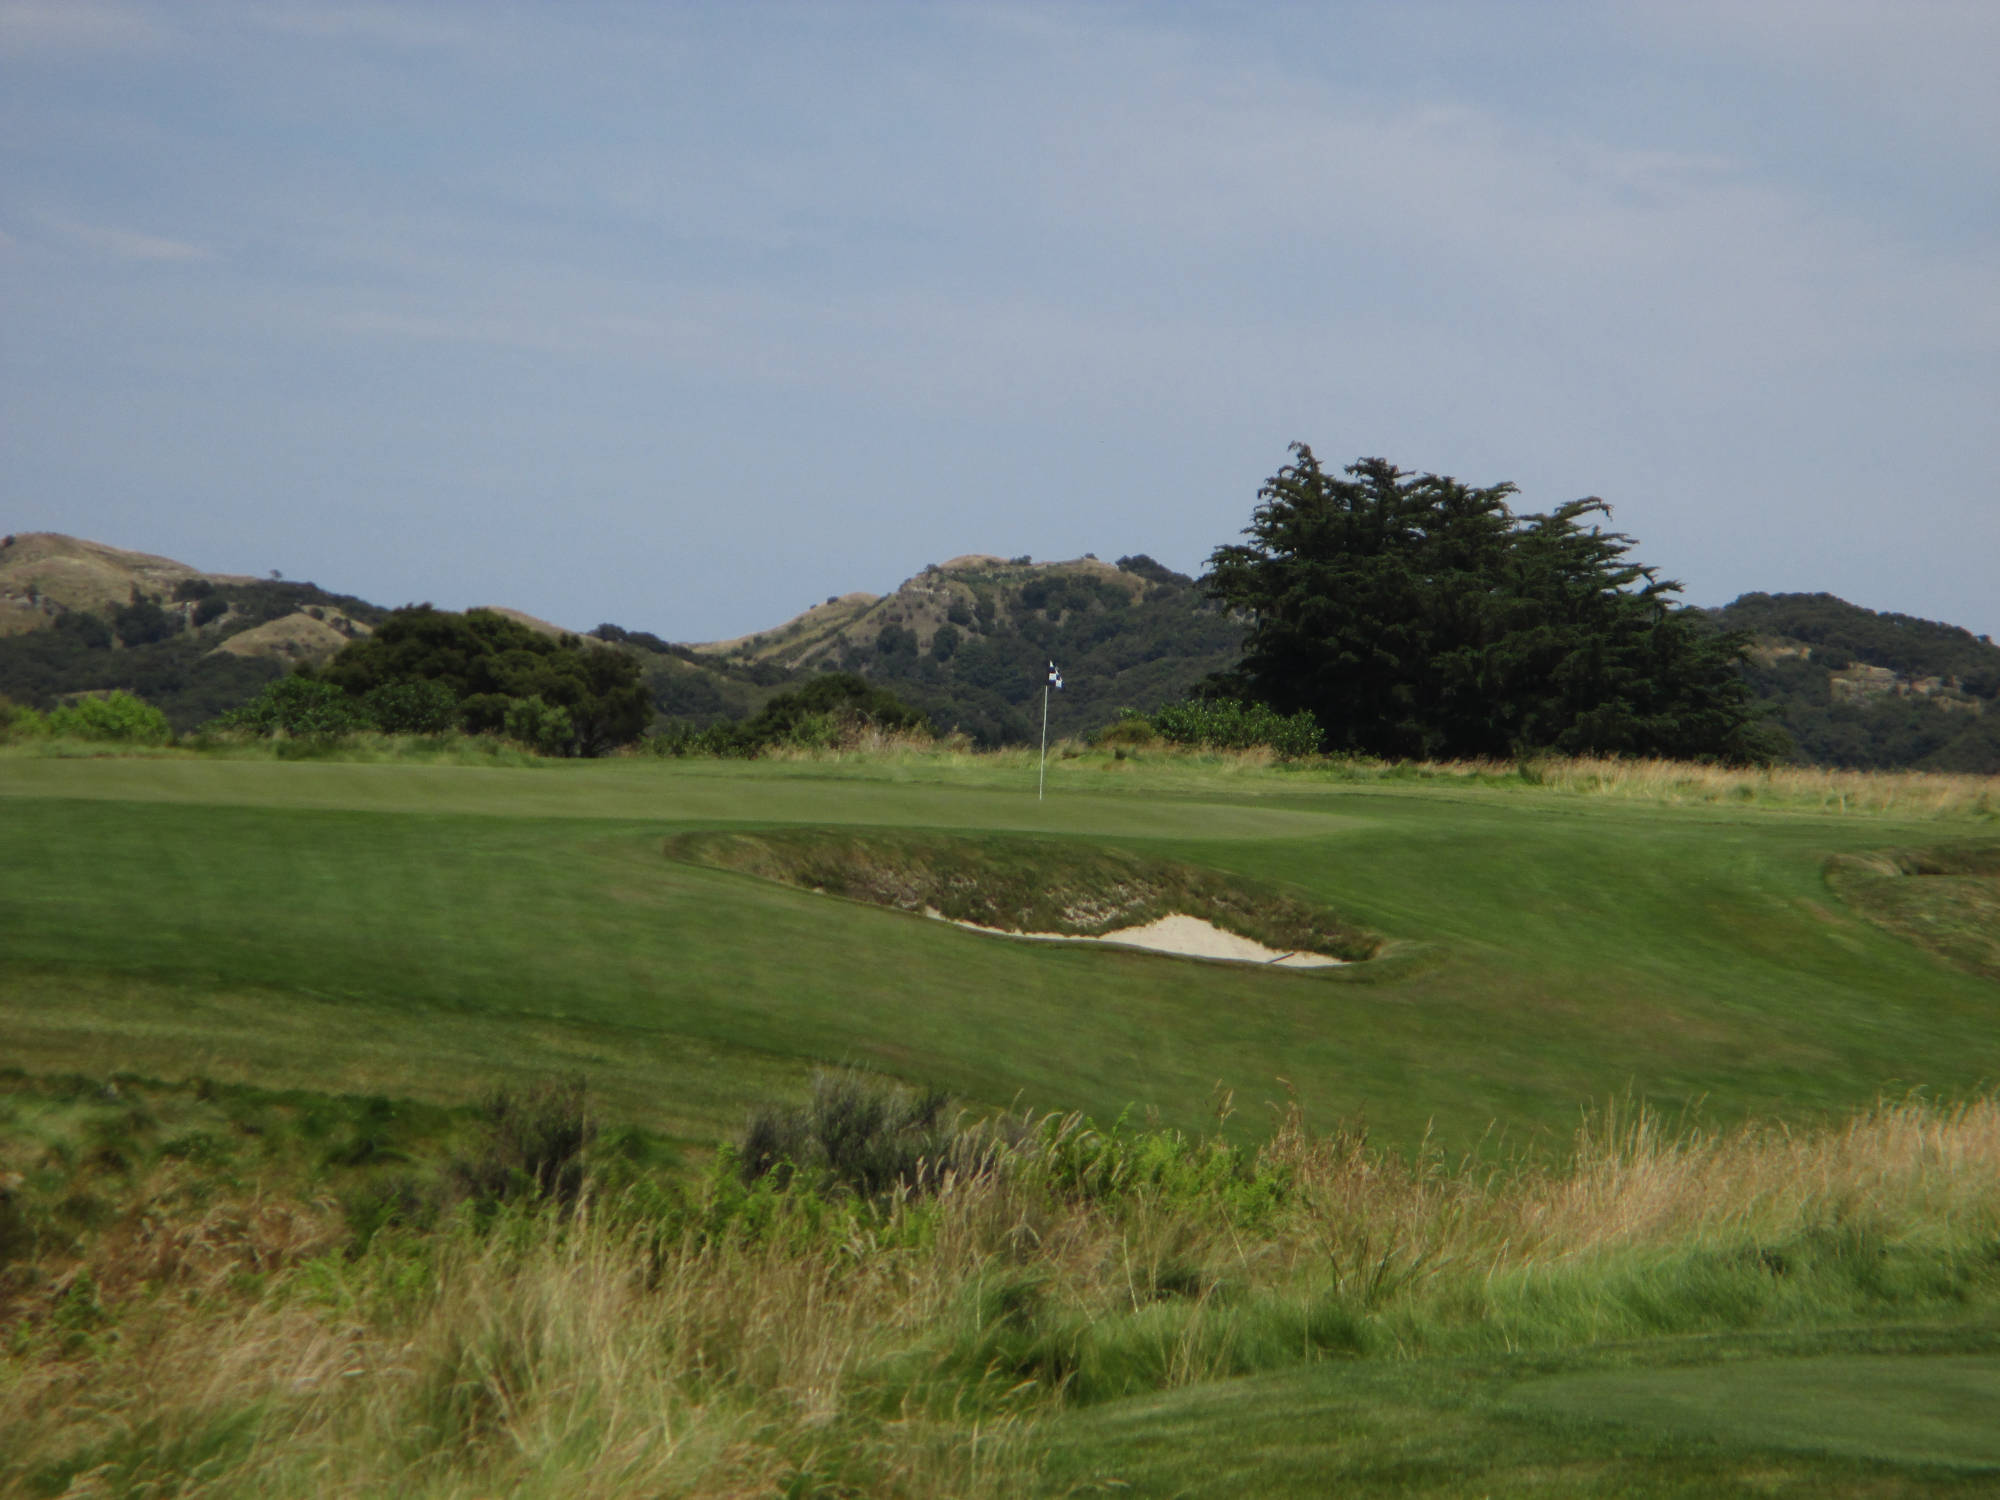
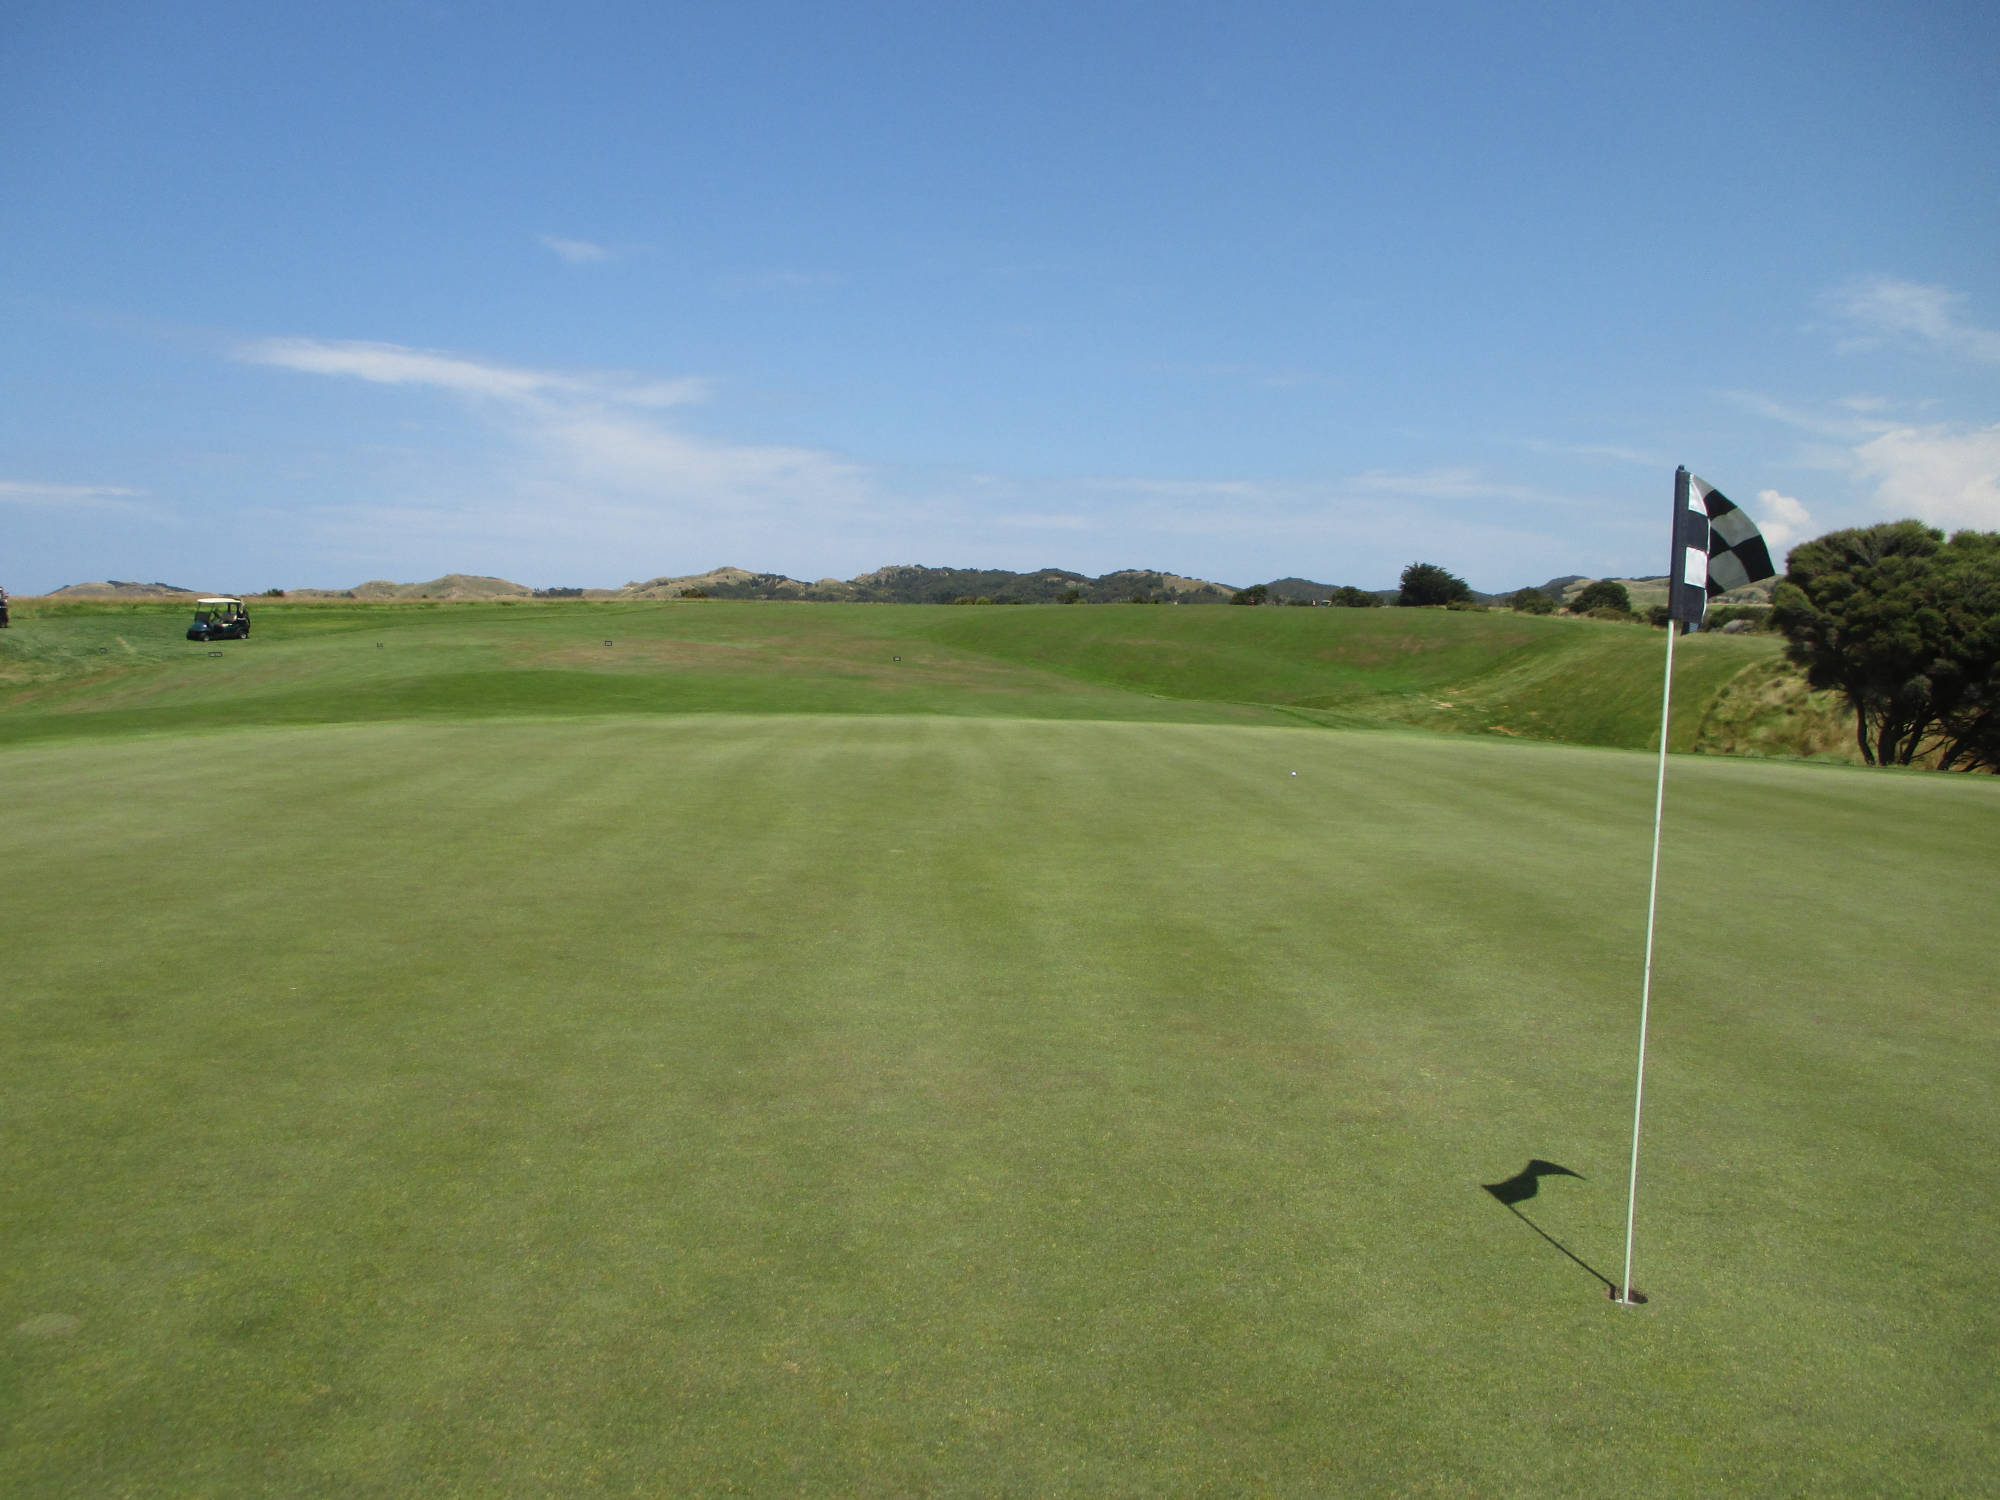
Par 4
(M) SI 9 (W) SI 10 - 青 470y 白 410y 緑 370y 赤 333y 黄 238y
自慢動画:管理者ROKAのイーグルホールアウト後のビデオは写真の下参照
Hole 10
Tee Ground
Fairway
Green
course guide: Best Approach Publications (c)2016
Previous
Next
Close
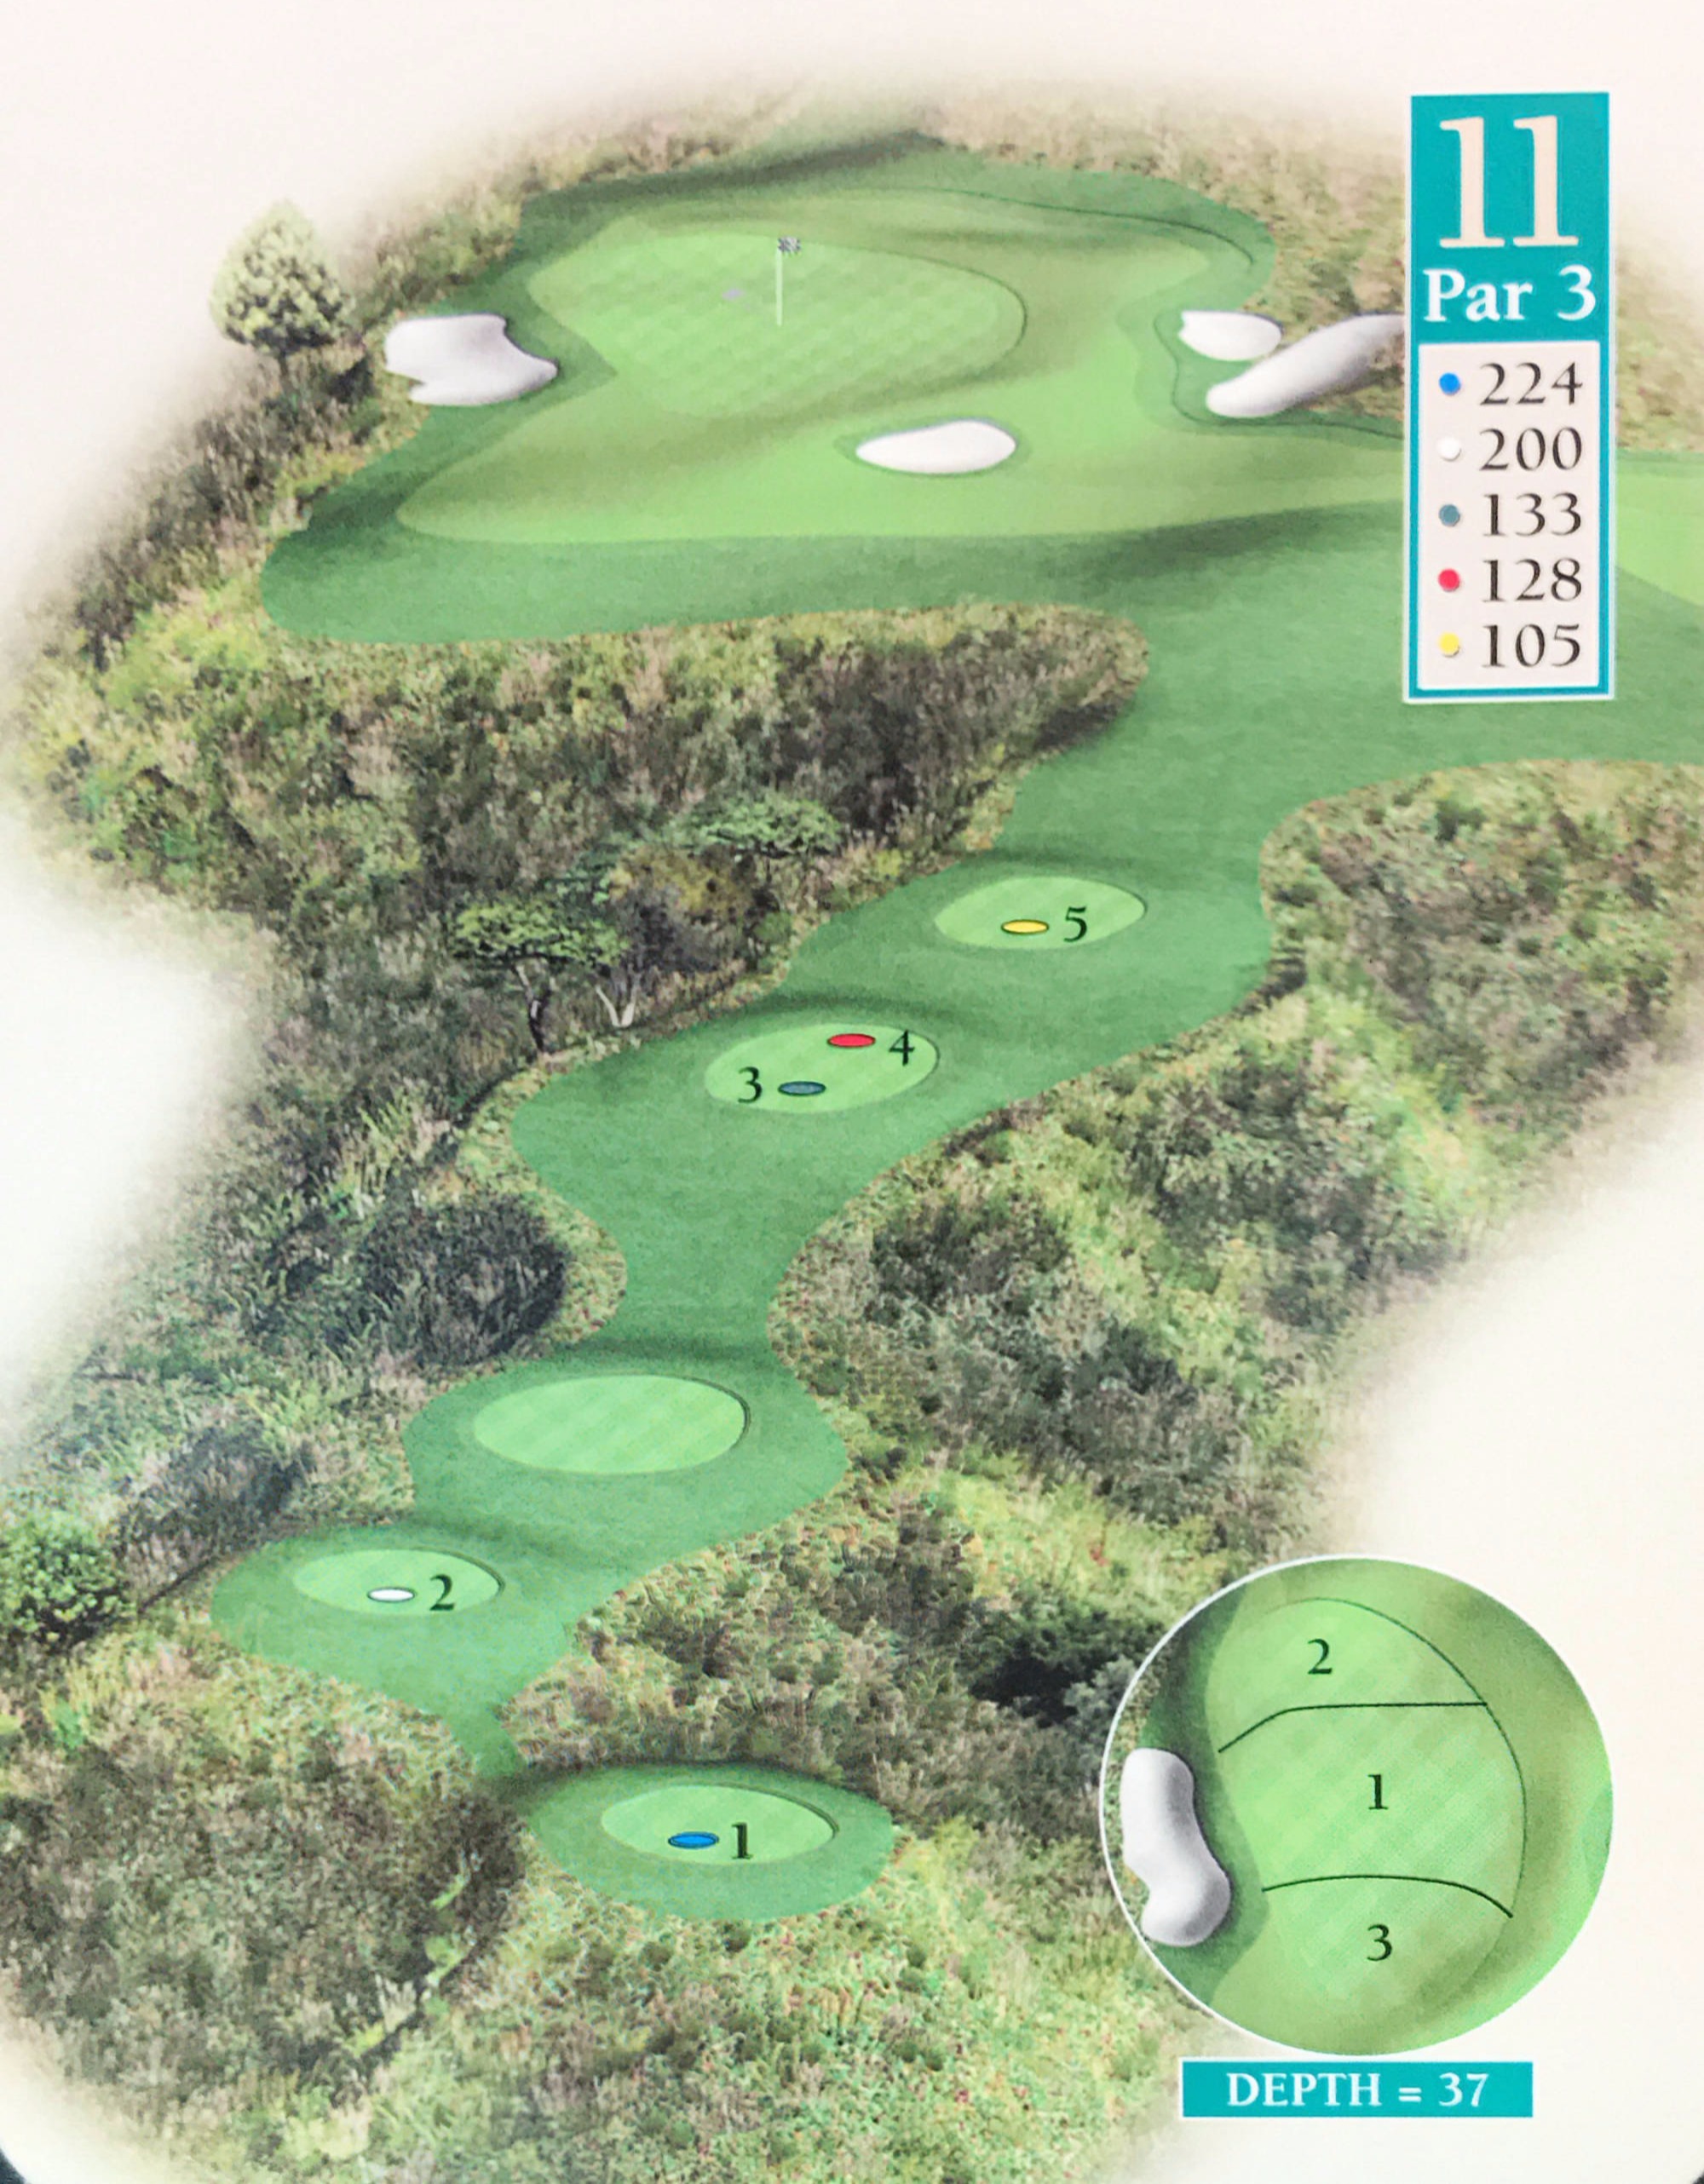
Par 3
(M) SI 7 (W) SI 18 - 青 224y 白 200y 緑 133y 赤 128y 黄 105y
Hole 11
Tee Ground
Green
course guide: Best Approach Publications (c)2016
Previous
Next
Close
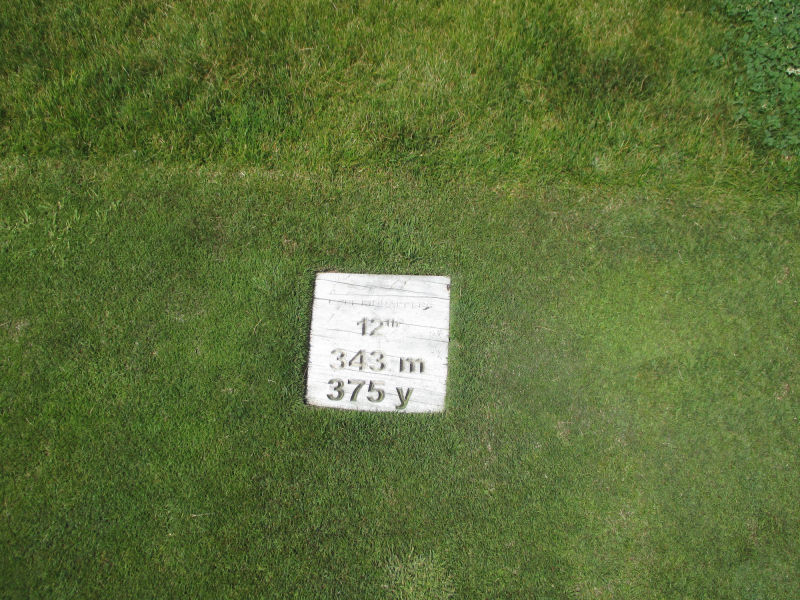
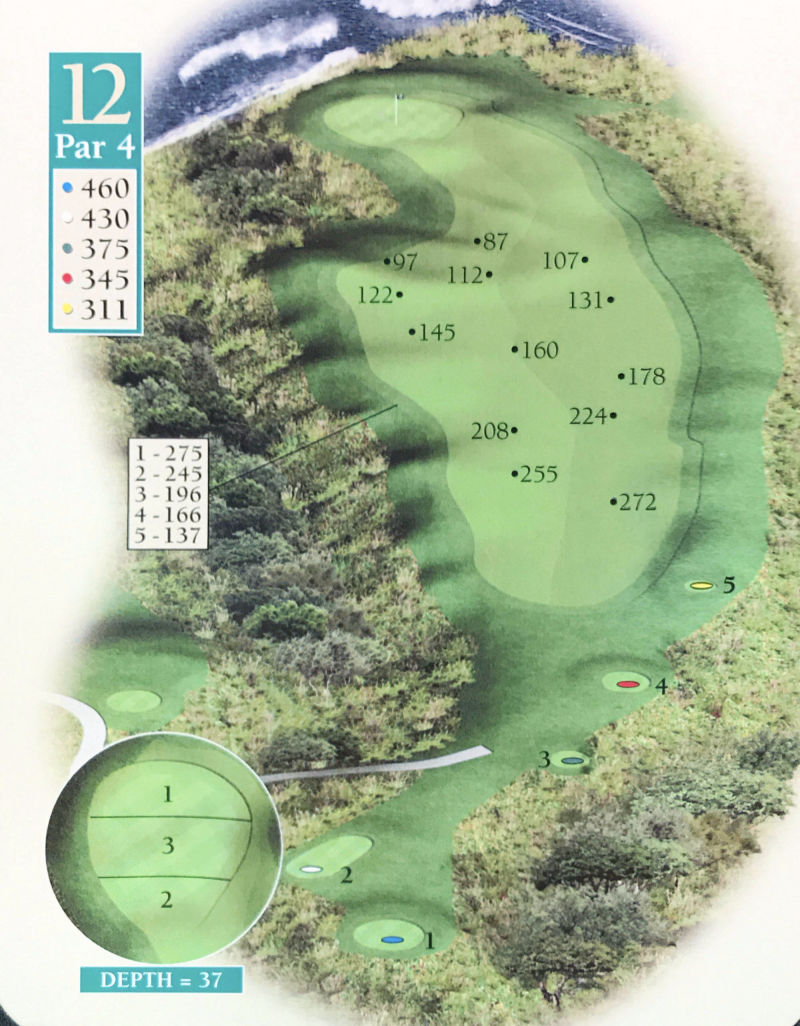
Par 4
(M) SI 13 (W) SI 14 - 青 130y 白 125y 緑 120y 赤 115y 黄 105y
Hole 12
Tee Ground
Fairway
Green
course guide: Best Approach Publications (c)2016
Previous
Next
Close
Par 3
(M) SI 17 (W) SI 16 - 青 130y 白 125y 緑 120y 赤 115y 黄 105y
Hole 13
Tee Ground
Green
course guide: Best Approach Publications (c)2016
Previous
Next
Close
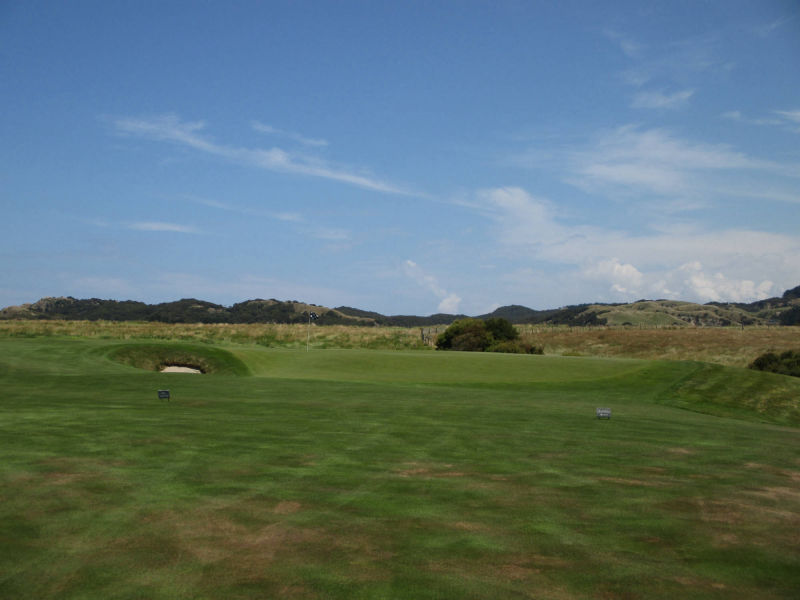
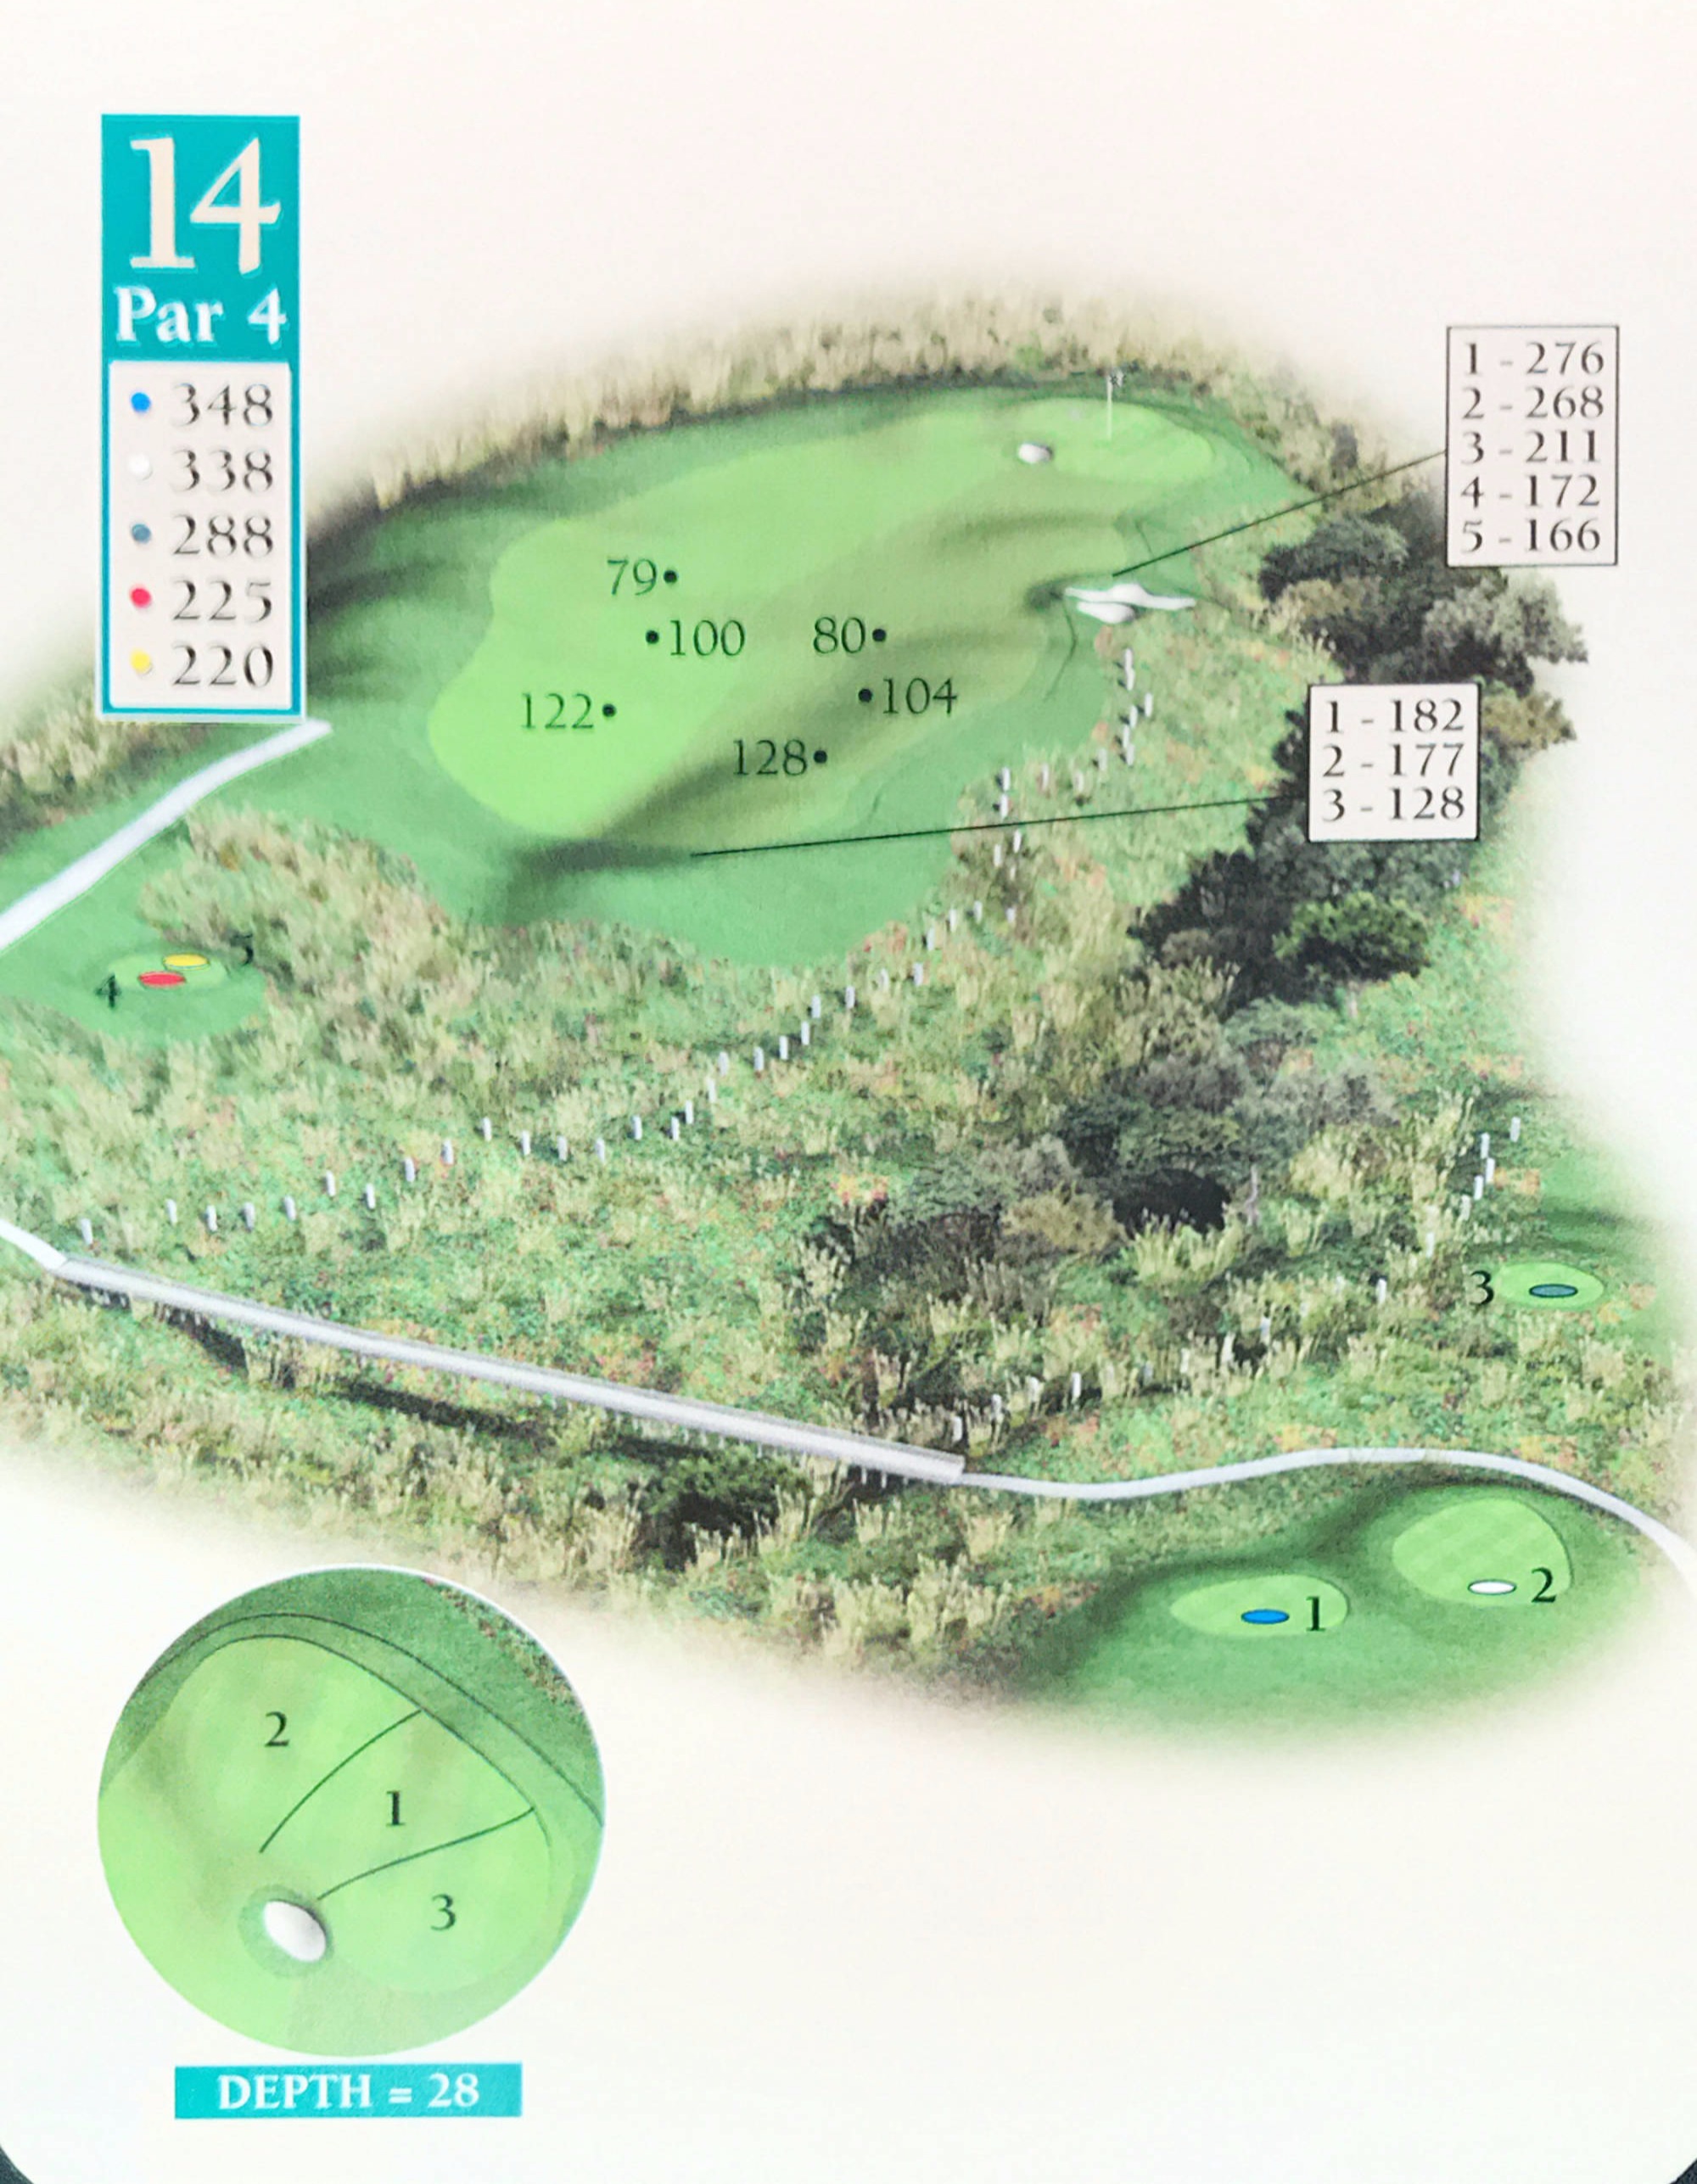
Par 4
(M) SI 4 (W) SI 12 - 青 348y 白 338y 緑 288y 赤 225y 黄 220y
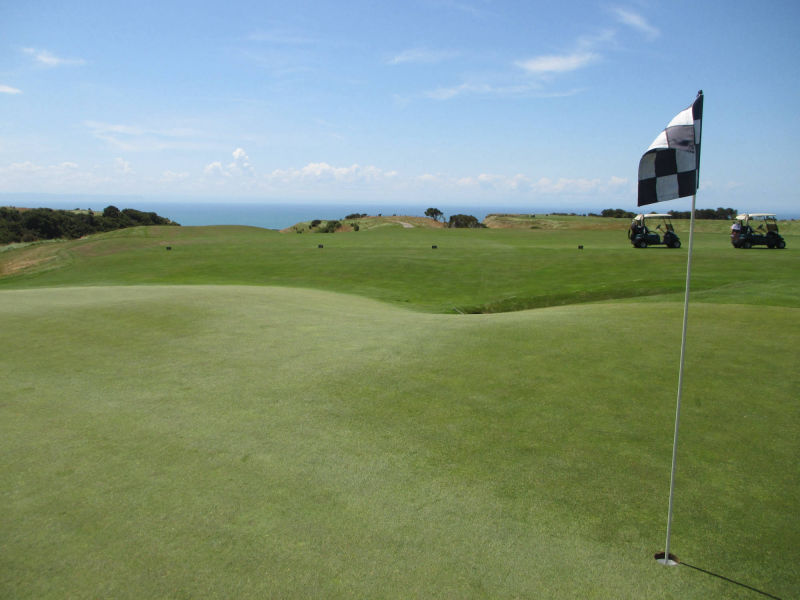
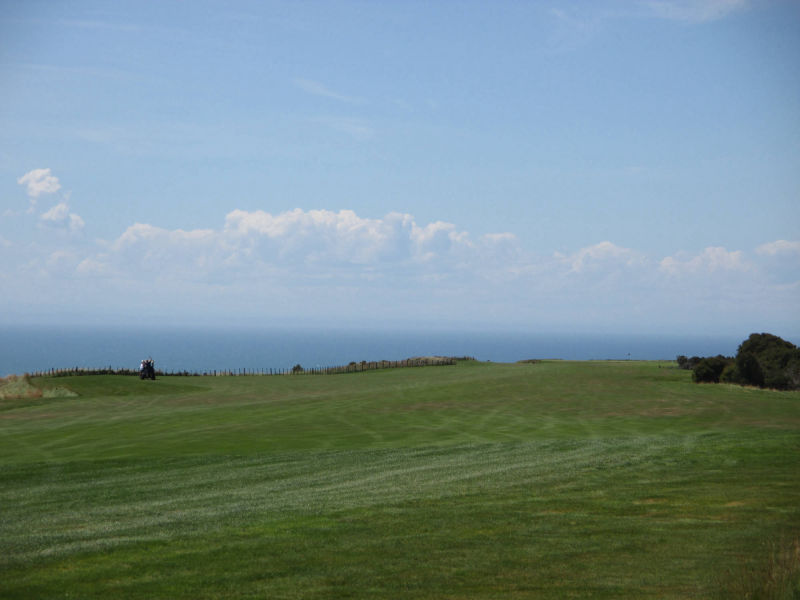
Hole 14
Tee Ground
Tee Ground
Fairway
Green
course guide: Best Approach Publications (c)2016
Previous
Next
Close
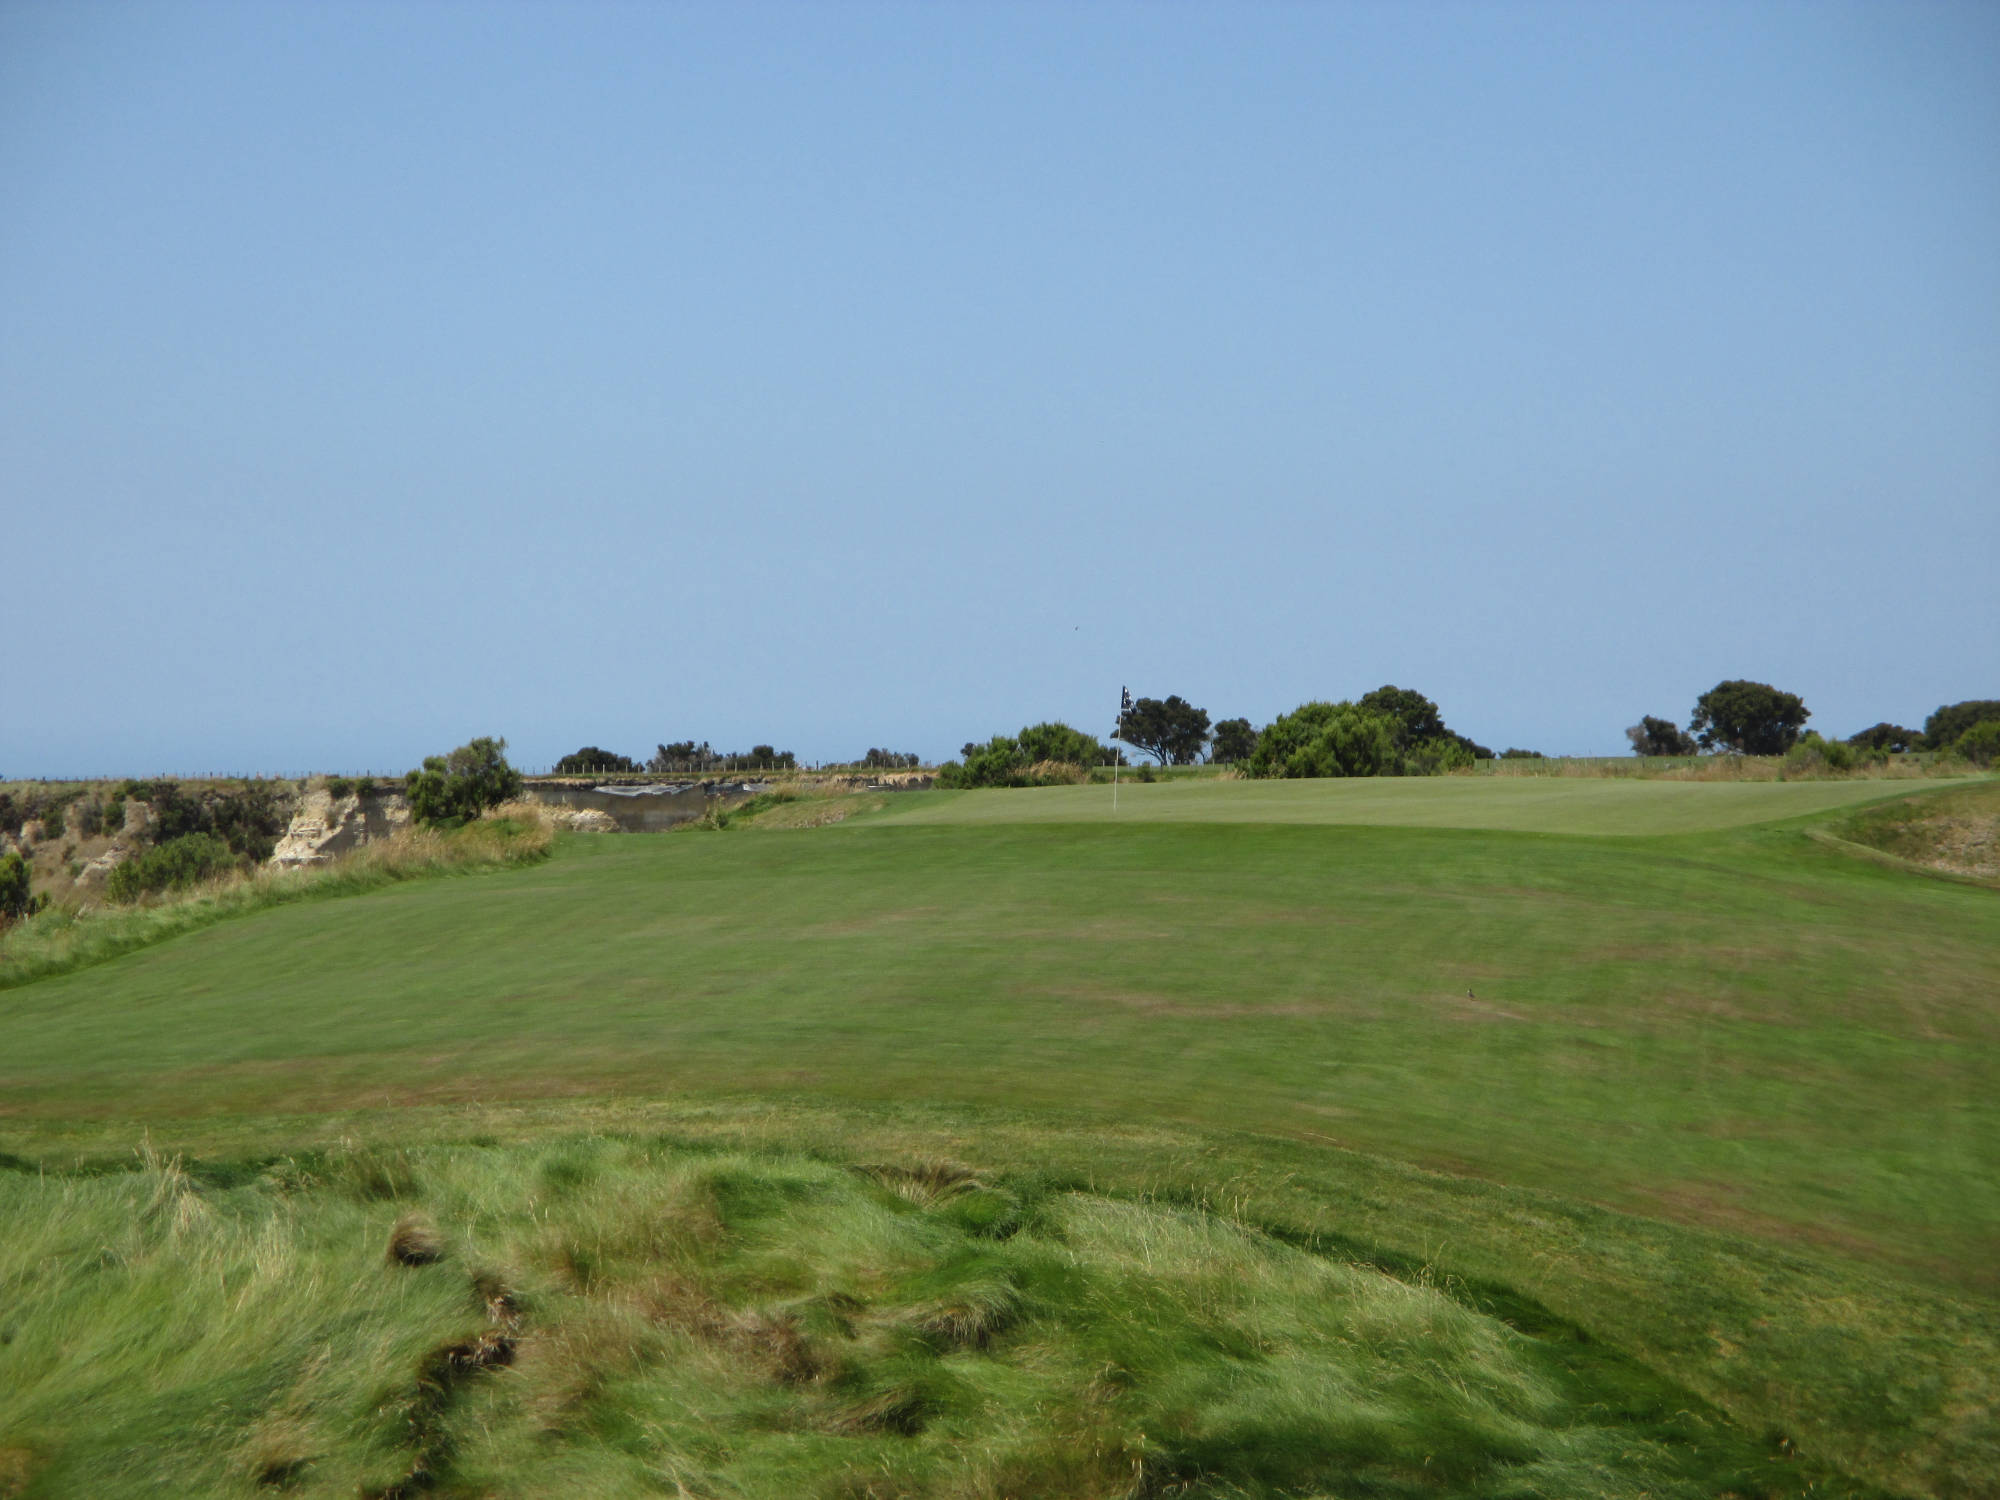
Par 5
(M) SI 1 (W) SI 12 - 青 650y 白 551y 緑 512y 赤 508y 黄 472y
Hole 15
Tee Ground
Fairway Second Shot
Fairway (cliffside)
Green
course guide: Best Approach Publications (c)2016
Previous
Next
Close
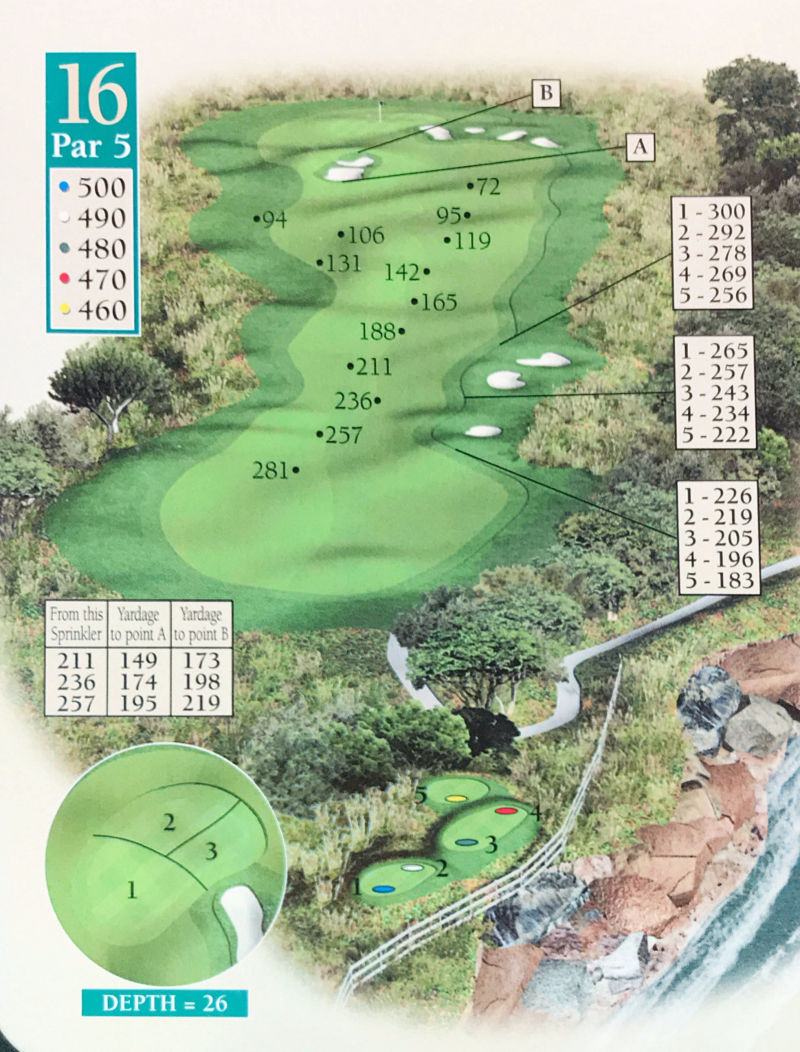
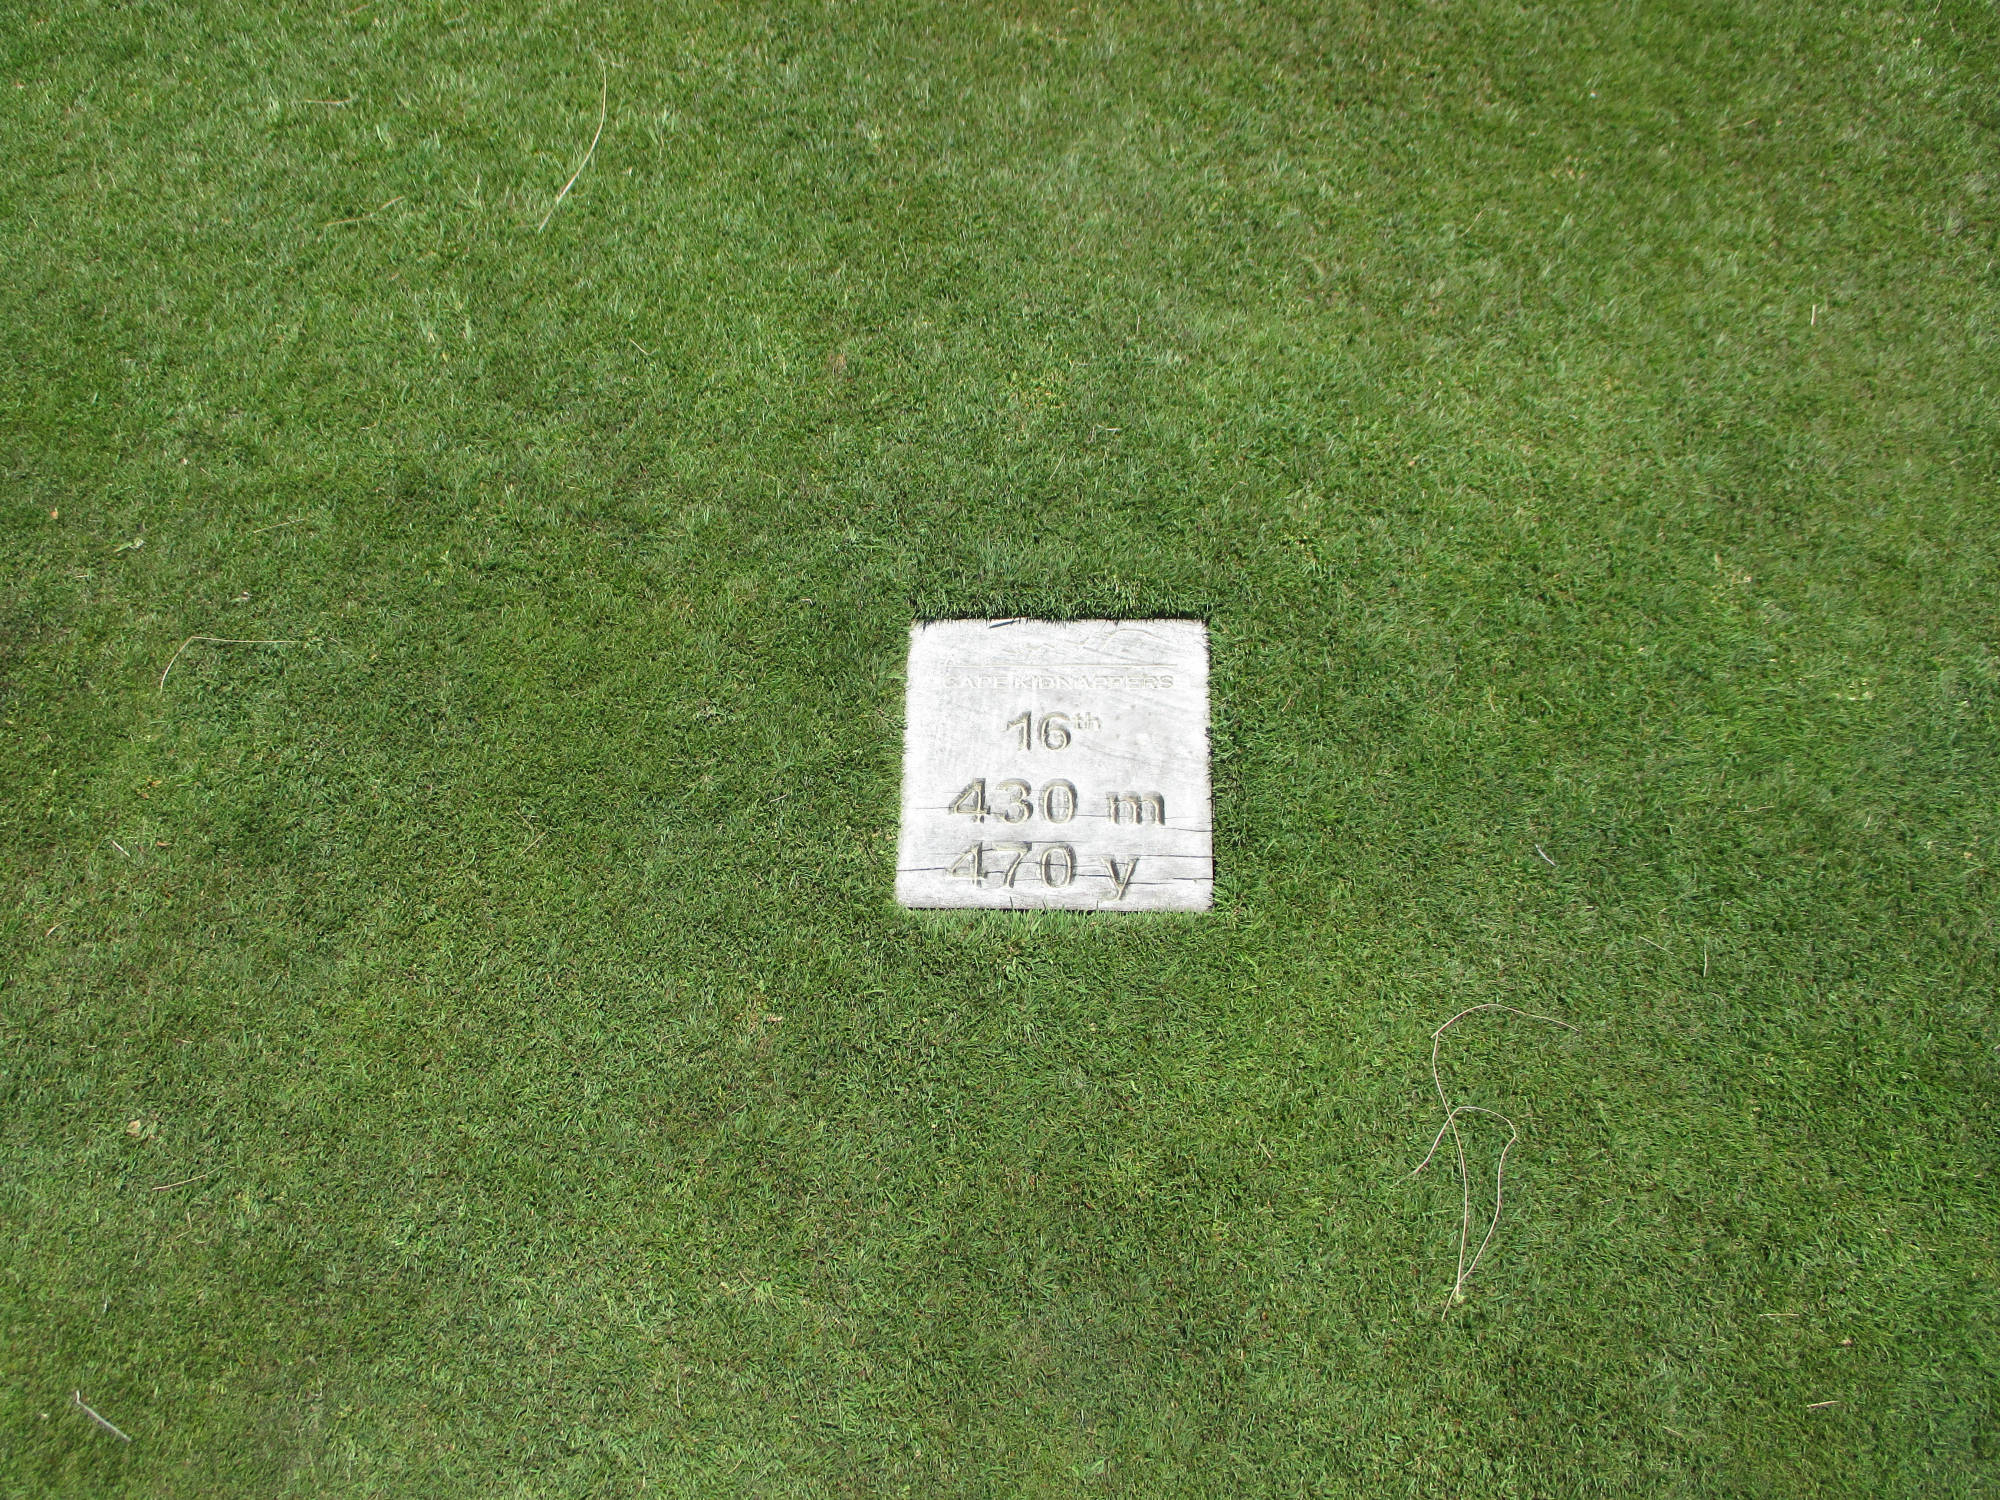
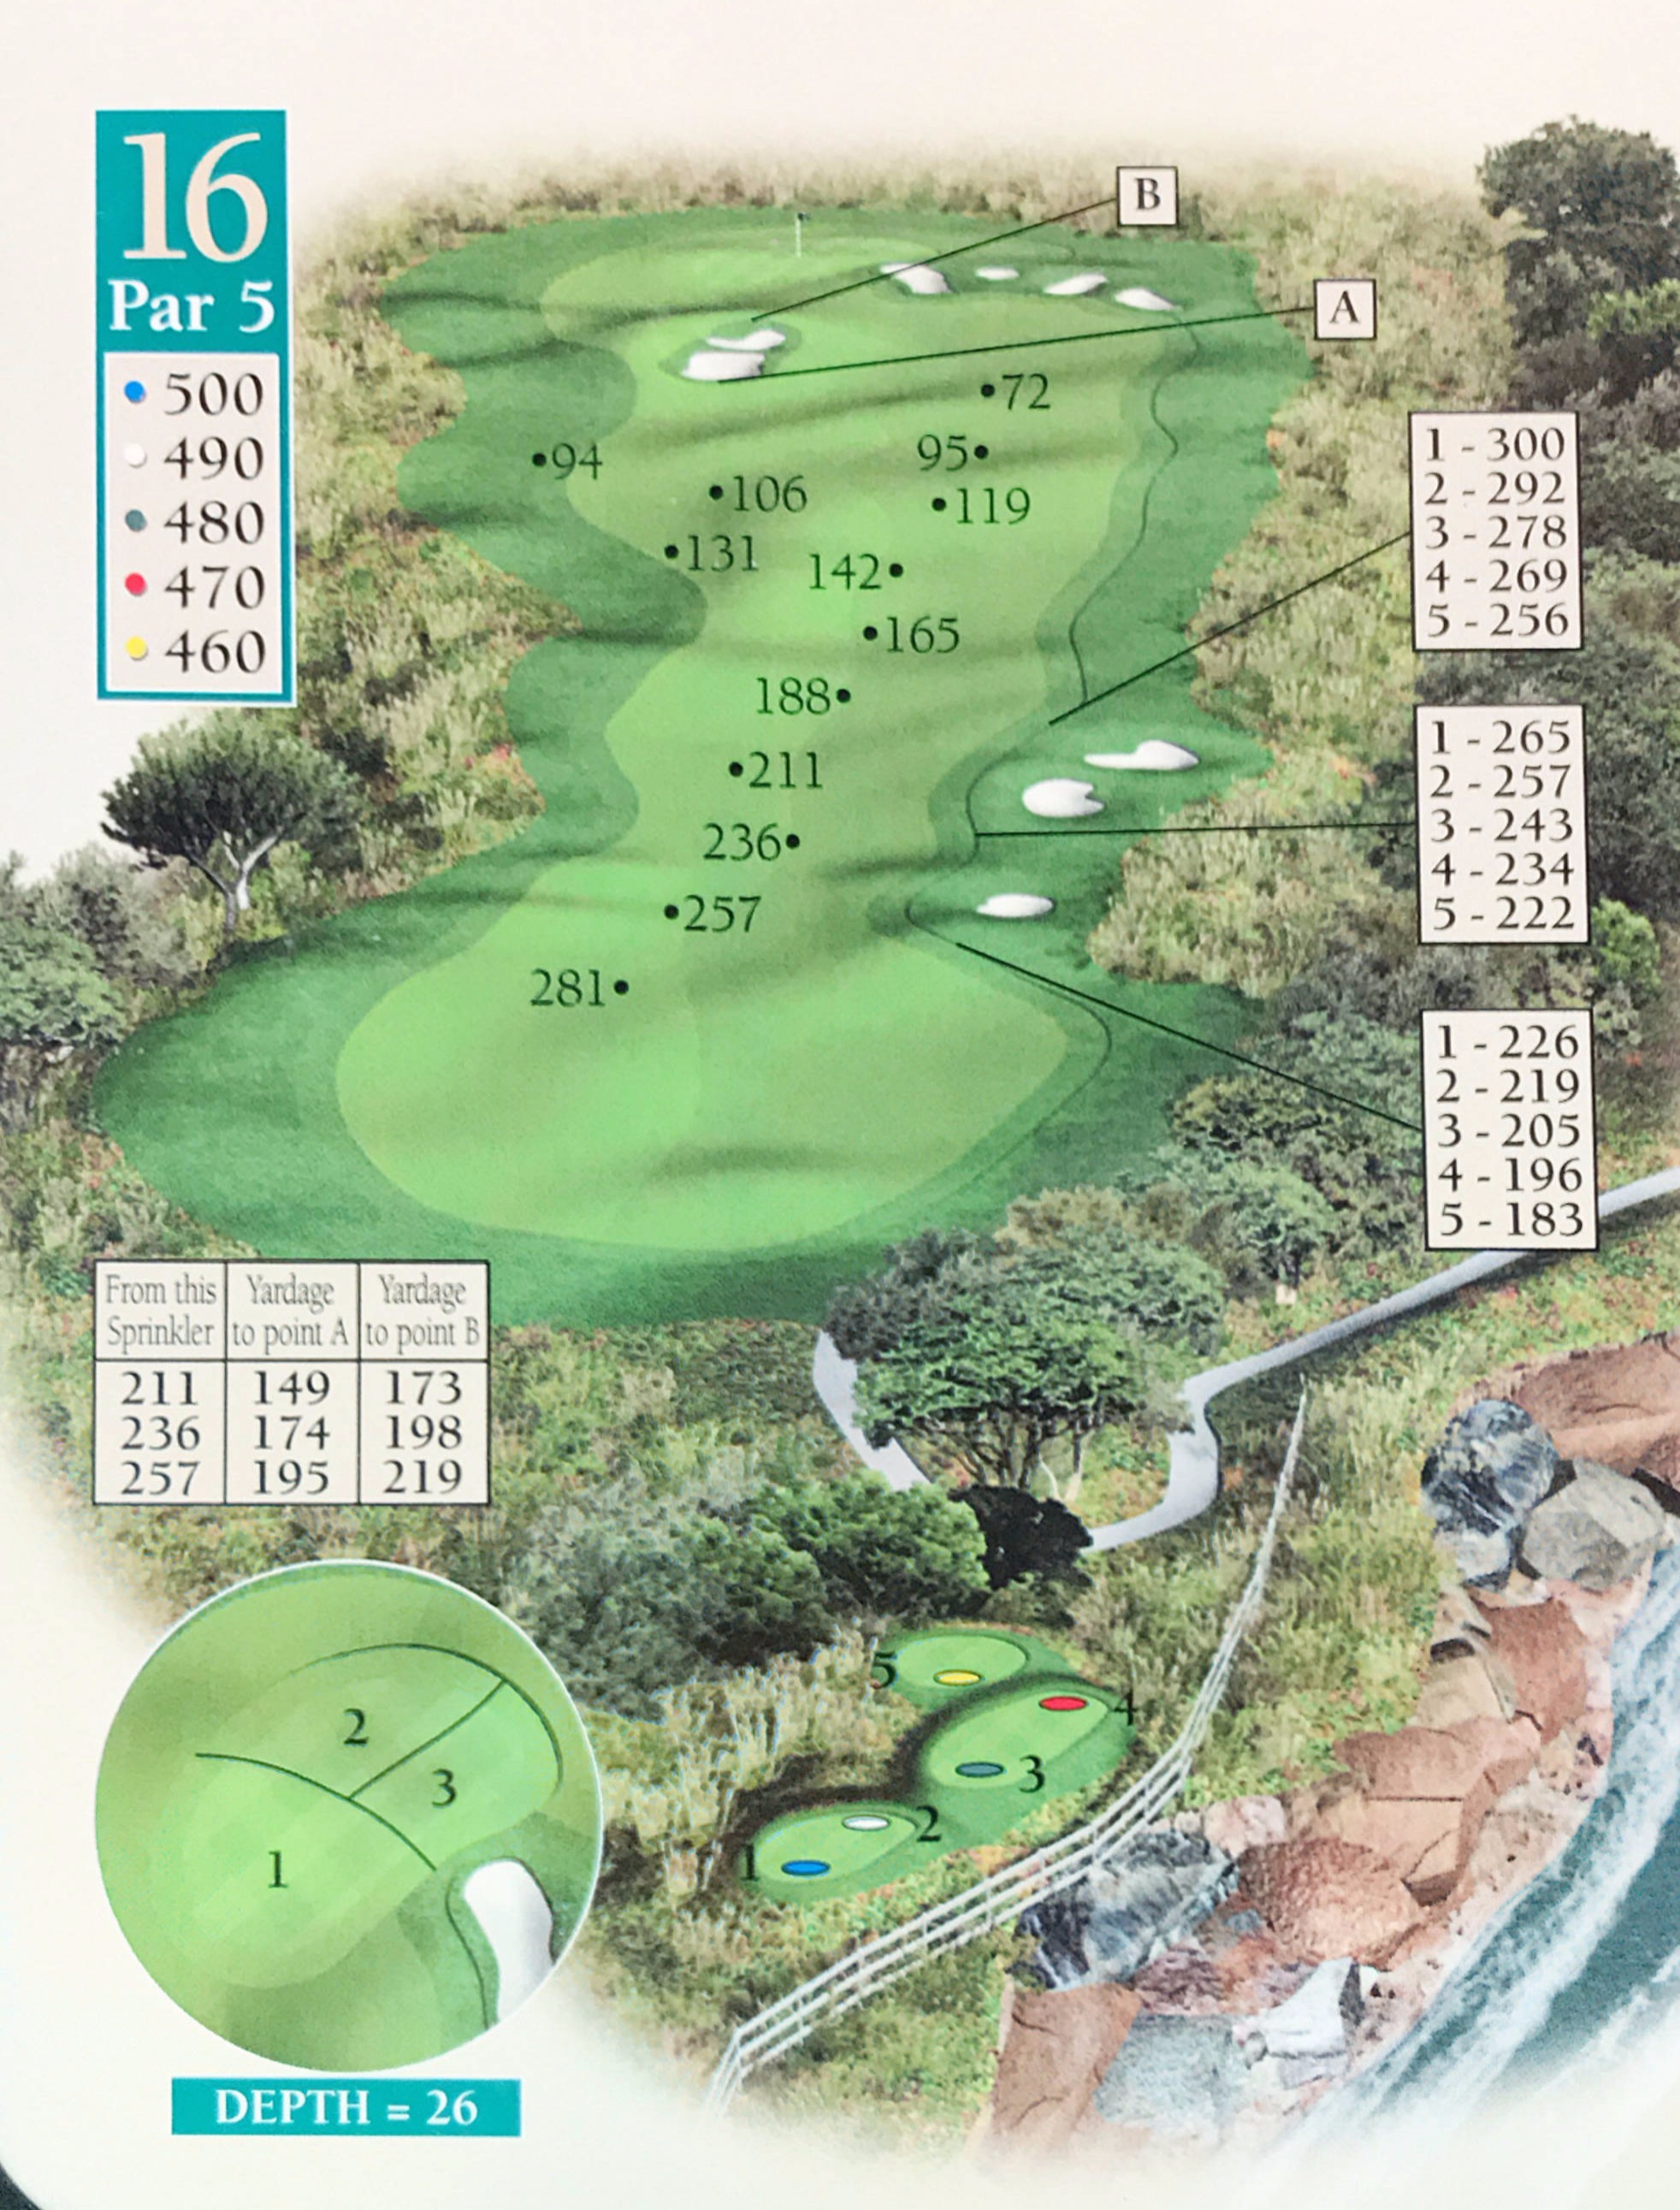
Par 5
(M) SI 15 (W) SI 4 - 青 500y 白 490y 緑 480y 赤 470y 黄 460y
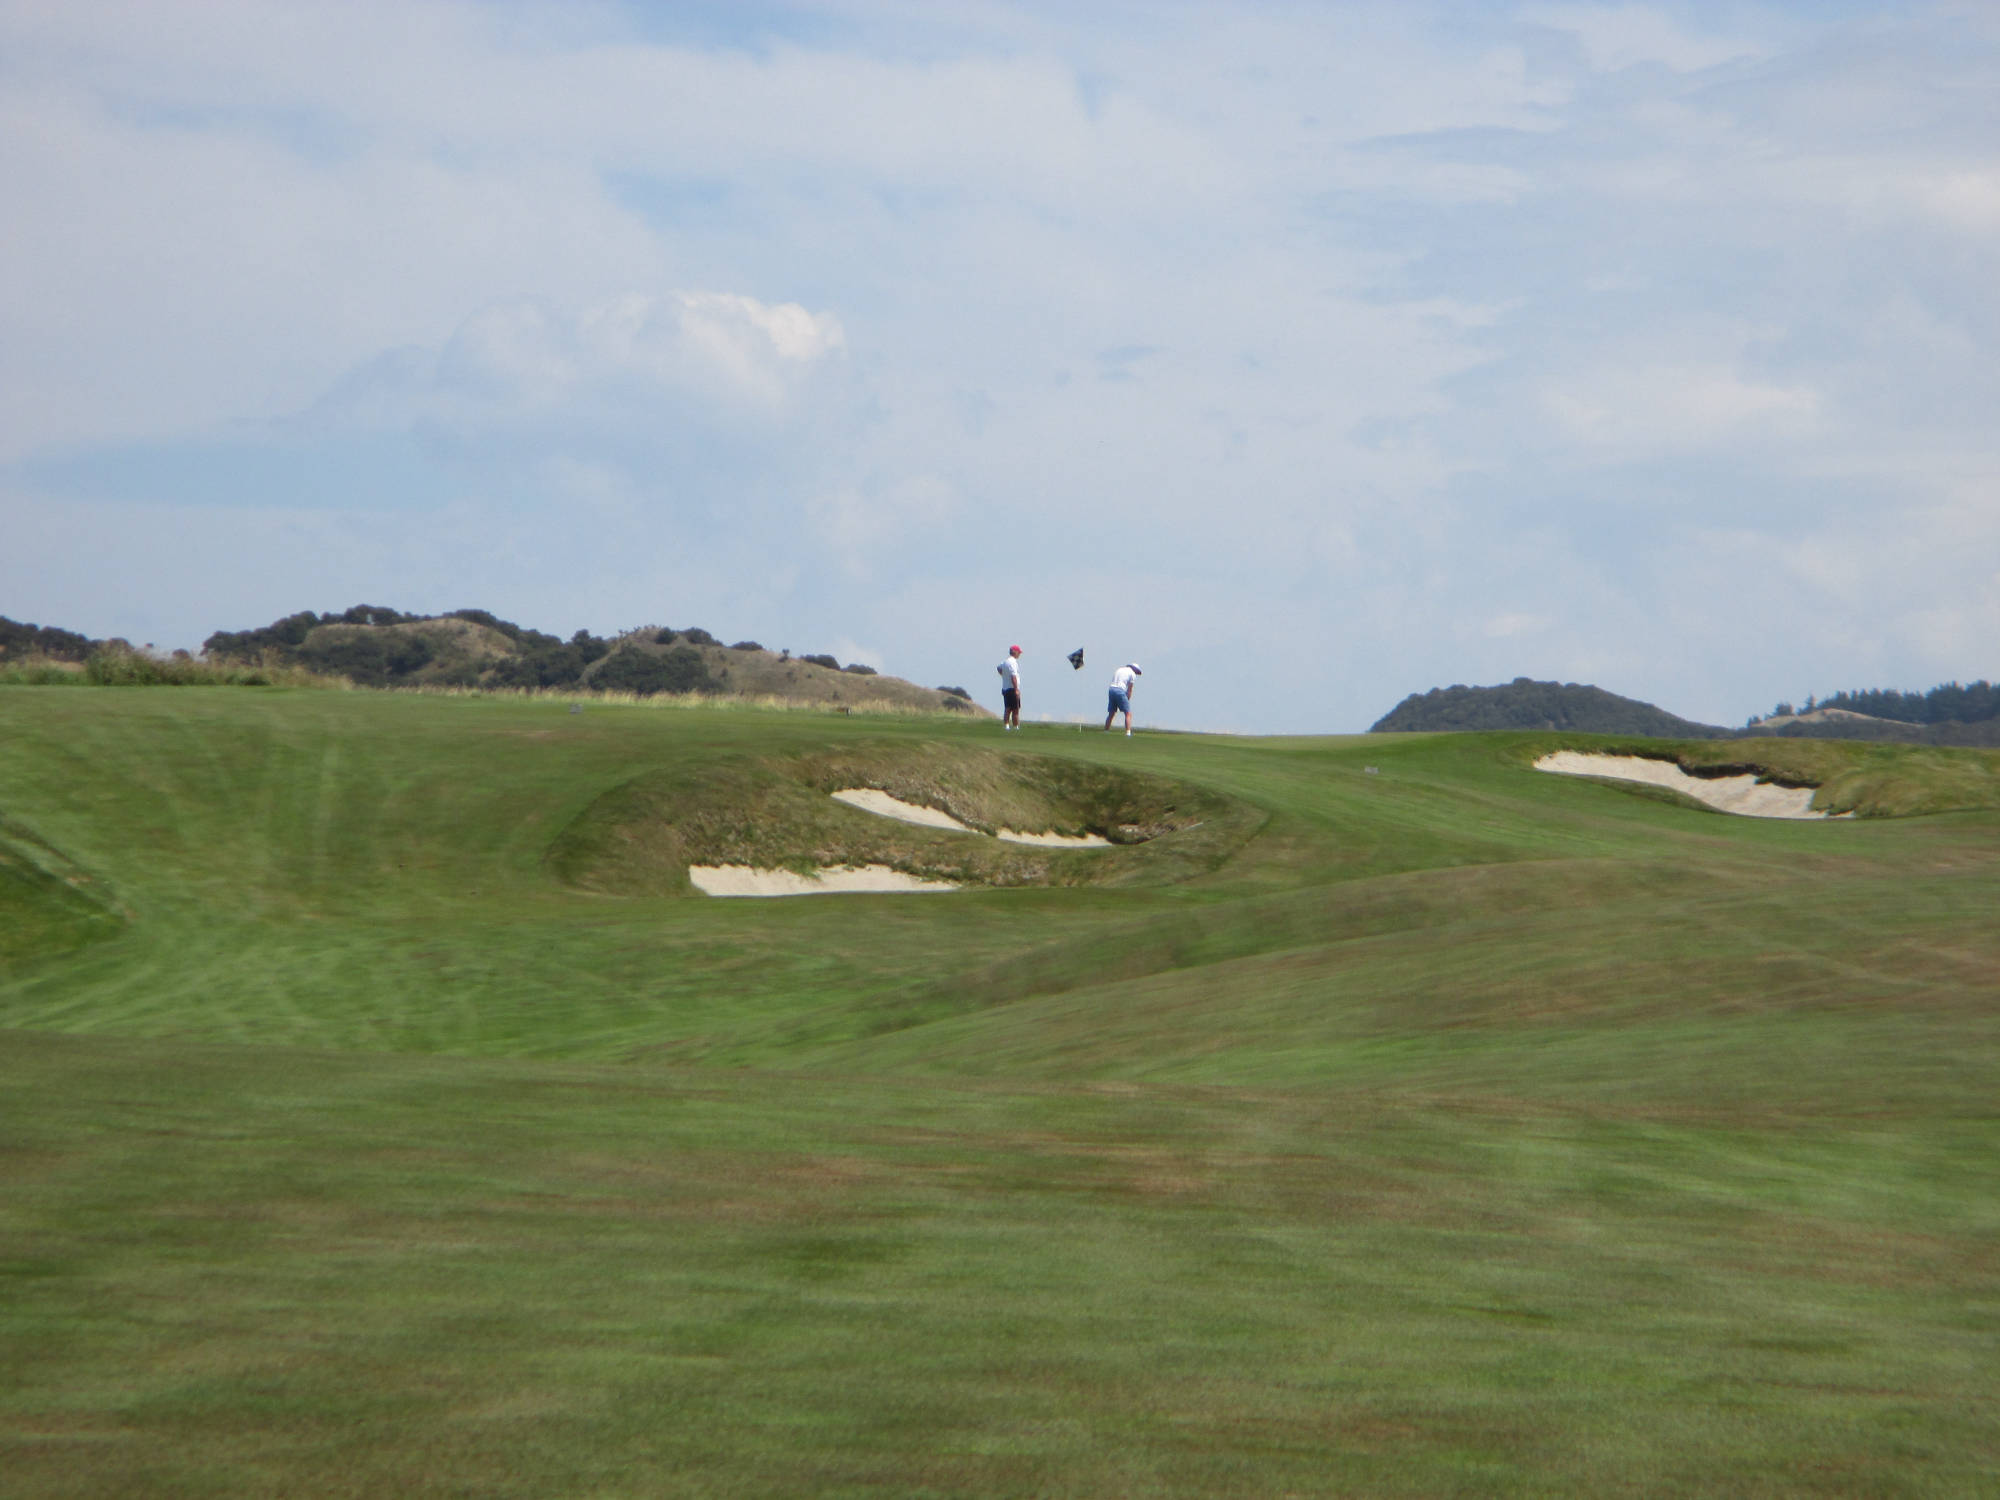
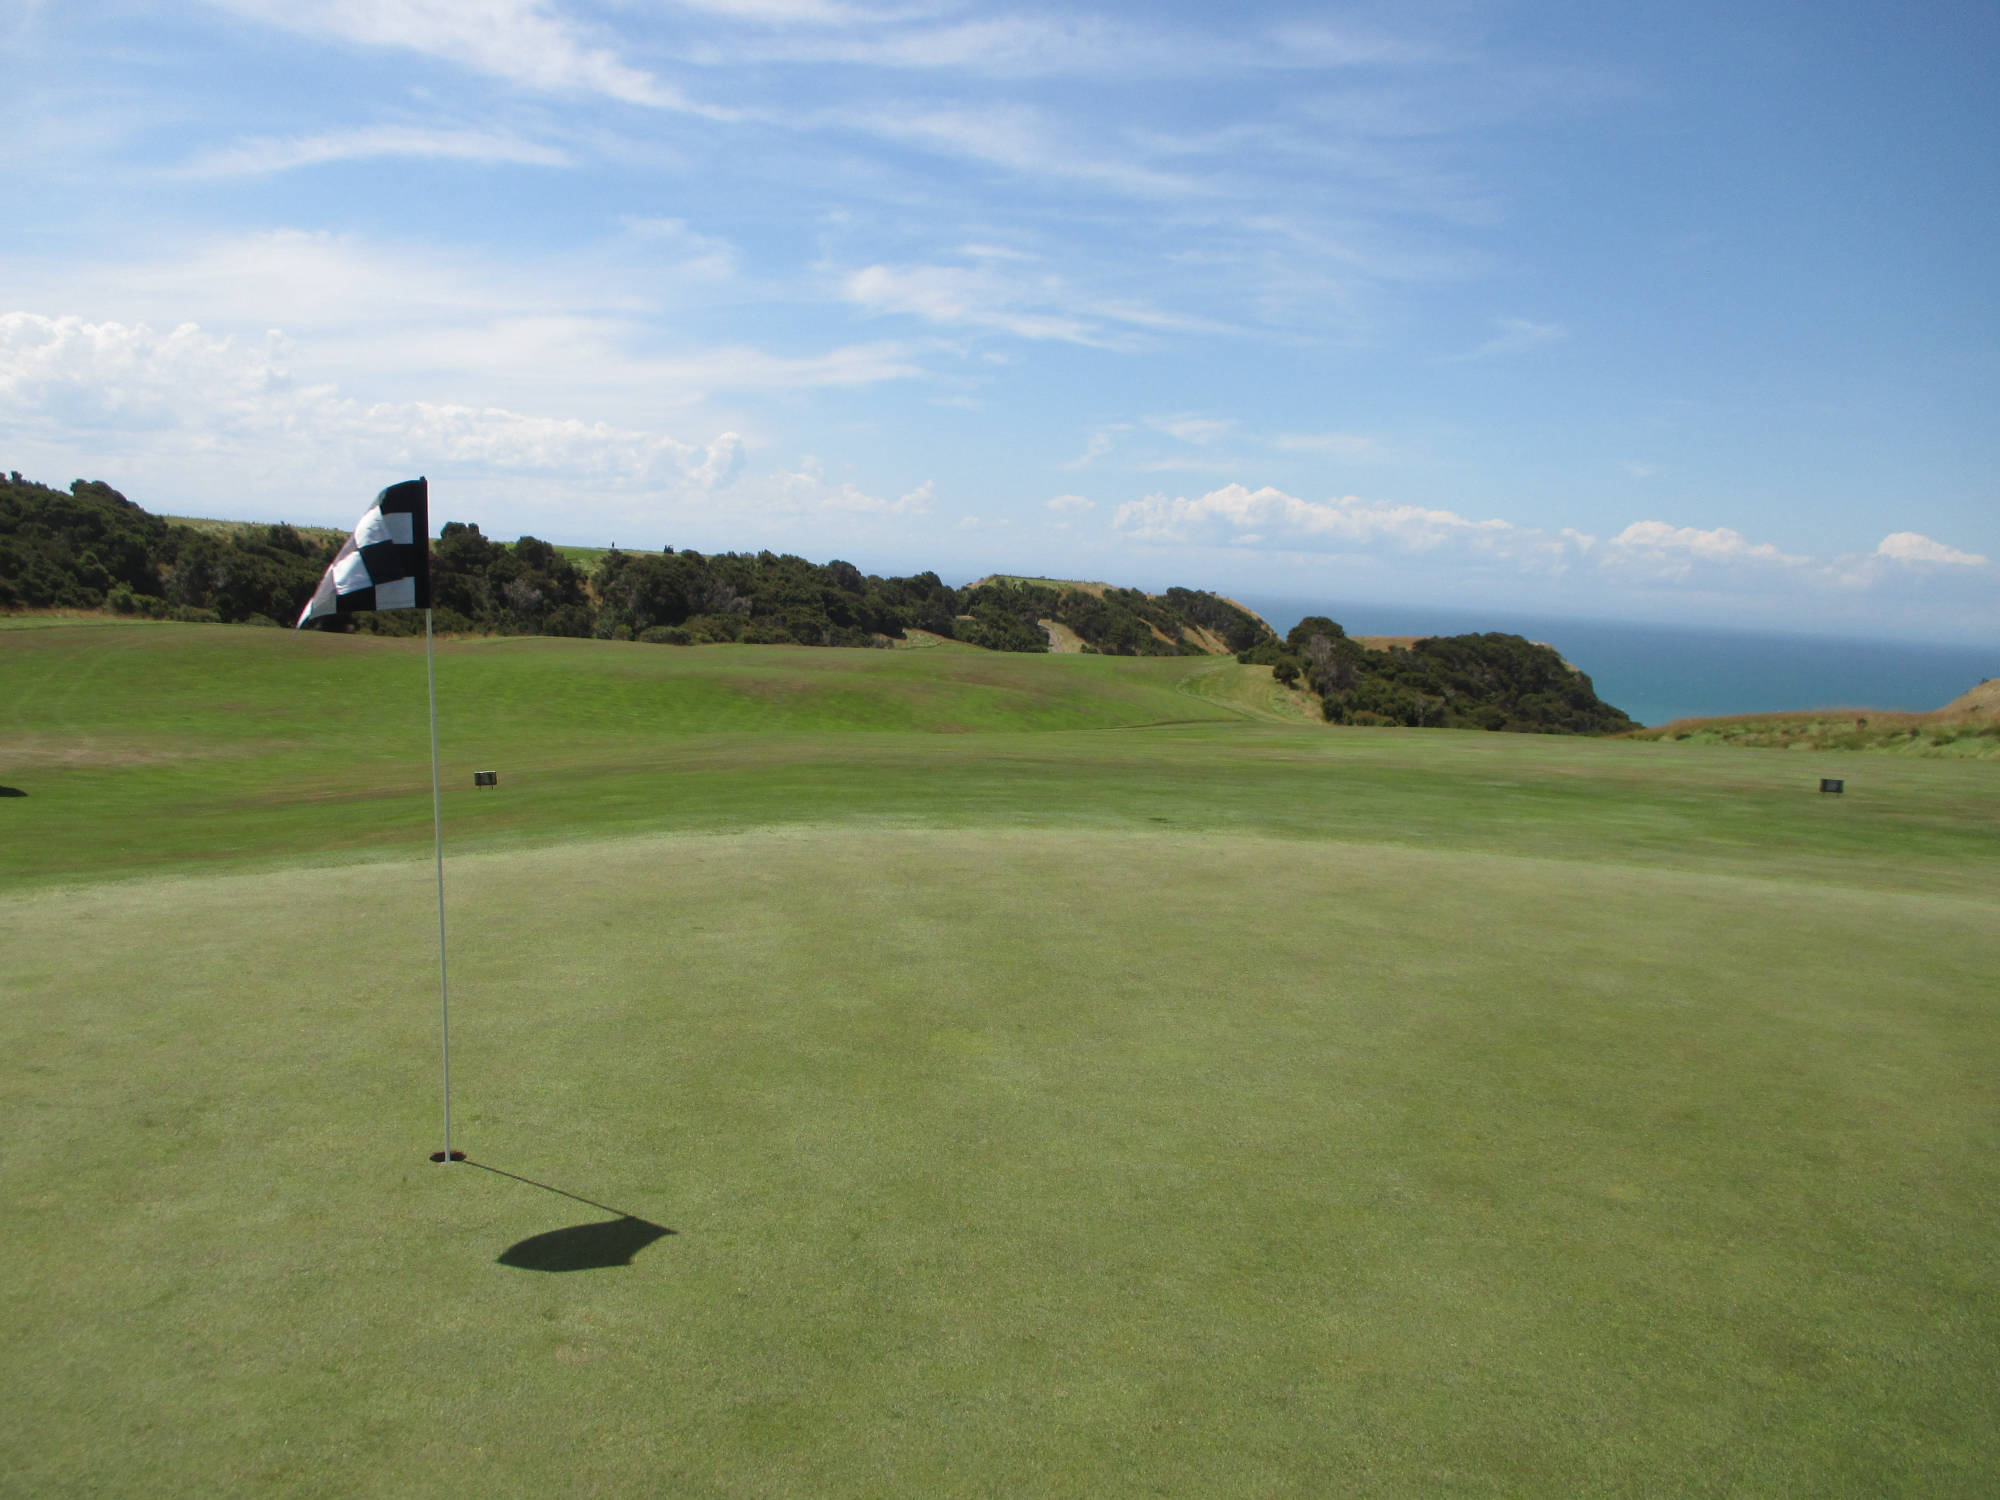
Hole 16
Tee Ground
Fairway Second Shot
Fairway Third Shot
Green
course guide: Best Approach Publications (c)2016
Previous
Next
Close
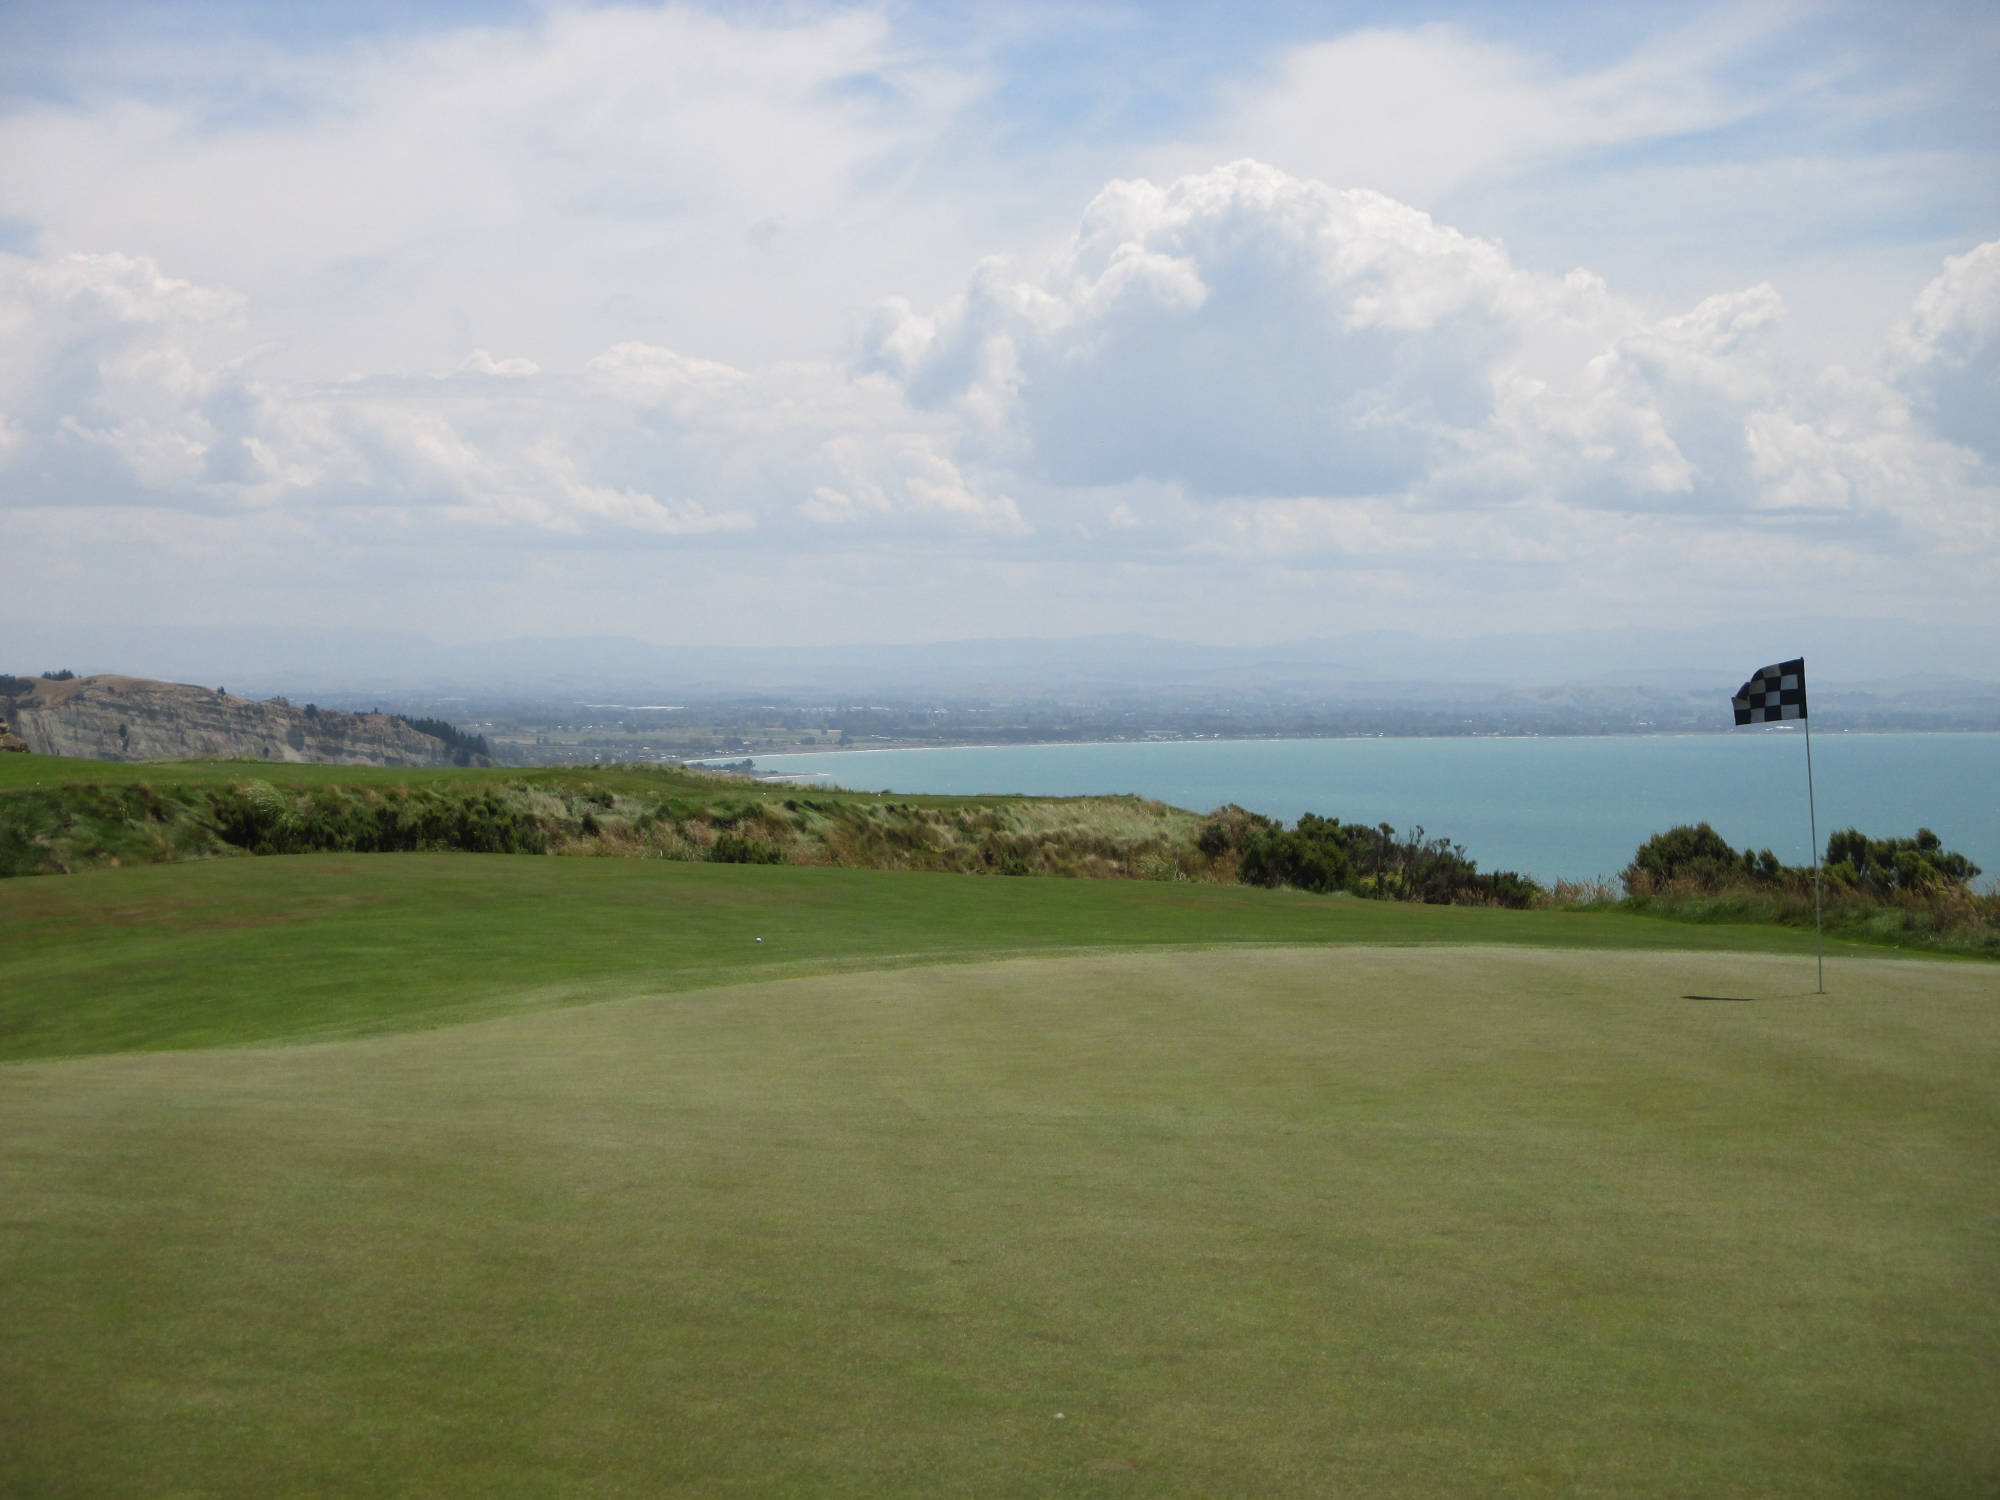
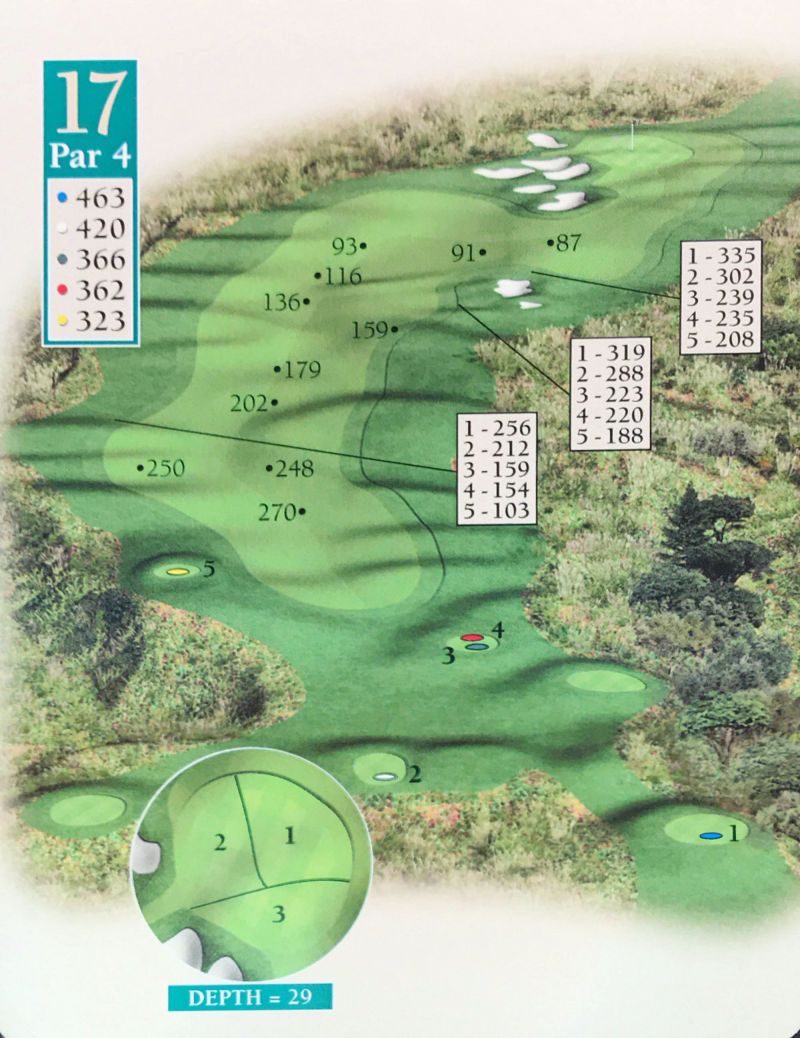
Par 4
(M) SI 3 (W) SI 6 - 青 463y 白 420y 緑 366y 赤 362y 黄 323y
Hole 17
Tee Ground
Fairway
Green
course guide: Best Approach Publications (c)2016
Previous
Next
Close
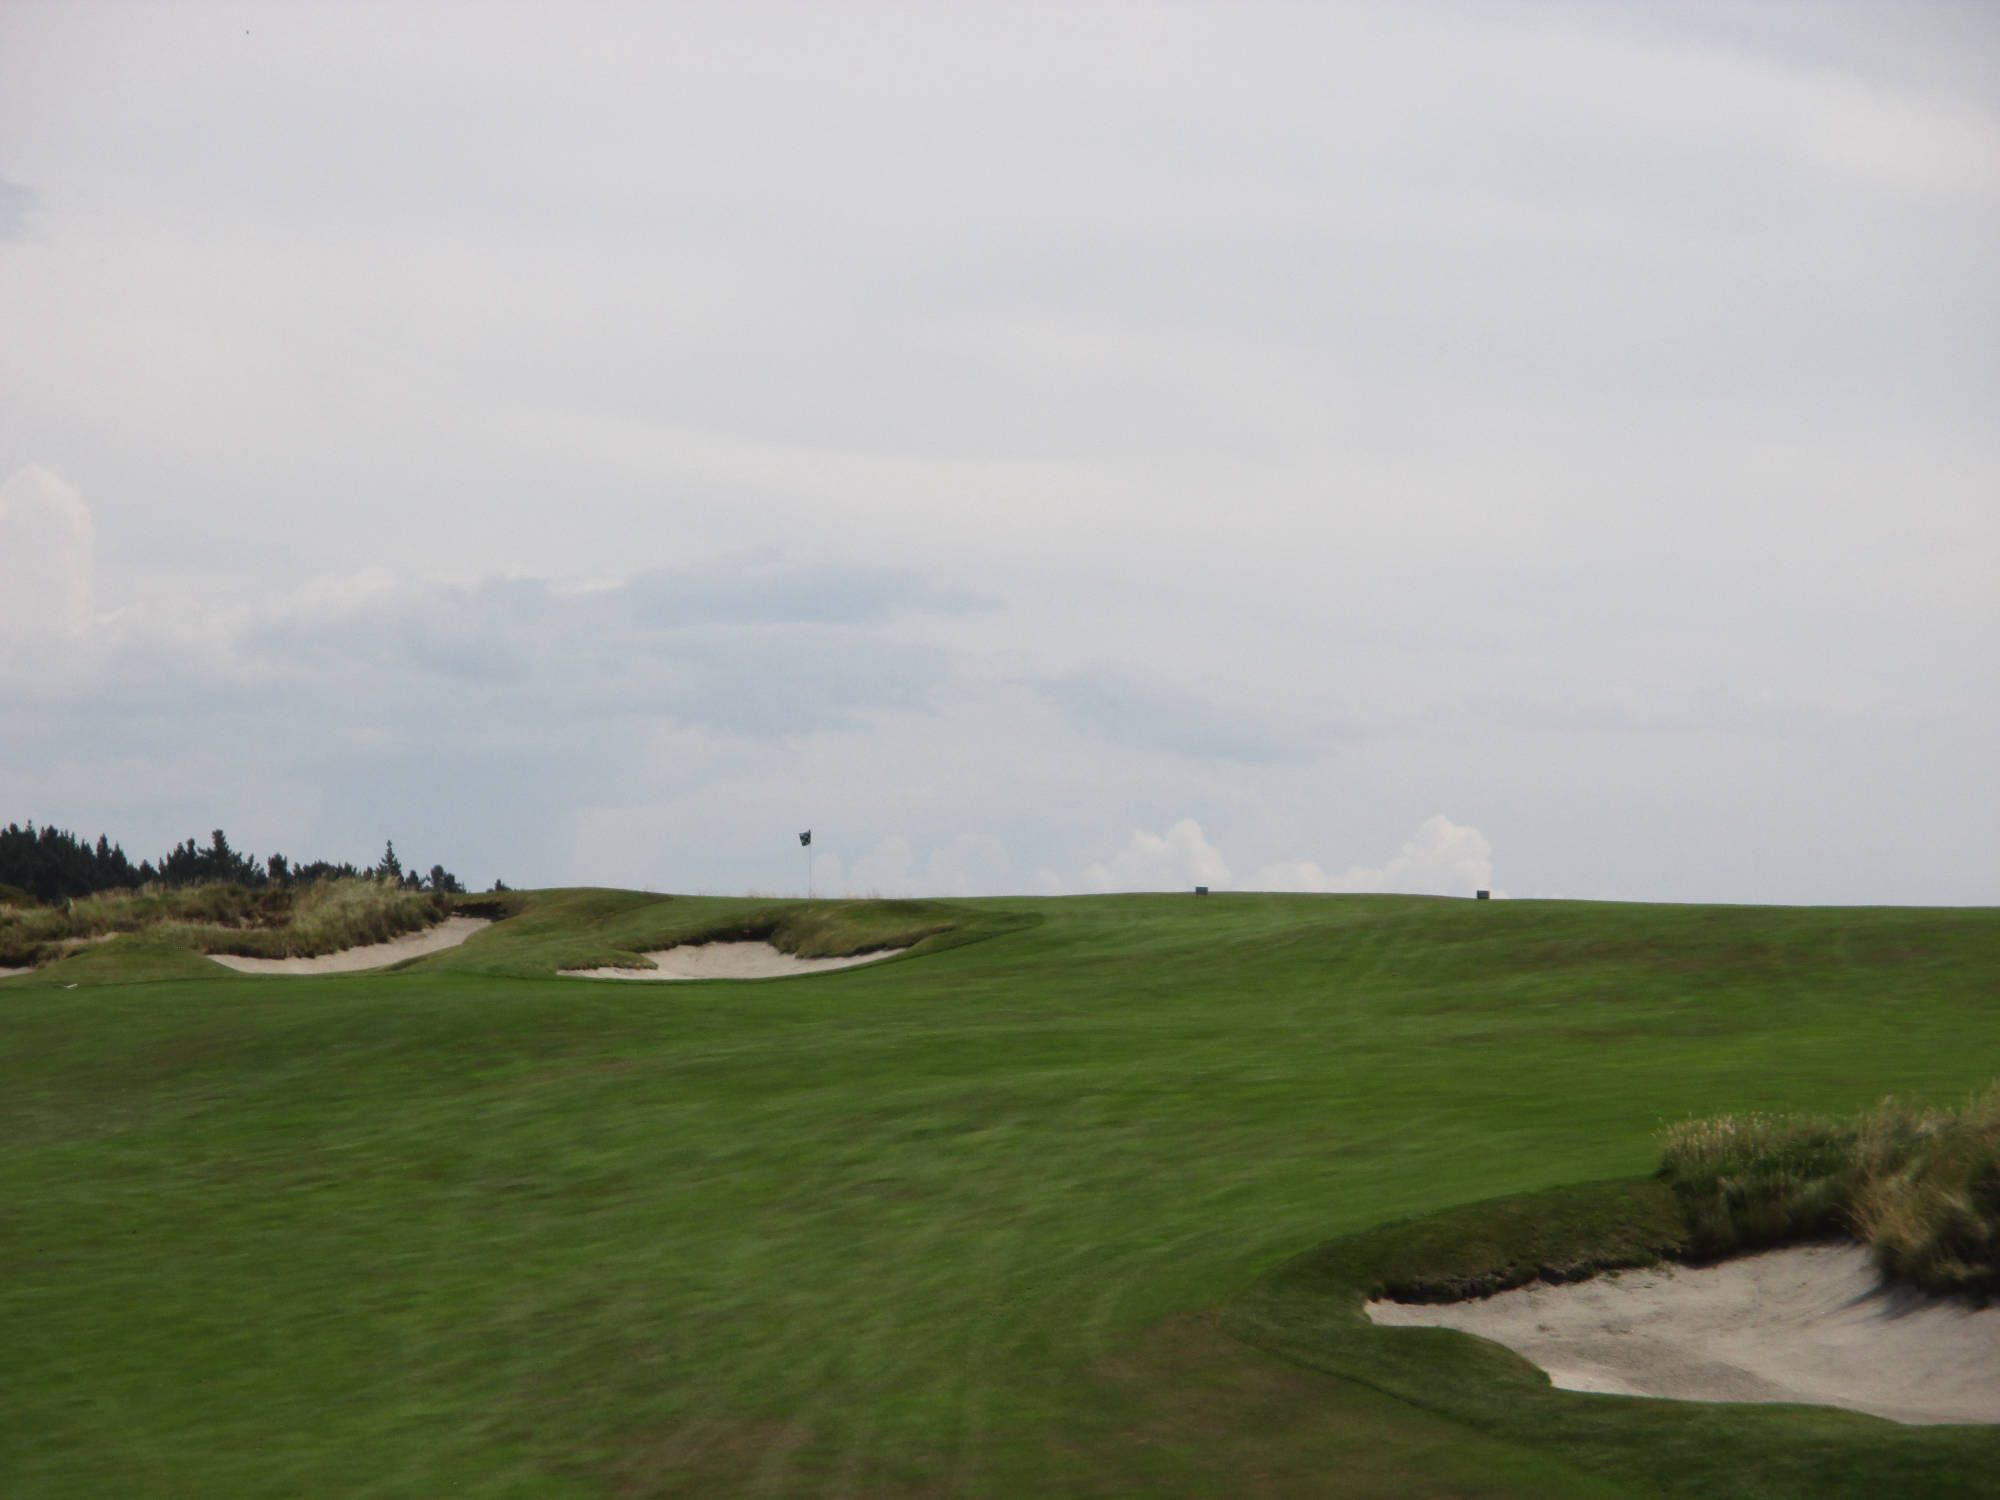
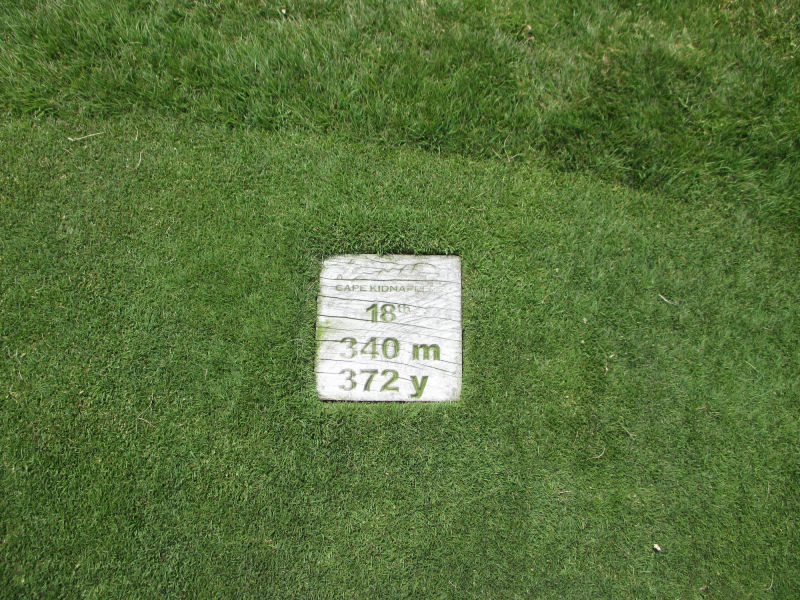
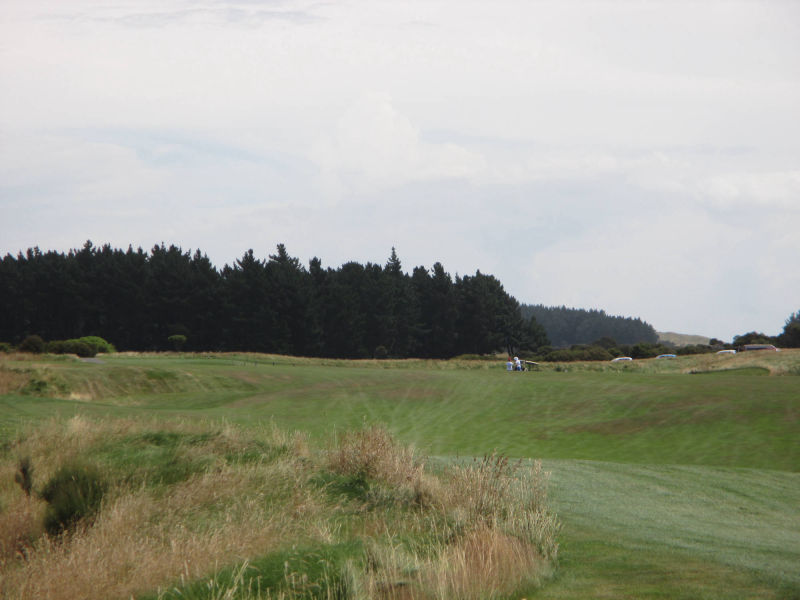
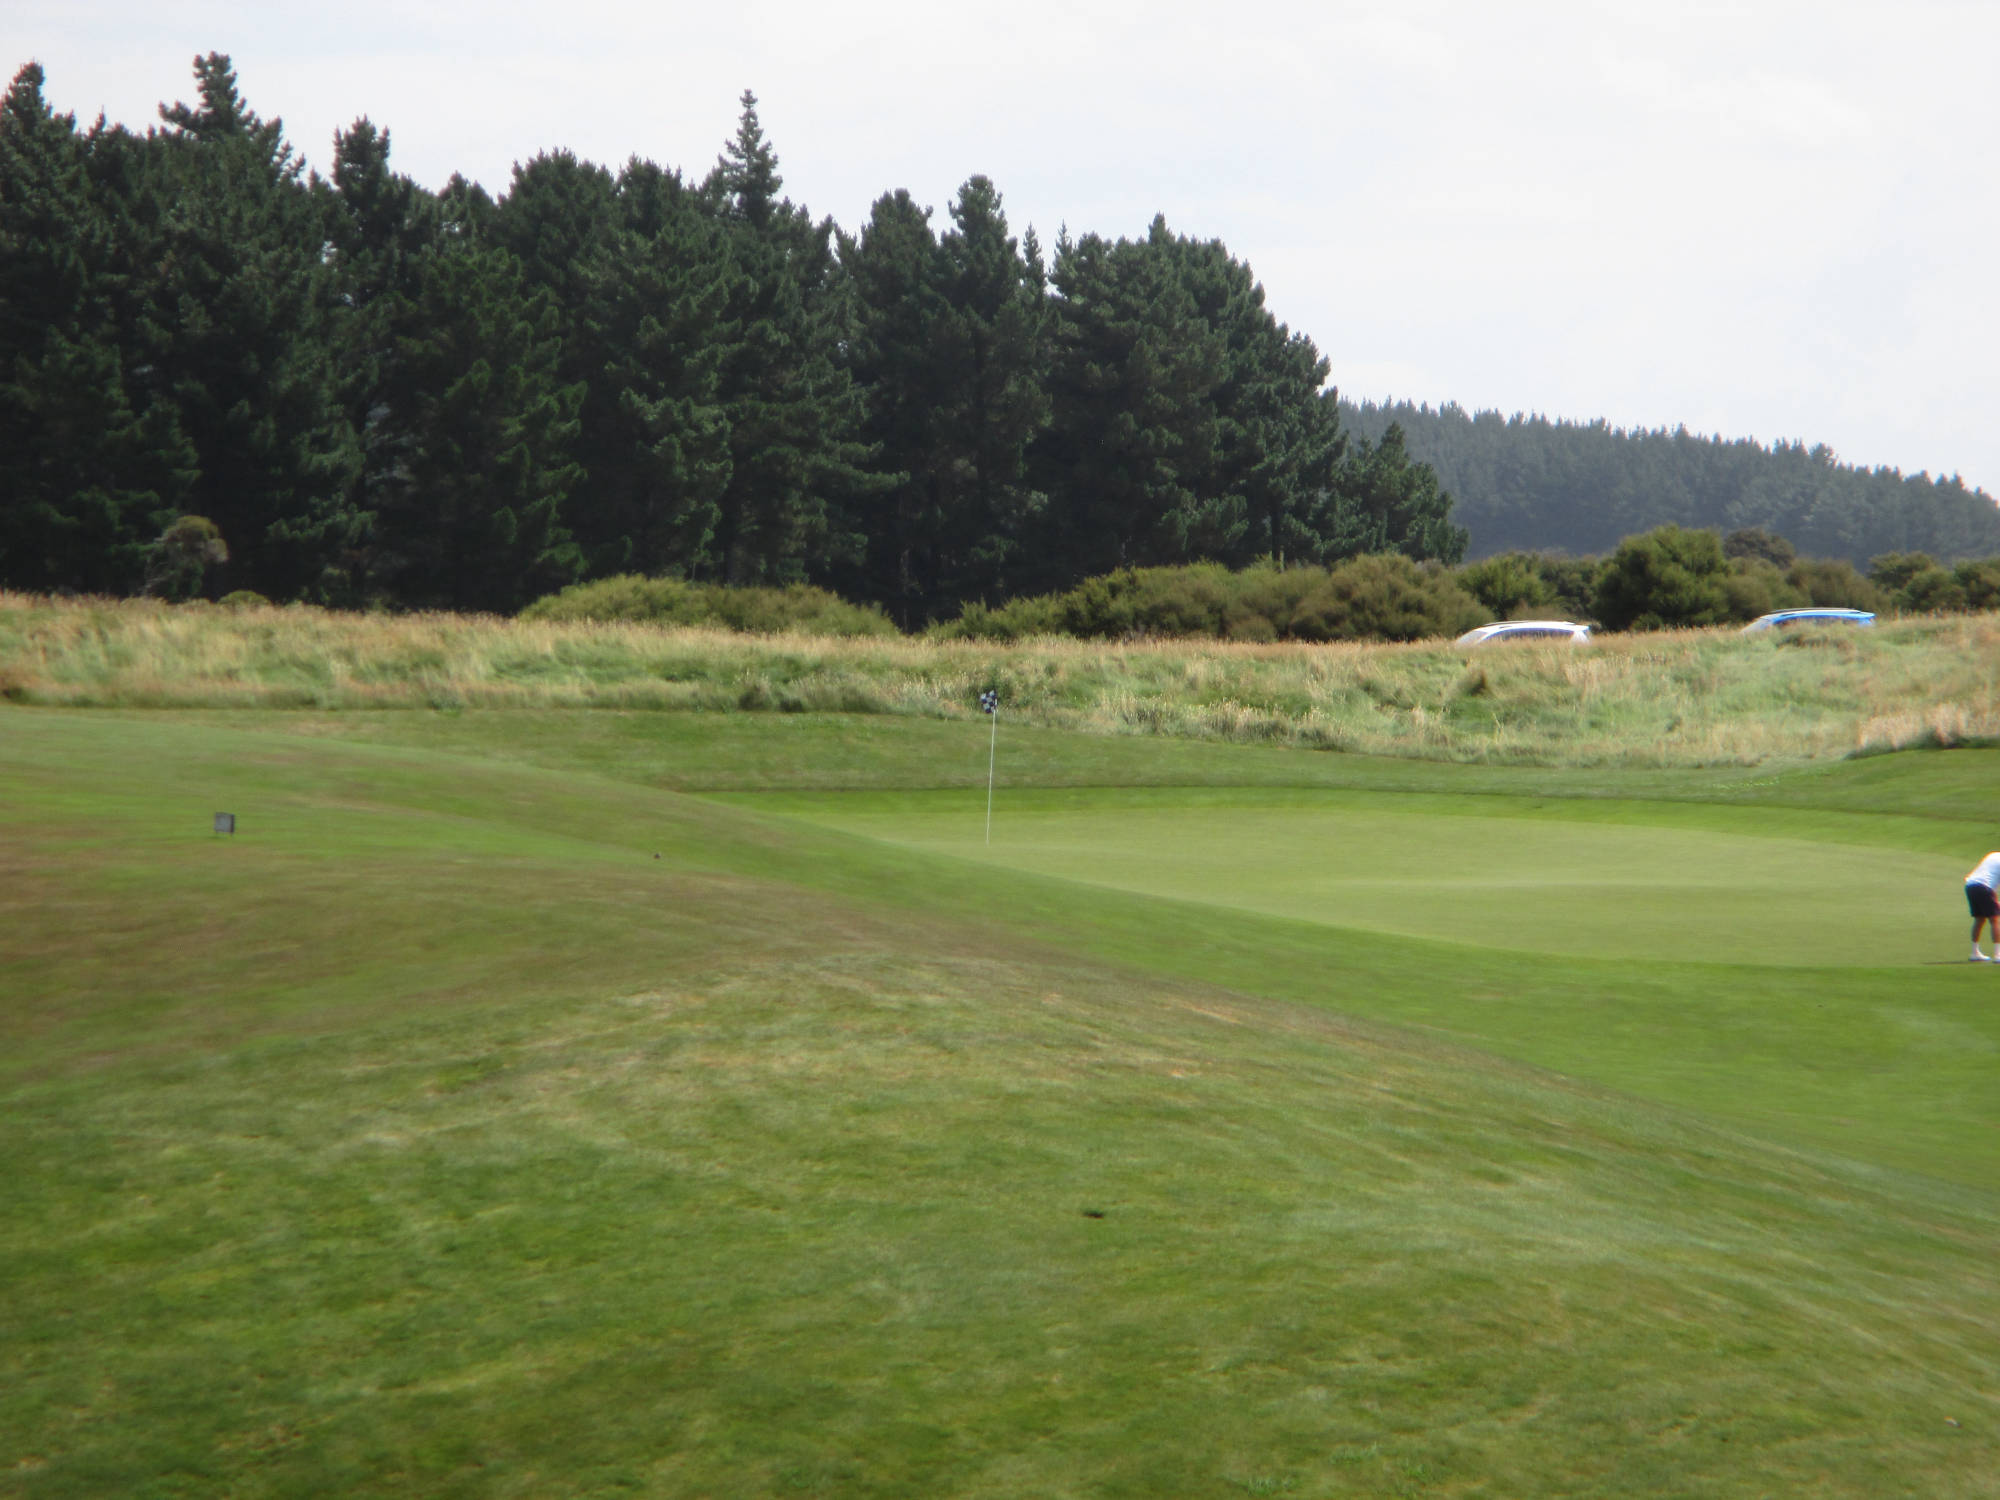
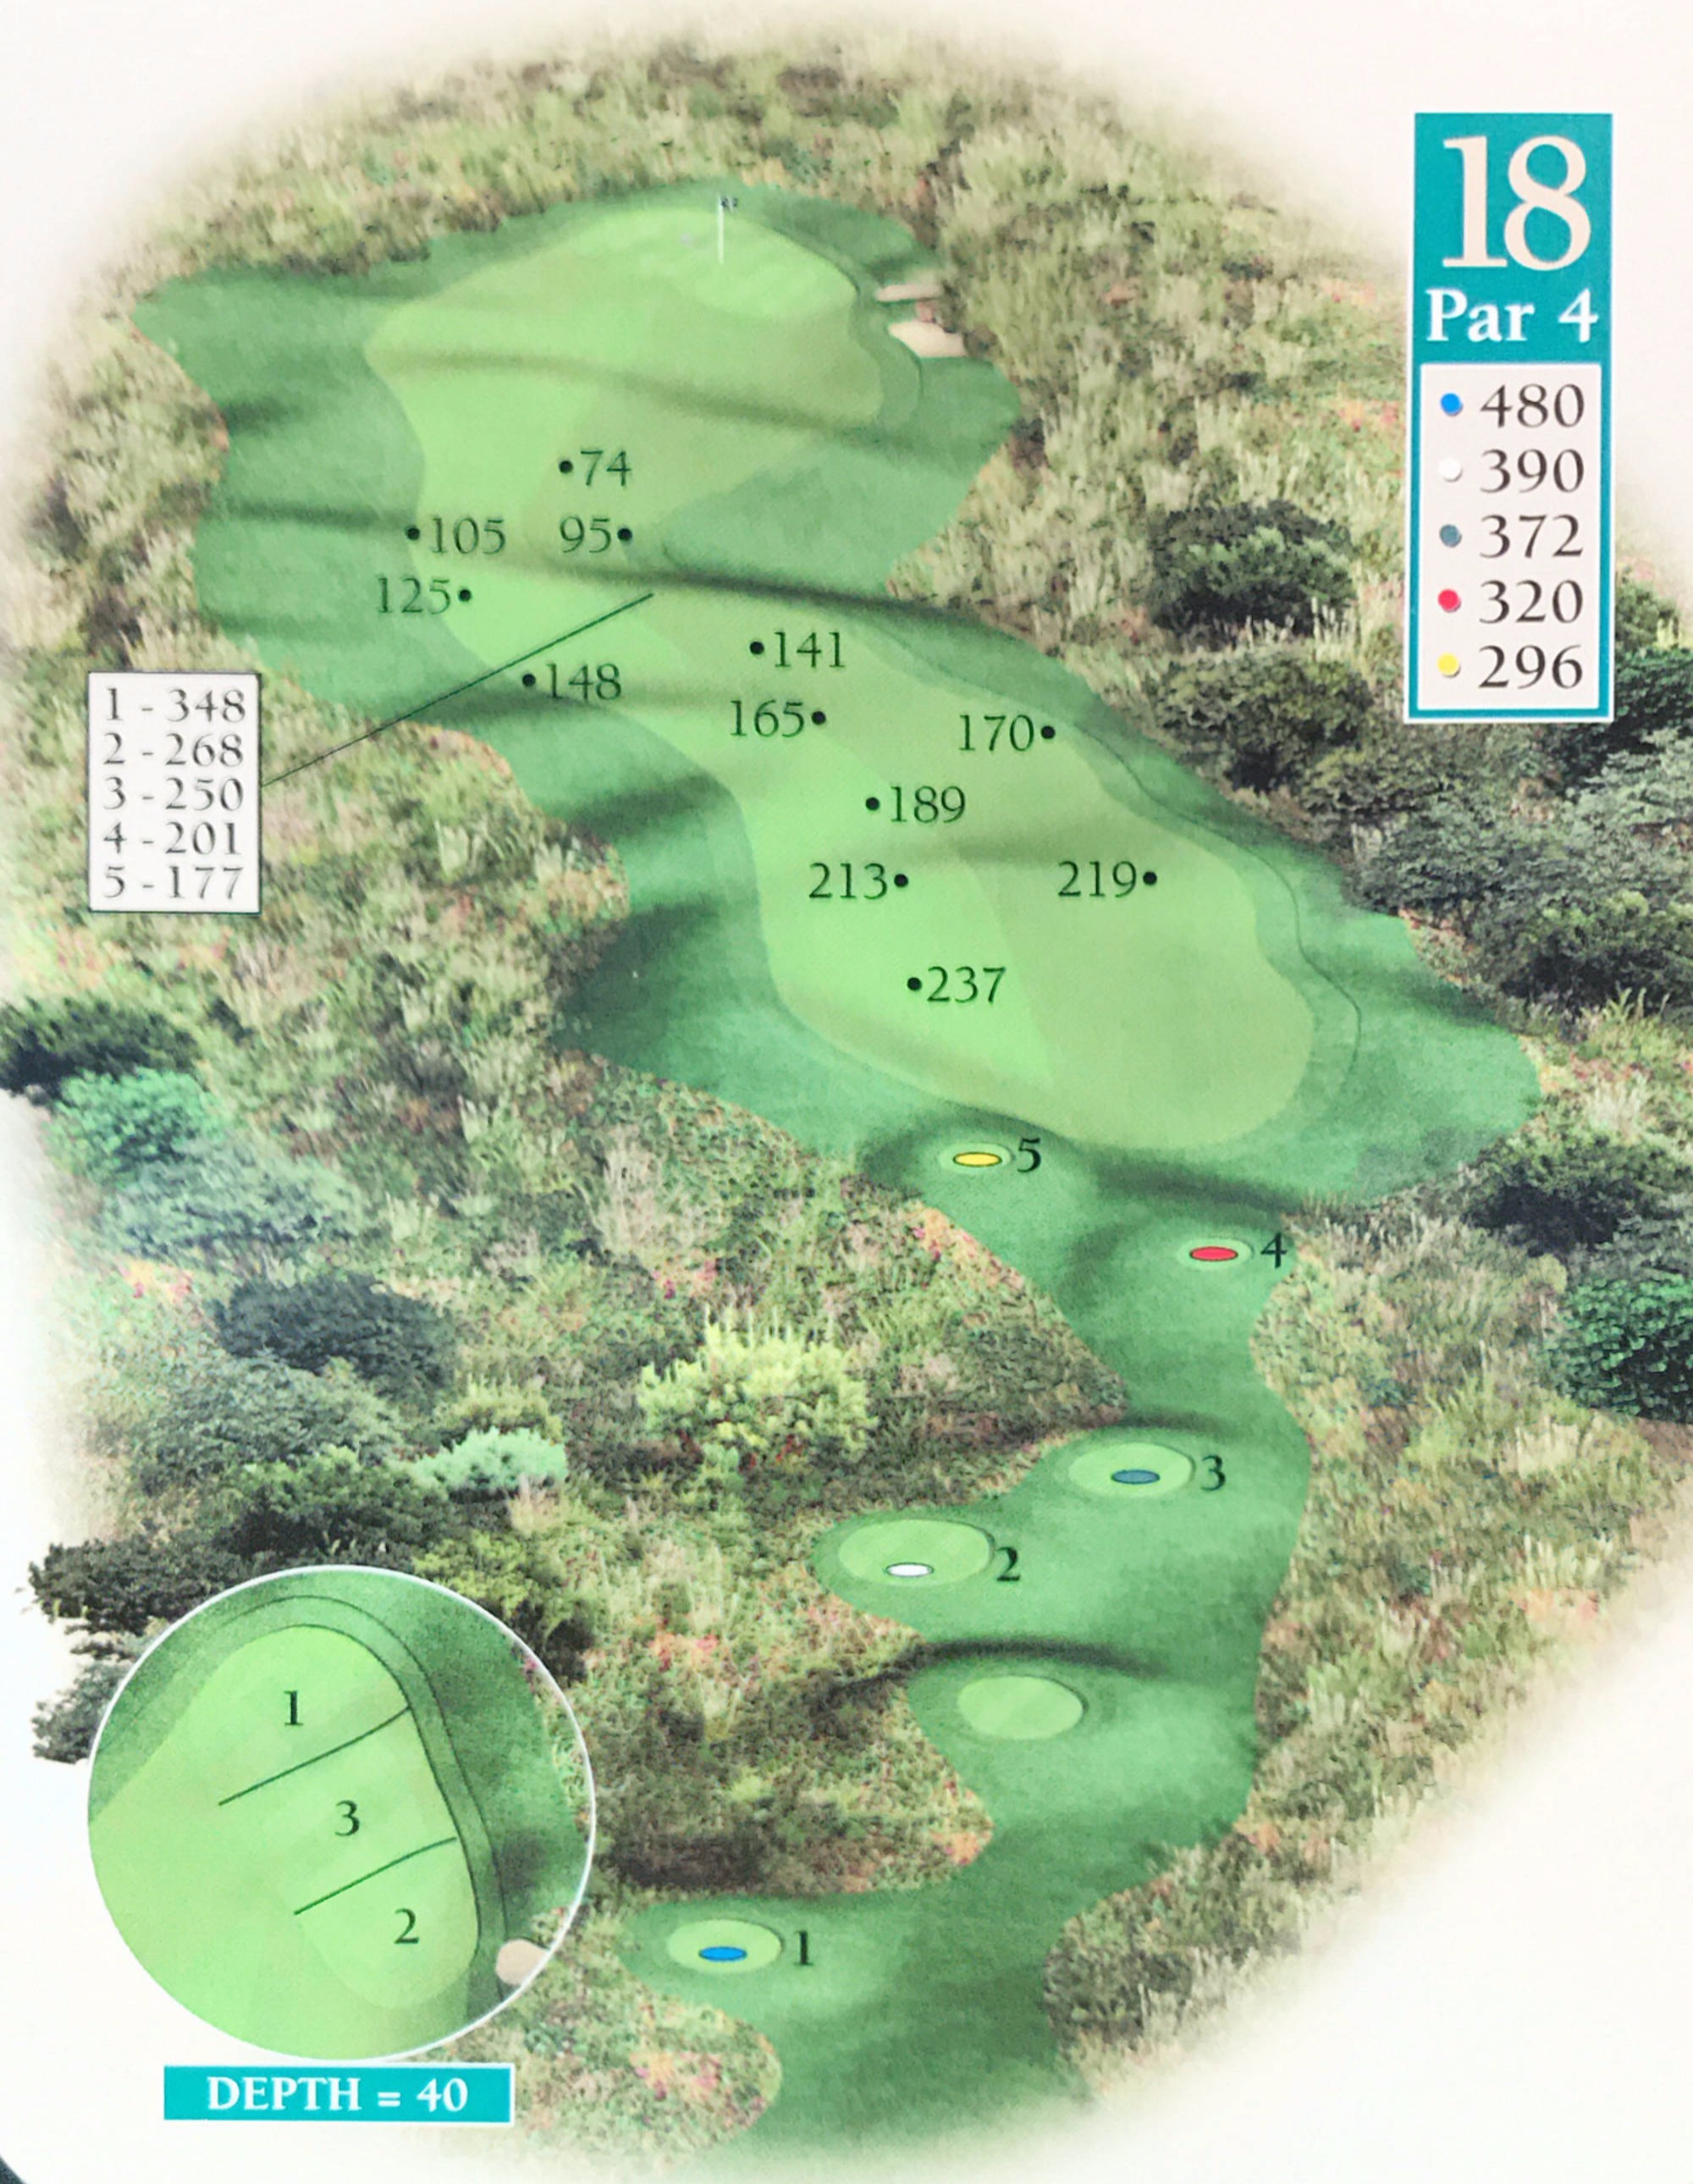
Par 4
(M) SI 5 (W) SI 8 - 青 480y 白 390y 緑 372y 赤 320y 黄 296y
Hole 18
Tee Ground
Fairway
Green
course guide: Best Approach Publications (c)2016
Previous
Next
Close
HOME
COUNTRIES
CAPE KIDNAPPERS PAGE
CONTACT
各国のゴルフ場
Countries
South East Asia
Brunei
Cambodia
Indonesia
Laos
Malaysia
Philippines
Singapore
Thailand
Vietnam
East Asia
Japan
China
Hong Kong
Taiwan
Macau
CIS Countries
Russia
Kazakhstan
Uzbekistan
Kyrgyz Republic
Azerbaijan
South Asia
India
Bangladesh
Pakistan
Bhutan
Afghanistan
Pacific
Australia
New Zealand
Fiji
Niue
British Isles
England
Scotland
Wales
Europe
Turkey
Spain
Germany
France
North America
Canada
United States
Middle East
United Arab Emirates
Qatar
Africa
South Africa
Tanzania
Zambia
Egypt
雑談
Golf Course Designers
World Top 100
Asia Pacific Top 100
Asian Golf Awards
1001 Holes
N. America Top 100 Public Courses
Top 25 Golf Courses in the Philippines
roka@golferroka.com
No Code Website Builder